Loadstar Sensors Punchsensor Manual de usuario

Copyright © 2019 Loadstar Sensors
Quick Start Guide
Version 2.0

2
Contents
INTRODUCTION TO PUNCHSENSOR ______________________________________________________ 3
PUNCHSENSOR KIT COMPONENTS _______________________________________________________ 3
SOFTWARE FEATURES _________________________________________________________________ 3
HOW TO MOUNT THE PUNCHSENSOR ____________________________________________________ 4
MOUNTING FEATURES _________________________________________________________________ 5
PUNCHSENSOR INSTALLATION: SIDE VIEW ________________________________________________ 6
SOFTWARE INSTALLATION AND OPERATIONS ______________________________________________ 7
INSTALLING THE SOFTWARE ____________________________________________________________ 7
OPERATING THE SOFTWARE ____________________________________________________________ 8
3
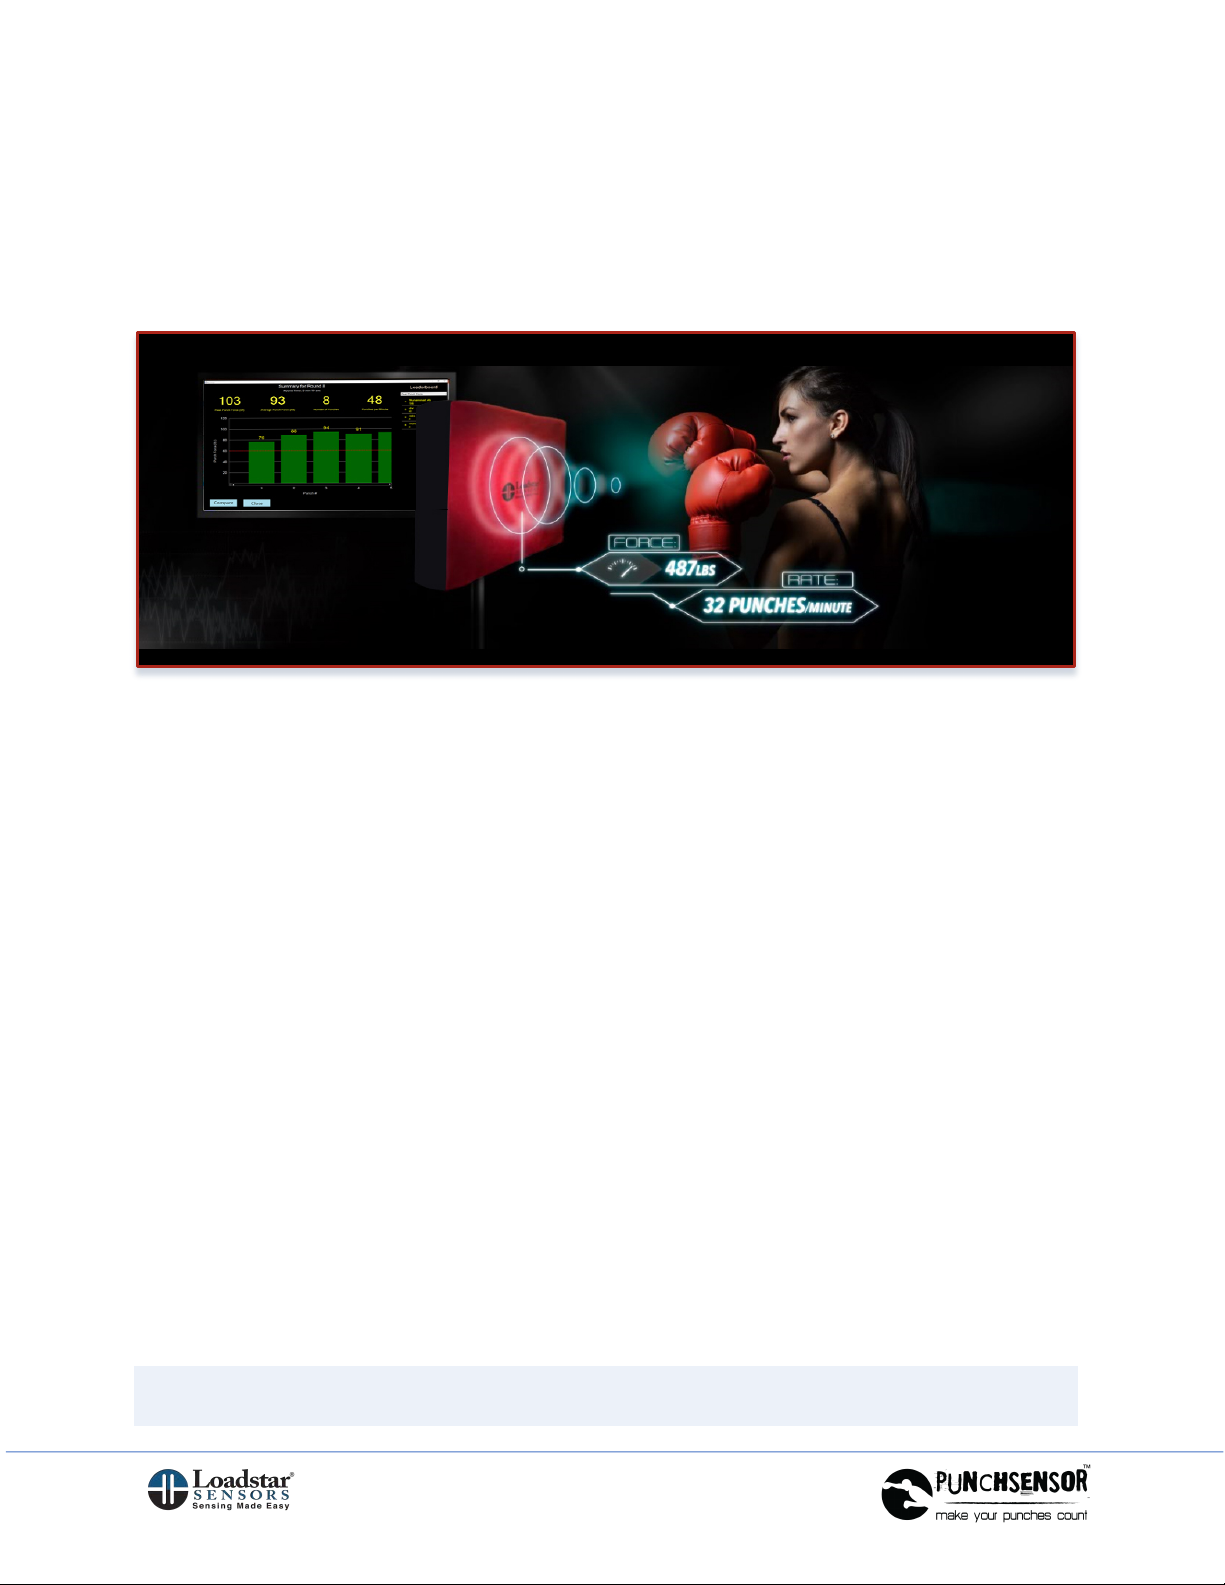
Introduction to PunchSensor
PunchSensor is a complete hardware and software solution that helps boxers, mixed
martial arts practitioners and other athletes to measure, track, and evaluate impact
forces such as from punching or kicking.
PunchSensor Kit Components
The kit includes the following components:
• Punch Sensor (approximately 15” x 20”)
• Punch Pad that covers the sensor (approx. 2” thick)
• High Speed USB Sensor Interface
• PunchSensor Software
• Kit is fully calibrated and ready to use
• Just needs to be mounted onto a wall or an exercise frame
Software Features
The software allows the user to measure the following parameters from a Punch or
Kick:
• Peak force of each impact
• Number of impacts
• Average force per round
• Number of punches per minute
• Compare the value of the punch against a Target
• Compare performance from multiple sessions and see how one stacks up
against competition
Note: The software is designed for 1920x1080 screen resolution.

4
How to Mount the PunchSensor
The PunchSensor is made with two aluminum plates that sandwich a sensor between
them. The upper plate has the Punch Pad mounted to it to make it safe to punch or
kick. The back plate is the mounting plate that can be mounted to a frame or to a wall
or to any other surface using some mounting features provided on the back of the
sensor.
PunchSensor Installation: Mounted to an Exercise Frame

5
Mounting Features
1. Mount the back plate using the four holes on the base plate.
You can see the four through mounting holes at the four corners of the base
plate in the diagram shown below. You can use these four holes to bolt the
PunchSensor onto a wall or an exercise frame.
2. Use four threaded holes to mount large screen TV:
In addition to the four through holes, there are four threaded holes that are
compatible with VESA standards for large screen TV mounting. You could use
those holes with commercially available TV mounts.
PunchSensor Base Plate Details

6
PunchSensor Installation: Side View
Shown below are two close-up images that give a detailed look at how to mount the
Punch Sensor to an exercise frame using two aluminum bars.
PunchSensor Installation: Rear View and Side View

7
Software Installation and Operations
Installing the Software
1. Open the Installation CD or USB storage device Or Download Link.
2. Click on Setup.exe to run the Installation file.
For many users with virus and other protection or security installed, it is best to
Right-Click on the Setup file and Run As Admin, even if you are already an
Admin (or seek help from your IT professionals).
3. Once the setup is complete, the process will try to install the drivers to handle
the USB functionality of the sensor. If this step is not properly completed, you
may have trouble finding the sensor when you go to the next step and run the
program. In case of difficulty, please reinstall the drivers by visiting
loadstarsensors.com/support/downloads page.
4. If you run the setup file as Admin, then it will try to change the latency timer for
the sensor COM Port to 1 ms. If it doesn’t, you can do it manually the first time
you use the sensor.
a. Launch the Device Manager and find the port which serves as the COM
port for our sensors.
b. This shows up when you plug in the USB connector into the PC that you
are going to use. Please follow the instructions provided on this link to
make sure the Latency Timer setting is set to 1 ms.
https://www.loadstarsensors.com/assets/manuals/html/how-to-set-latency-
timer/latency-timer.html
5. In case of difficulty, visit loadstarsensors.com and under the Support menu
option, select the Remote Support option. Download and Install the support app
and contact us with the ID and password. We can then see your screen with
your permission and assist you.

8
Operating the Software
1. Start PunchSensor application.
2. Select Sensor and select Continue.
The software will find all COM ports that are relevant to your software solution.
Here for example it shows up as COM30, operating at 230K baud rate. In case
you need to access the Device Manager or seek help from Loadstar Sensors,
click on Device Manager or Remote Support using the convenient buttons on
this screen.

9
3. Register
a. New User: Enter a name or alias and Email address you’d like to use
when operating the software.
b. Existing User: Click on Existing Boxer and select the User from the
dropdown menu.

10
4. Input Settings:
These are the settings a user can adjust to achieve the best performance from
the sensor and accurately measure punch/kick forces.
Minimum Punch Force: This is the minimum force that is counted as a Punch.
This is an important parameter used to weed out vibrations and other incidental
forces that are not to be mistaken for a punch.
Minimum Time Between Punches: This is the minimum time that is expected
between punches. This assumes that no human being can punch faster than
this interval. For e.g. 100 milliseconds means that a person can at best punch
10 times per second. This is also used to weed out vibration from true punches.
Target Punch Force: This is a target one can set to aim for during practice. So,
with proper techniques and strengthening exercises, one can achieve this target
force.
Round Time: What is the duration of the session to record and measure? Select
30 seconds, 1 minute etc.
Tabla de contenidos
Otros manuales de Accesorios de Loadstar Sensors


