
Leupold LTO-QUEST HD Manual de usuario
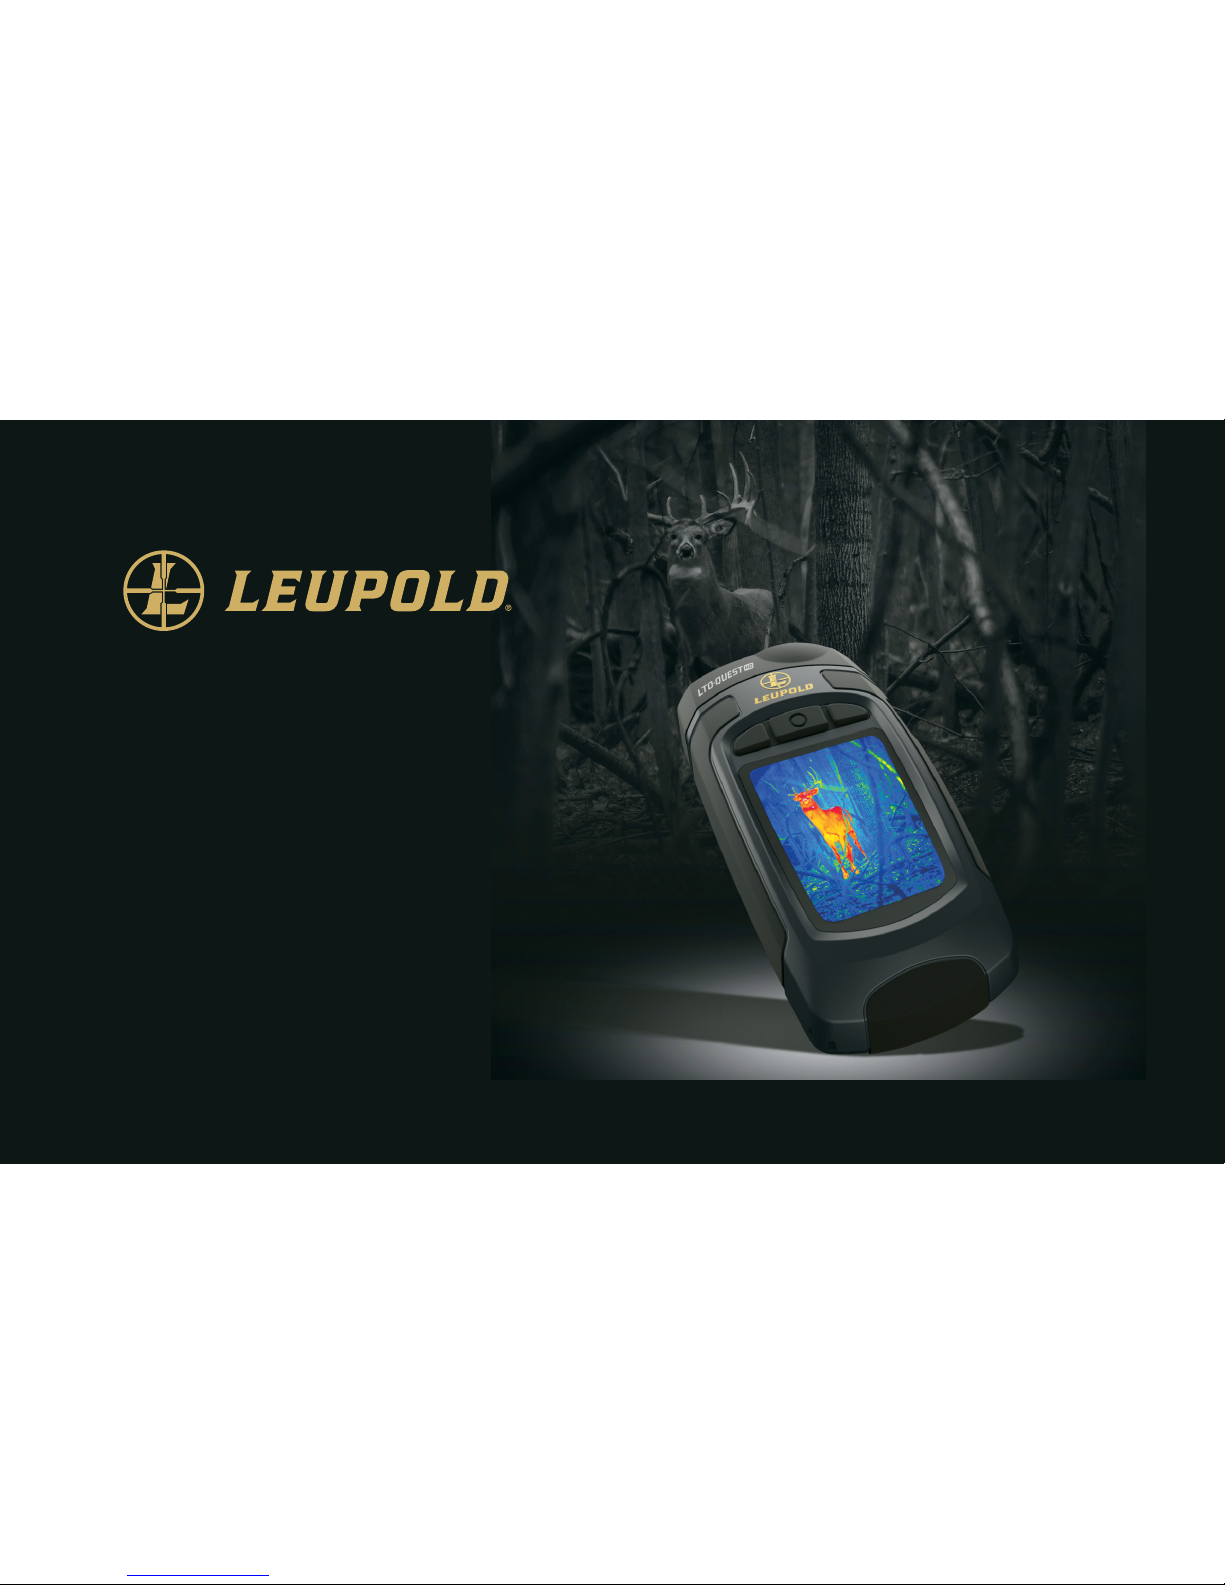
LTO-QUEST & LTO-QUEST HD
USER GUIDE
14400 NW Greenbrier Pkwy | Beaverton, OR 97006 USA | 1-800-538-7653 | leupold.com

2
TABLE OF CONTENTS
INTRODUCTION.......................3
QUICK START GUIDE ..................4
TIPS AND TRICKS..................4
CHARGING THE BATTERY ..........5
TURNING ON YOUR LTO-QUEST ....7
SETTING UP YOUR LTO-QUEST .....8
THERMAL IMAGING ............... 10
FILTERS SCREEN ..................11
IMAGE CAPTURE SCREEN ..........12
MENU SCREEN ................... 13
GALLERY ........................ 14
DEVICE SETTINGS ................ 16
TEMPERATURE UNITS............. 19
POWER SETTINGS ................20
DISPLAY SETTINGS ................21
FLASHLIGHT SETTINGS ...........22
ABOUT SCREEN ..................23
POWER OFF THERMAL ...........24
BATTERY LEVEL..................25
FILTERS..........................26
FLASHLIGHT OPERATION.............27
FLASHLIGHT SETTINGS ...........28
RESTORE FACTORY SETTINGS ........29
DOWNLOADING IMAGES .............30
CARE GUIDE.........................32
TROUBLESHOOTING .................34
APPENDIX...........................36

3
INTRODUCTION
WARNING
It is your responsibility to use your Leupold LTO-Quest device in a safe manner. Leupold & Stevens, Inc. will not be responsible for any property damage, injuries, or deaths
resulting from any use of this device in any activities.
This product contains a rechargeable polymer lithium-ion battery. To prevent the possibility of personal injury or product damage caused by battery exposure to extreme heat,
store the device out of direct sunlight and away from other extreme heat sources. Dispose of battery and device in a proper manner.
Mac® is a trademark of Apple, Inc., registered in the USA and other countries.
microSD™ and the microSDXC™ logos are trademarks or registered trademarks of SD-3C, LLC in the United States, other countries, or both.
Windows® is a registered trademark of Microsoft Corporation in the USA and other countries. Other trademarks and trade names are those of their respective owners.
4
QUICK START GUIDE
Tips and Tricks
1. Fully recharge your device before use with the included (US only) power adapter for
optimal performance. For optimal battery performance, charge your LTO-Quest device after
prolonged periods of inactive use.
2. While recharging on the charging adapter, shut o thermal imaging to charge more quickly.
3. Menus can be navigated using the Prev / Up or Next / Down buttons. Within some Menu
selections, like for example setting a date or time, the Menu buttons will become - and + to
adjust a number value.
4. Accessing images via USB is recommended and faster than removal and replacement of the
microSD card. The microSD card has a tight fit for purposes of sealing the rubber door to
keep moisture out.
5. Be sure to fully close the bottom rubber door over the USB port to keep the product water-
and dust-resistant.
6. Individual images can be easily renamed for quick identification once they have been
transferred to your PC. All temperature readings stay axed to the image on storage.
7. Organize your images on your PC by separating them into groups and creating descriptive
folders to hold them.
8. Be gentle when inserting the USB cable connectors to prevent damage.
9. Always perform an on-screen eject or dismount on your computer before disconnecting
the USB cable to physically ejecting the SD memory card from your computer to prevent
corruption of the SD memory card.
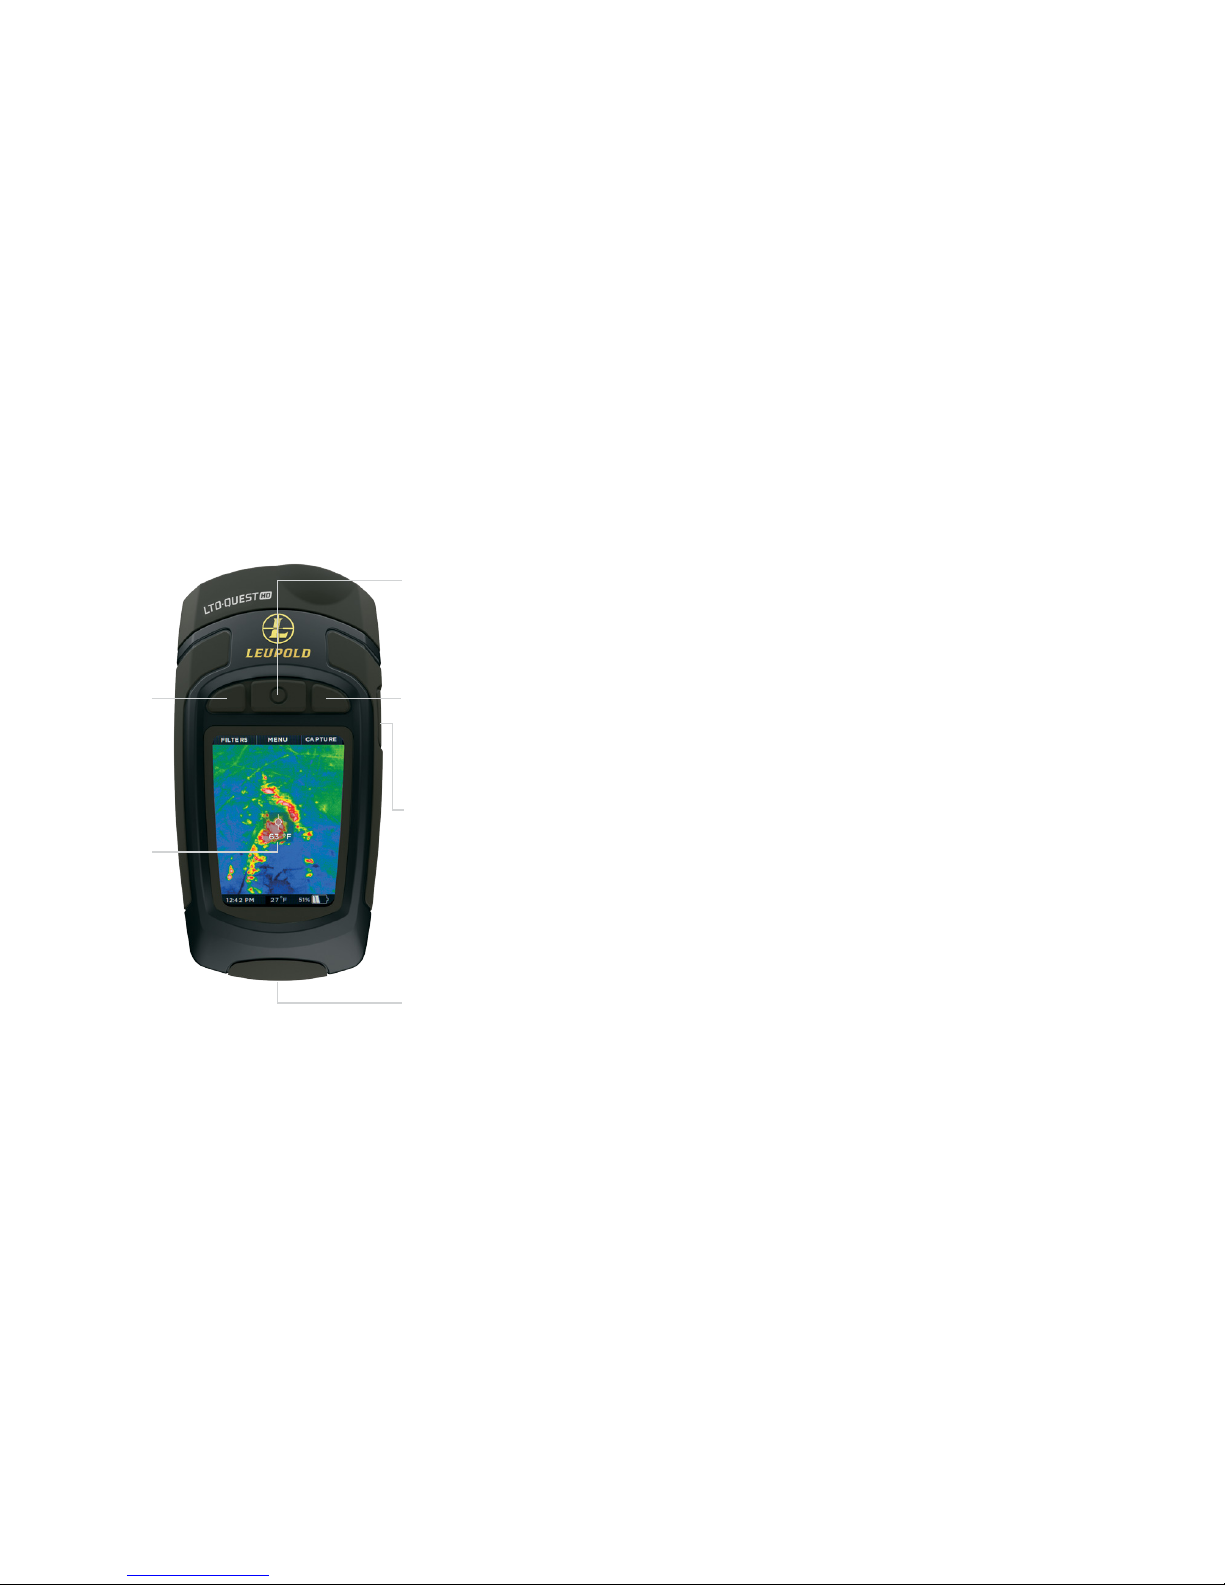
Power On/O
Select
MENU
Quickly access
common settings
from the main menu
Next / Down / +
CAPTURE IMAGE
Press the right
button to capture
images. Hold to
capture multiple
images.
Previous / Up / -
ZOOM
While imaging,
press and hold the
left button to
continuously zoom
up to 4X. You can
also set the zoom
factor manually
in Settings.
RETICLE
Enable the reticle
for precise spot
temperature
readings.
Flashlight On/O
USB Port
Micro SD Card Slot

5
QUICK START GUIDE
Charging the Battery
LTO-Quest showing the rear door open and the
USB port (for charging) highlighted.
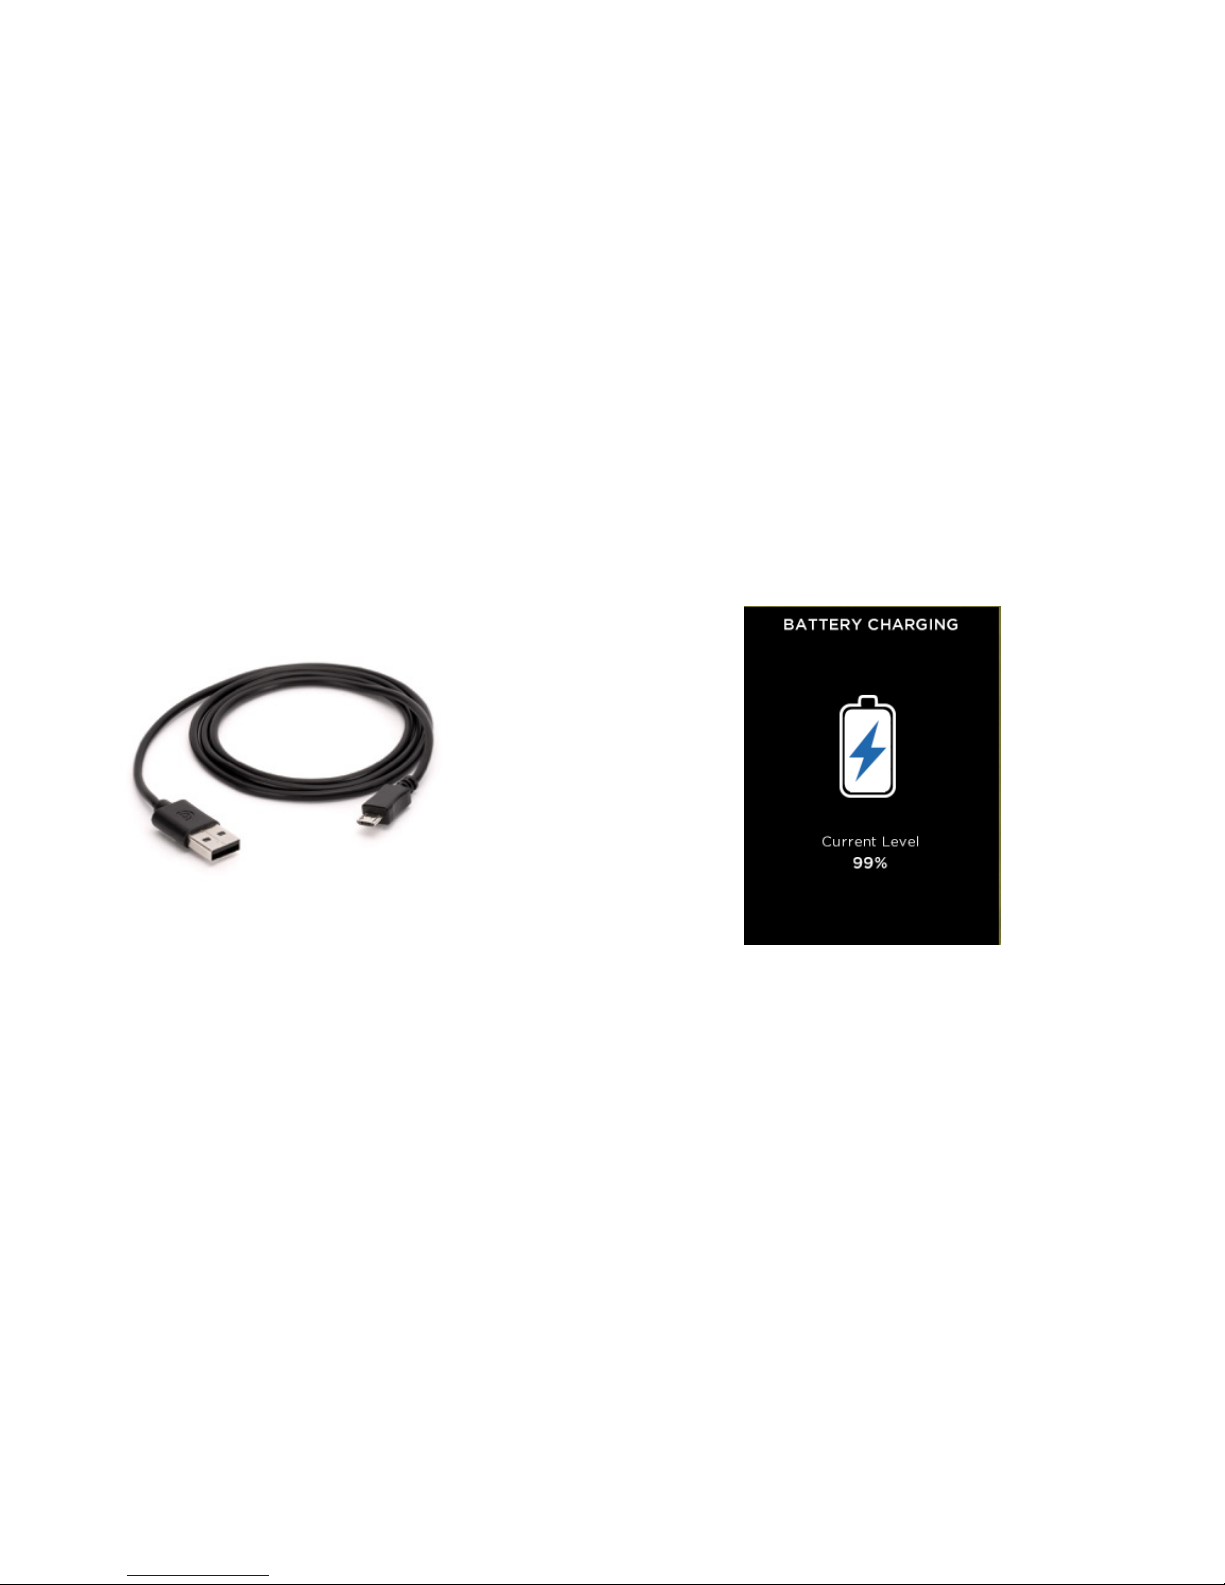
For best results, Leupold recommends charging your LTO-Quest using
the included micro USB cable by connecting it to your computer or a USB
enabled wall outlet. When the thermal camera is o, the Battery Charging
screen will appear.
6
QUICK START GUIDE
Charging the Battery
Supplied 5-pin cable between charger and LTO-Quest USB Port. Note: Not
all OTG cables are built with the same specifications through all suppliers.
The cable provided in the box is built to our specifications.
The Battery Charging screen
7
QUICK START GUIDE
Turning on your LTO-Quest
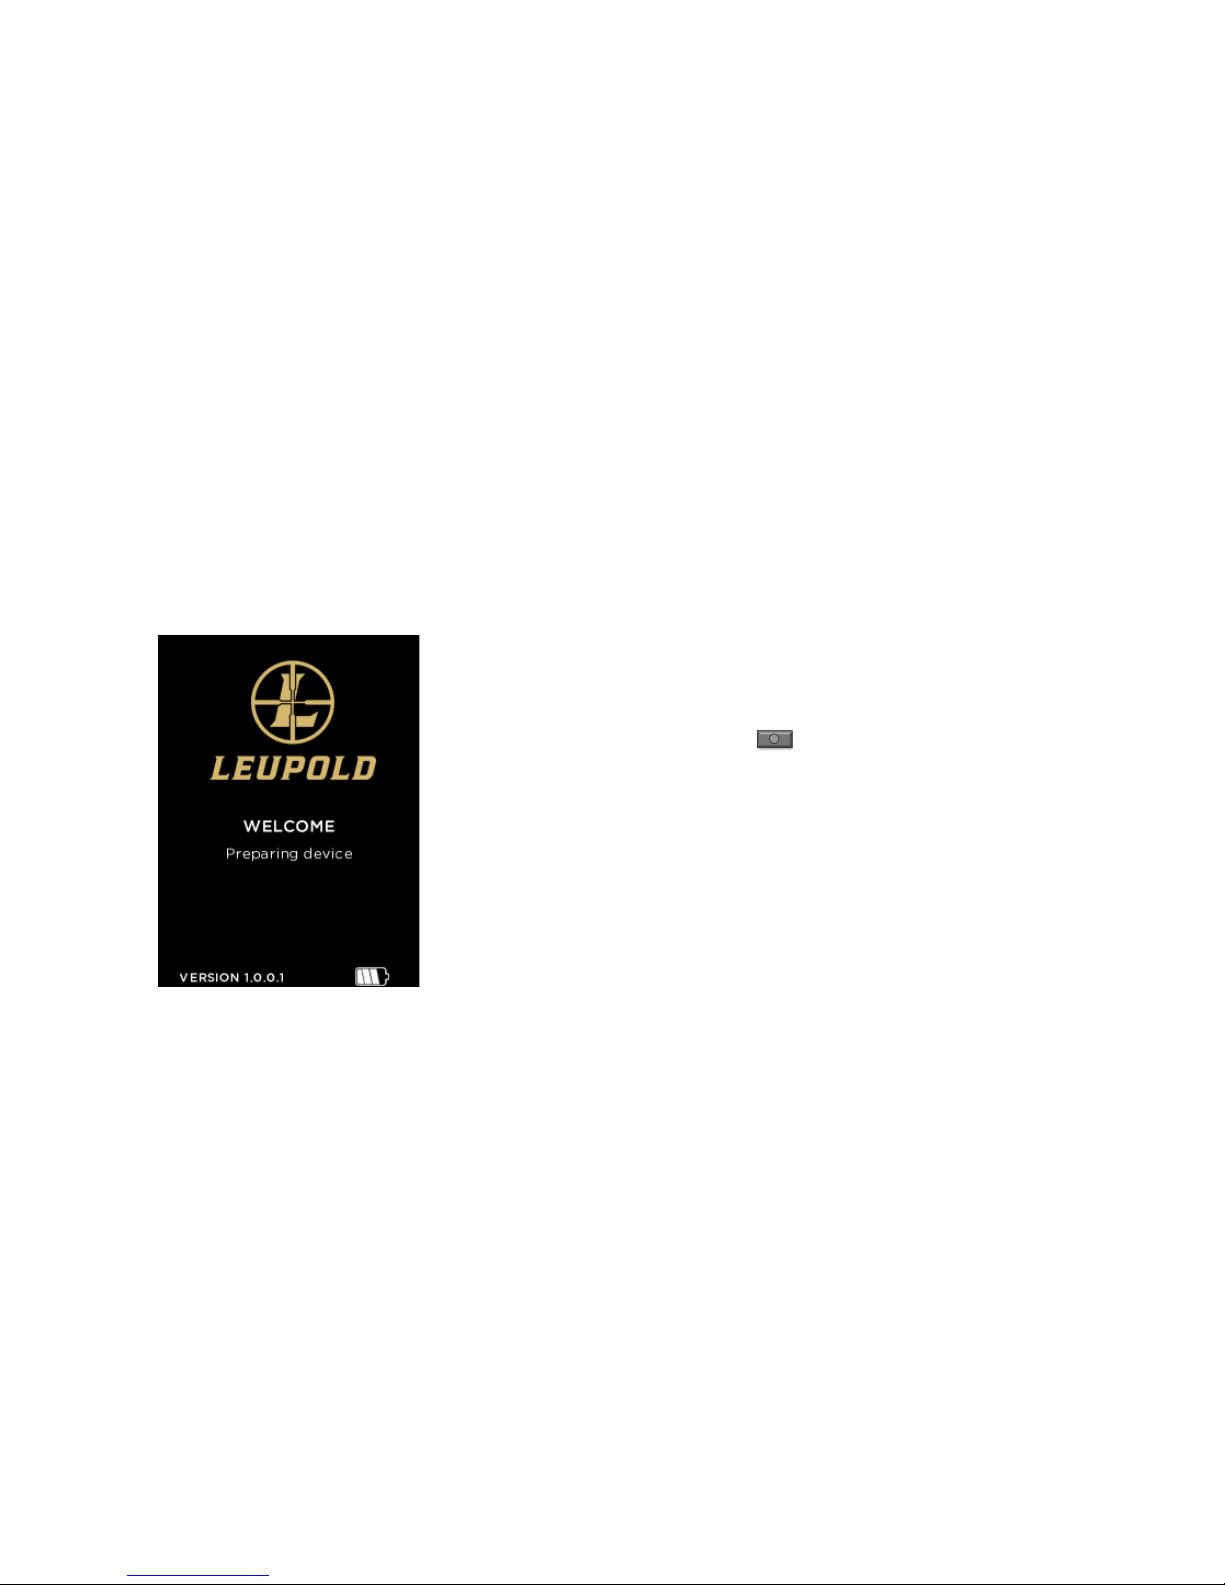
The Splash screen
A long press of the CENTER button will cause the device to activate and
start up the software. The splash screen will then display. Note that the version is also
displayed. The startup sequence is shown on page 9.
8
QUICK START GUIDE
Setting up your LTO-Quest First-Time Use
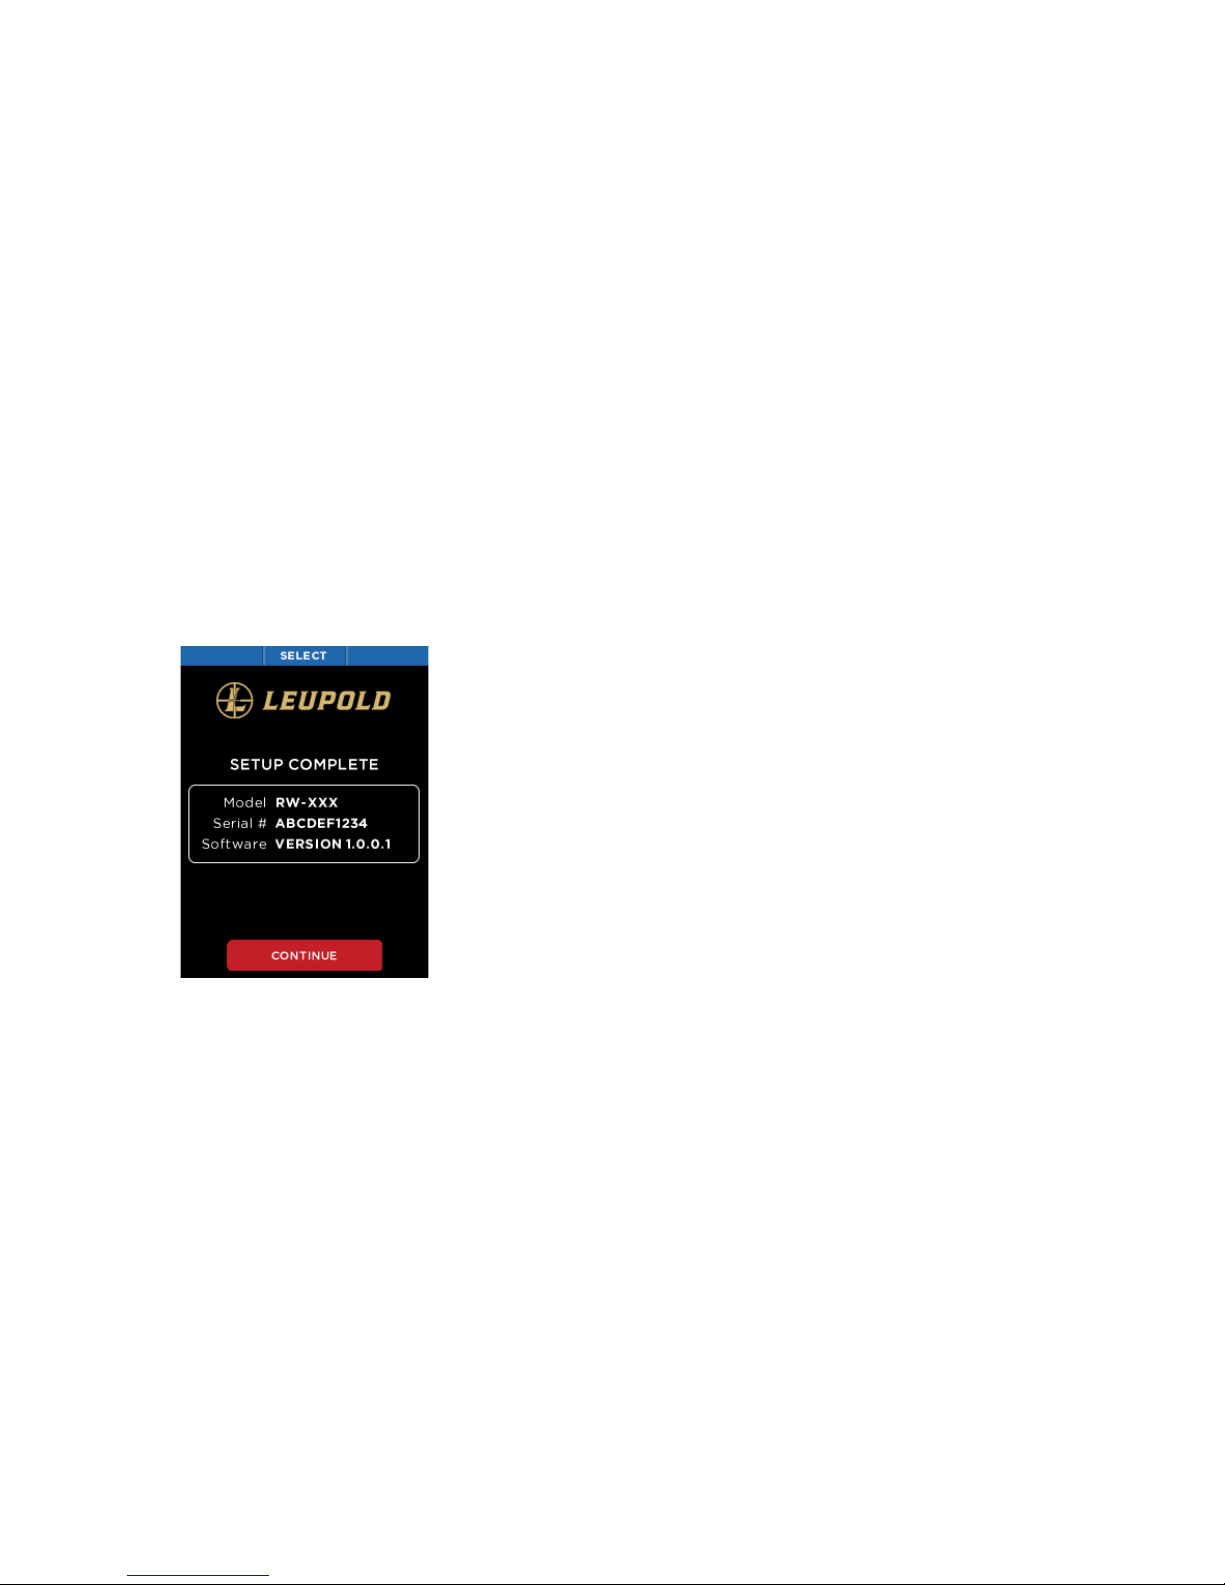
Setup complete screen
When all of the setup screens have been completed,
the Setup Complete screen is displayed.
To turn on your device, press the CENTER button and hold until the screen lights.
The button-function ribbon at the top of the screen defines the meaning of the three
buttons. For each of the setup screens, use the LEFT and RIGHT buttons to navigate,
and the CENTER button as the selector. For numerical fields, the LEFT button subtracts
from the displayed value, while the RIGHT button adds to it, as the button-function
ribbon indicates.

9
QUICK START GUIDE
Setting up your LTO-Quest
The startup sequence
Splash screen Select time
format
Setup complete screen
Enter date
and time
Select your
language
Select date
format
Press the CENTER button to power on the device
ENGLISH
ESPAÑOL
FRANÇAIS
DEUTSCH
10
QUICK START GUIDE
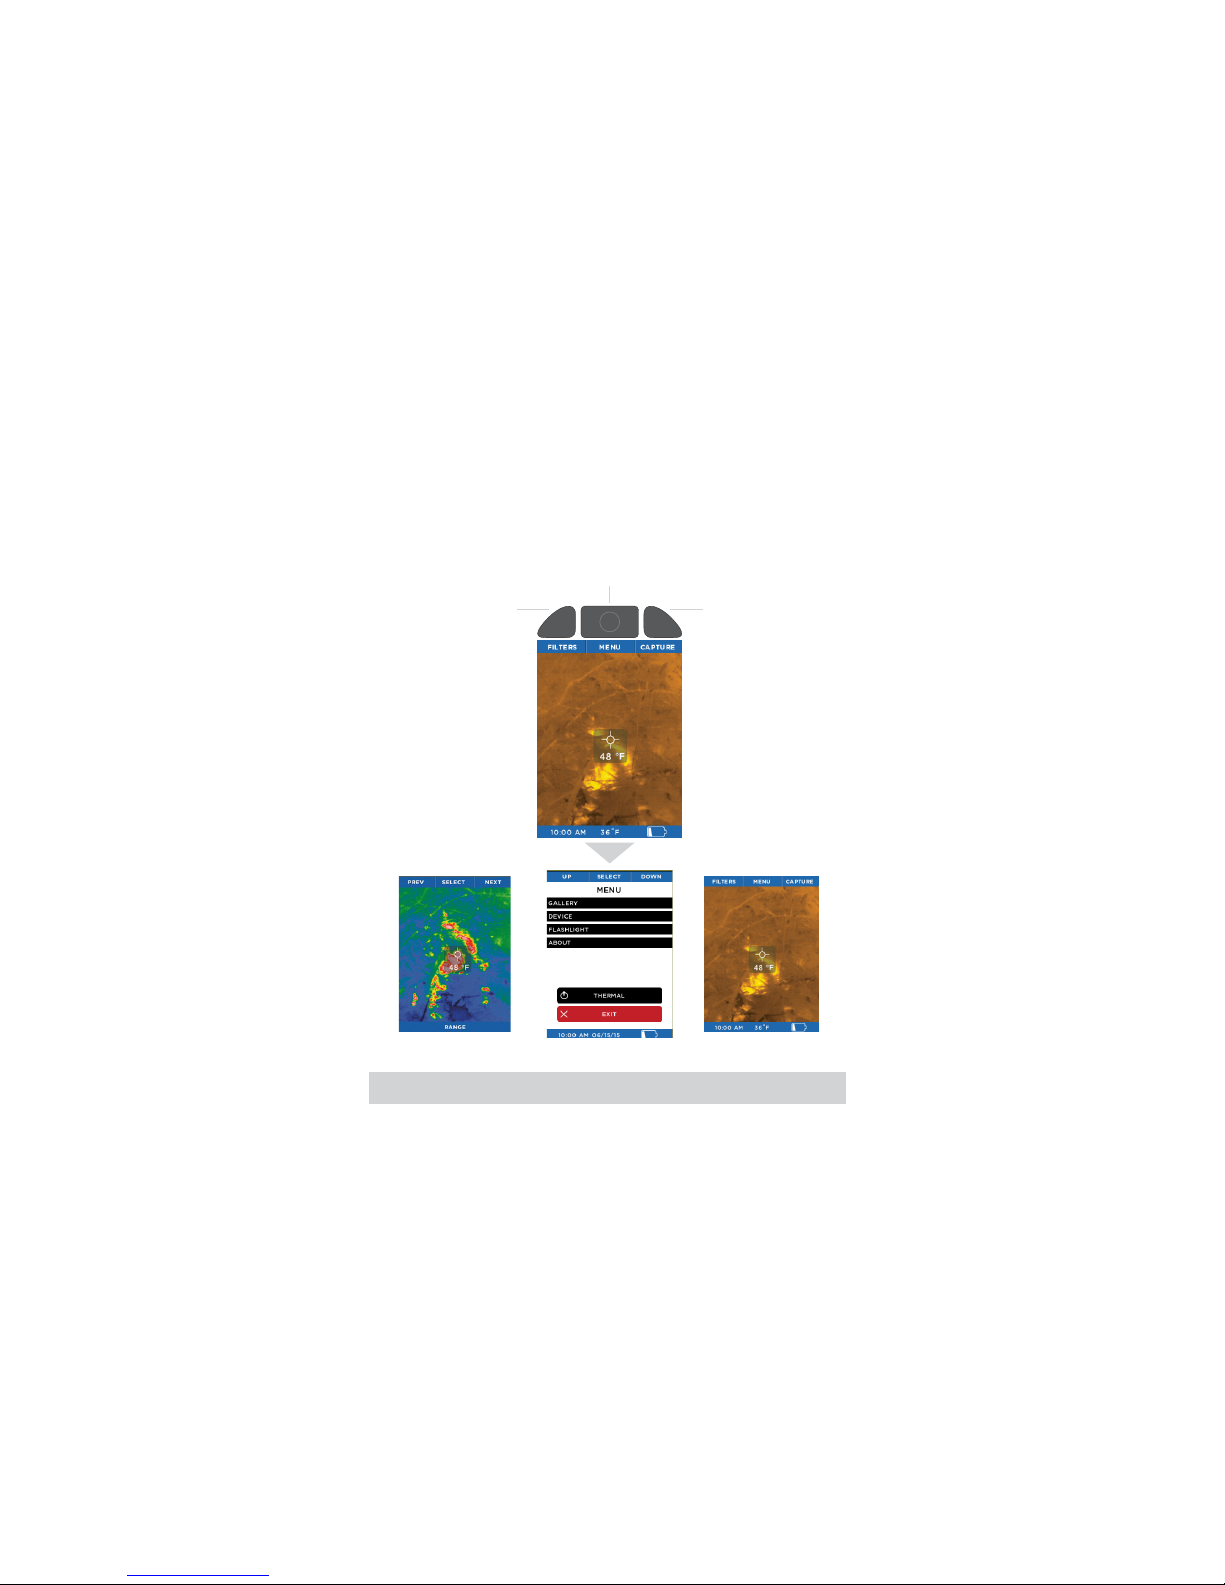
Thermal Imaging
Imaging screen options
FILTERS MENU CAPTURE
LEFT button RIGHT button
CENTER button
RETURN TO DEVICE
Este manual sirve para los siguientes modelos
1
Tabla de contenidos


