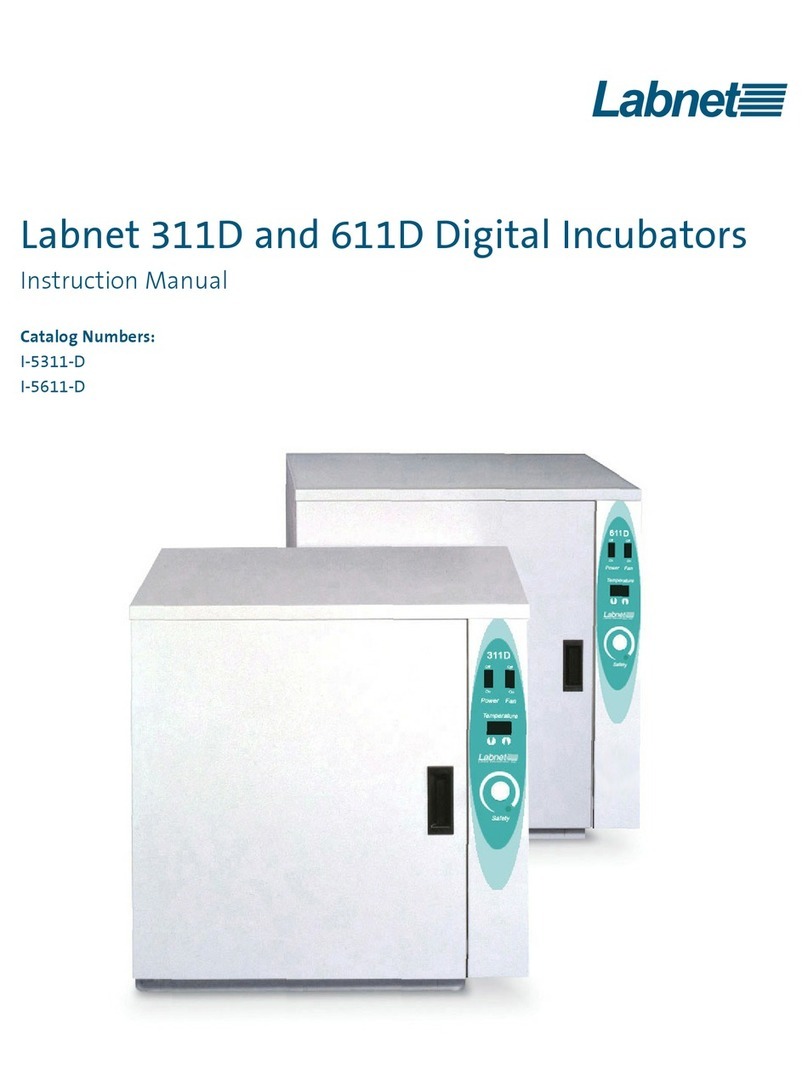
Labnet Accublock D1301-230V Manual de usuario

Accublock Digital Dry Bath User Manual
Copyright 2017
D1301 D1301-230V
D1302 D1302-230V
D1304 D1304-230V

About This Manual
This manual is designed to assist you in the optimal usage of your
AccuBlock Digital Dry Bath. The manual is available in English, French,
German, Italian, Portuguese, and Spanish on our website at:
www.labnetinternational.com
Labnet International’s single and dual Dry Bath Incubators provide
comprehensive designs for a wide variety of life science research
applications. Excellent temperature control gures can deliver accurate and
reliable experimental results from one experiment to another.
Intended use:

Table of Contents
1.0 Safety Precautions ........................................................................1
1.1 Operation Safety Precautions ......................................................1
2.0 General Specications ..................................................................1
2.0 Electrical requirements:................................................................1
3.0 Getting Started................................................................................2
3.1 Unpacking .......................................................................................2
3.2 Initial Operation .............................................................................2
4.0 Controls...........................................................................................2
4.1 Keypad Function ............................................................................2
5.0 Operation.........................................................................................3
6.0 Calibration.......................................................................................4
7.0 USB Interface..................................................................................5
8.0 Troubleshooting Guide/Service ....................................................5
8.1 Service.............................................................................................5
9.0 Cleaning and Maintenance ............................................................5
Appendix A............................................................................................6
Equipment Disposal - European Regulations....................................6
Symbols and Conventions ..................................................................6
Limited Warranty ..................................................................................7

If the digital dry bath is used in a manner not specied by the manufacturer, the
protection provided by the centrifuge may be impaired.

AccuBlock Digital Dry Bath | 1
1.0 Safety Precautions
Before using the AccuBlock Digital Dry Bath for the rst time, please read this entire manual carefully.
To guarantee problem free, safe operation, it is essential to observe the following points:,
1.1 Operation Safety Precautions
•
Do not use this product in an explosive environment
•
Do not use in the presence of ammable or combustible material
•
Do not heat substances that react violently when heated
•
Do not touch block when hot or when unit is heating. Use block lifter.
• Do
not spill liquids into the well area or into the unit side vent holes
• Connect unit only to a properly grounded outlet
2.0 General Specications
Warning! Do not touch area around block or block well when unit is hot. This can result
in bodily injury, including burns.
Warning! Modication of this product or use of the product in any manner not specied
by this instruction manual may cause injury and/or may void the warranty.
If the equipment is used in a manner not specied by the manufacturer, the
protection provided by the equipment may be impaired.
Temperature range Ambient +5°C to 150°C
Temperature display resolution 0.1°C 4 digit LED
Temperature uniformity ± 0.2°C (at 37°C in block)
Temperature accuracy ± 0.3°C
Temperature controller Microprocessor – user calibratable
Timer 1 to 99hours59minutes or continuous in 1 minute increments
Operating Altitude Not to exceed 2,000 meters
Control PI Microprocessor controller
I/O USB unidirectional
Dimensions (W x D x H) D1301/D1302 8.3 x 11.4 x 4.7 in./21 x29 x 12cm
D1304 8.3 x 15.3 x4.7 in./21 x 39 x 12 cm
Weight D1301/D1302 7.0 lbs./3.2 kg
D1304 9.6 lbs./4.4 kg
2.0 Electrical requirements:
D1301 115V 50/60Hz, 1 A, Fuse 1.6 AT
D1301-230V 230V 50/60Hz, 0.5 A, Fuse 1AT
D1302 115V 50/60Hz, 1.9A, Fuse 3.15AT
D1302-230V 230V 50/60Hz, 0.95 A, Fuse 1.6AT
D1304 115V 50/60Hz, 3.73 A, Fuse 5 AT
D1305 230V 50/60Hz, 1.86 A, Fuse 3.15 AT

2 | AccuBlock Digital Dry Bath
3.1 Unpacking
3.0 Getting Started
Upon unpacking the Dry Bath, inspect for damages. Shipping damage is the responsibility of the carrier.
Open the AccuBlock Dry Bath package and conrm that all items are included:
•Dry Bath unit •Block Lifter
•Data logger software •Lid
•Line cord •USB cable
If there are any items missing, damaged, or not according to your order, please contact your distributor or
sales representative immediately.
3.2 Initial Operation
Select a location that is dry and not subject to drafts or moving air from heating or air conditioning
vents, or air blown by other equipment. Place the unit on a at, preferably non-ammable surface. Allow
sufcient room around the unit for access and cooling. Six inches minimum on all sides is suggested.
Plug the unit into a properly grounded outlet. Using the lifter, insert the block(s) into the well. The unit is
now ready for use.
4.0 Controls
•On/Off rocker switch. Located on back of unit. Turns primary power on and off
•“Start/Stop” LED, red. Used to activate or stop the unit. Illuminates when unit is in heating mode, off in
temperature set mode
•“Heating” LED, red. Illuminates when unit is in heating mode and unit is actually apply heat to the block.
This LED is on continuously during heat-up and cycles and off when the unit is at set temperature.
•“Time” LED, green - Used to set or select time mode. This LED light indicates running Time Mode.
•“TEMP-UP arrow key. Raises set temperature when unit is in set mode.
•“TEMP-DOWN” arrow key. Lowers set temperature when unit is in set mode
•“Timer-UP” arrow key. Raises set time when unit is in set mode.
•“Timer-DOWN” arrow key. Lowers set-time when unit is in set mode.
•To enter continuous mode, set the time to 00:00, hold the “Timer-DOWN” arrow key while pressing the
“Start/Stop” key. Unit will display “Hold”.
4.1 Keypad Function

AccuBlock Digital Dry Bath | 3
1. Place Labnet Dry Bath Incubator on a sturdy and level surface in a safe, dry place, away from
laboratory trafc.
2. Ensure that the AC power switch is OFF, then plug the three-pronged power cord into a
grounded three-prong AC outlet of the appropriate voltage (115V or 220V as indicated on the
rating sticker near the AC cord on the back of the unit).
3. Select suitable module block(s) or appropriate water volume and put it / them into the Labnet Dry
Bath Incubator
4. Turn the AC power ON.
5. Run temperature calibration procedure when using the instrument for the rst time.
6. Press or Key to adjust to the desired temperature.
7. Press or Key to adjust to the desired timer.
8. Press the Key to start heating.
9. If to reset timer is required during heating, press Key to deactivate heating.
10. Press Key again to stop the unit.
11. If lid is to be used, aim the shaded area on the dry bath surface with the magnet of the lid and
it will be attached to the housing. In order to remove the lid, press one hand rmly on the housing
with another hand pulling the lid off. To use the lid, the tube should not be exceeding 25mm than
the heating block.
5.0 Operation

4 | AccuBlock Digital Dry Bath
1. Press and hold the START/STOP key then simultaneously power up the unit
with the ON/OFF switch.
2. You should hear a “DU-DU-DU.” sound from the dry bath and the display will
have one segment ashing on the left and will show a set temperature, and the right
will show adjt.
3. Use the UP and DOWN arrow keys to set the desired temperature at which
you want to calibrate the unit. Then press the START key.
4. Allow time (up to 10 or 20 minutes) for the unit to heat up to your set
temperature and to equilibrate at this emperature. The entire LED display will
start ashing when equilibration is reached.
5. After the entire display has started slashing, red the thermometer (or sensor
meter) and use the UP and DOWN arrow keys to adjust the display to the
thermometer or sensor reading then press the START/STOP key.
6. The unit will then begin to automatically adjust its operating temperature to
your original set point with the re-calibration factor included. Allow sufcient
time for the unit to reequilibrate and then again compare the thermometer or
sensor reading to the calibrated display. They should closely match. If not,
repeat the calibration procedure.
* Thermometers used for calibration purposes should have a written calibration certicate and be
traceable back to NIST or some other certied body. General lab thermometers are often not accurate
enough for calibration work.
6.0 Calibration
Calibration allows the unit temperature display to be adjusted or matched to the
temperature of a single sample or to a calibrated thermometer making an independent
temperature measure of the block.
The Digital Dry Baths are calibrated at the factory at 37, 60, 90, 120, 140°C using a
standard 20 x 13mm heating block. If you are using a block with a high heat loss rate
such as a block with large holes or a platform style block, you may choose to recalibrate
the unit to your specic application. Also, if you are using very loose or odd shaped
vessels, the calibration function can help you match the display temperature to your
actual sample temperature.
To calibrate the unit for a given block or sample, rst turn the unit off using the On /
OFF switch. Then place a thermometer of known accuracy* into the block thermometer
hole or a thermocouple or other sensor into your sample. Make sure there is a good
t between the thermometer and the block or good contact between any sensor and
sample or sensor and block.
To calibrate the block or sample to the display, use the following procedure:

AccuBlock Digital Dry Bath | 5
7.0 USB Interface
The Digital Dry Baths have a USB unidirectional data port. A software and cable are available which
allow a user to use a desk top or lap top computer to record and/or print a record or the temperature
prole produced by the dry bath.
8.0 Troubleshooting Guide/Service
Problem Explanation Solution
Display/LEDs do not light up 1. Check power cord & outlet
2. Check ON/OFF switch
3. Check fuse
4. Call service
Unit not heating 1. Is set point below room temperature
2. Is “START” LED illuminated
3. Press “START” key
4. Call service
Unit display overshoots 1. Normal operation. Display set point in heat-up
overshoots on initial heat-up but block and sample do
not overshoot. See Operation section of this manual
Block or Sample temp not same as display temp 1. Is unit in heating mode
2. Is unit sitting in draft
3. Check accuracy of thermometer
4. Is thermometer making good contact
5. Follow calibration procedure
8.1 Service
Should you have a question about the operation of the Digital Dry Bath or if service is required,
contact Corning at 800-492-1110. Do not send in a unit for service without rst calling to obtain
a repair authorization number. Should the unit require return to Corning for service, it should be
properly packed to avoid damage. Any damage resulting from improper packaging shall be the
responsibility of the user.
9.0 Cleaning and Maintenance
Make sure that the dry bath and block are cool and the power cord is disconnected before performing
any cleaning or maintenance. Repair or maintenance should only be performed by an authorized
service technician.
The dry bath may be cleaned with a moist cloth containing a mild soap solution. Do not immerse the
dry bath in water or any liquid.
The blocks may also be cleaned in a mild soapy solution. Be sure that all items have thoroughly dried
before attempting to connect the cord or use the unit.
Spills: In the event liquid is accidentally spilled into the bath or well area, disconnect the plug from the
outlet and turn the unit upside down to minimize liquid contact with the internal components. Remove
the bottom cover and inspect to assure liquid has not contacted heater elements, electronic controls,
or connectors. Have qualied service technician clean the unit and replace any damaged parts.

6 | AccuBlock Digital Dry Bath
Appendix A
Equipment Disposal - European Regulations
According to Directive 2012/19/EU of the European Parliament and of the Council of 4
July 2012 on waste electrical and electronic equipment (WEEE), Prism R Refrigerated
Centrifuge is marked with the crossed-out wheeled bin and must not be disposed of with
domestic waste.
Consequently, the buyer shall follow the instructions for reuse and recycling of waste electronic
and electrical equipment (WEEE) provided with the products and available at the following link:
www.corning.com/weee
Symbols and Conventions
The following chart is an illustrated glossary of the symbols that may be used in
this manual or on the product.
The electrical warning indicates the presence of a potential hazard
which could result in electrical shock.
ATTENTION: Hot Surface!
Indicates disposal instruction.
DO NOT throw this unit into a municipal trash bin when this unit has
reached the end of its lifetime. To ensure utmost protection of the
global environment and minimize pollution, please recycle this unit.
Este manual sirve para los siguientes modelos
5
Tabla de contenidos
Idiomas:
Otros manuales de Accesorios de Labnet

Labnet
Labnet 311D Manual de usuario

Labnet
Labnet 222DS Manual de usuario

Labnet
Labnet I-4001-HCS Manual de usuario

Labnet
Labnet I5110A Manual de usuario

Labnet
Labnet VorTemp 56 Manual de usuario

Labnet
Labnet I5110 Manual de usuario

Labnet
Labnet I-5222-DS Manual de usuario

Labnet
Labnet VorTemp 1550 Manual de usuario

Labnet
Labnet 211DS Manual de usuario

Labnet
Labnet VorTemp 56 Manual de usuario