Jung 1790 Series Manual de usuario


Table of Contents
1 Safety instructions.............................................................................................................3
2 Device components...........................................................................................................3
3 Intended use .....................................................................................................................4
4 Product characteristics......................................................................................................4
5 Functional description .......................................................................................................5
6 Commissioning..................................................................................................................7
7 Operation ..........................................................................................................................8
8 Activate functions ..............................................................................................................8
9 Information for electrically skilled persons ......................................................................12
10 Overview of button combinations ....................................................................................13
11 Technical data.................................................................................................................13
12 Warranty..........................................................................................................................14
2 / 14
32401513 17.08.2022
J0082401513
LB Management room thermostat display

1 Safety instructions
Electrical devices may only be mounted and connected by electrically skilled
persons.
Serious injuries, fire or property damage possible. Please read and follow manual
fully.
Danger of electric shock. Always disconnect before carrying out work on the device
or load. In so doing, take all the circuit breakers into account, which support danger-
ous voltages to the device and or load.
This manual is an integral part of the product, and must remain with the end cus-
tomer.
2 Device components
Image1: Display and operating area
(1) Target temperature, actual temperature or current time
(2) Programming menu
(3) Active mode
(4) Operating area
Icons in the display
ƘAutomatic mode is active
Ƶ
Temperature value is regulated to comfort temperature
ƶTemperature value is regulated to ECO temperature
LB Management room thermostat display
3 / 14
32401513 17.08.2022
J0082401513

ƾCooling icon lights up: cooling mode, no cooling is taking place
Cooling icon flashes: cooling mode, cooling is taking place
ƿHeating icon lights up: heating mode, no heating is taking place
Heating icon flashes: heating mode, heating is taking place
Icons of the operating area (4)
ƧStep back / display current time
ƨConfirm input / display current time
ƘSwitch between manual operation and automatic operation
+ / – Increase or reduce the displayed temperatures or times / navigation in
menu
ƣCall up and terminate the programming menu
3 Intended use
– Manual and time-controlled regulation of the room temperature
– Operation with Room thermostat insert or system insert for switching
4 Product characteristics
– Timer with three memory areas
Comfort and ECO time for Mo-Fr and Sa-Su in each memory area
– Setting a comfort, ECO, cooling and frost protection temperature
– Current time can be saved as switching time, quick programming
– Automatic summer time changeover, can be switched off
– Illuminated segment display for easy reading
– Operating lock
– Optimised heating up (temperature is reached at the set time), can be
switched off
– Adaptation to valves (deenergised open or deenergised closed)
– Cooling mode possible
– Supports internal and external temperature sensor
– Temperature drop detection (call-up of frost protection temperature when win-
dow is opened)
– Offset adjustment (correction value for measured temperature)
– Controller output working method: pulse width modulation (PWM) or two-point
– Valve protection function (once a week opening and closing of valve, on Sat-
urdays at 11 a.m.)
– Interrupts the heating process after 60 minutes for 5 minutes
– Display switch-off after 2 minutes or permanent indication available
LB Management room thermostat display
4 / 14
32401513 17.08.2022
J0082401513

5 Functional description
Heating and cooling operating mode
Modern heat pump systems often also provide the option of cooling rooms. This func-
tion is supported by the cover by means of the "Heating and cooling" operating mode.
In this operating mode, the system permanently regulates the temperature to the set
cooling temperature. There are no time programs in cooling mode. The cooling tem-
perature can only be changed via the temperature parameters, and not using the +/-
buttons.
In conjunction with a Room thermostat insert, cooling mode is activated by applying
mains voltage to input terminal "C". With switch inserts, cooling mode is activated by
applying mains power to extension input "1". In general, the heat pump features a
corresponding output or a switch can be used.
Frost protection / temperature drop detection Ʒ
The frost protection temperature is the minimum temperature to which the system is
regulated in order to avoid frost damage. In case of a significant temperature drop,
e.g. after opening a window, the system is regulated to the frost protection temperat-
ure for a maximum of 30 minutes. For this, the temperature drop detection parameter
Ʒ must be activated.
Optimised heating up ƹ
Heating is started at most 4 hours before the switching time, so that the desired tem-
perature has been reached at the switching time rather than starting to heat up at
that time. The display icon ƹ flashes during the heat-up phase.
Note: Optimised heating up is designed for panel heating/radiators.
Offset Ƴ
If the system detects that the displayed actual temperature differs from the general
room temperature, this parameter can be used to enter a correction value in 0.5 °C
increments. The actual temperature will then be corrected by this offset value.
Controller adaptation Ƽ
The control principle should be adjusted depending on the heating system and the in-
sert used.
Two-point control: The output remains switched on until the selected target temperat-
ure has been exceeded by 0.5 °C. The output will not be switched on again until the
setpoint value is undercut by 0.5 °C. Since most heating systems respond very
slowly, this type of control can entail temperature overshooting.
Pulse width modulation control (Ƽ): Optimised for electrothermal valve drives,
e.g. TVA 230 NC WW: The output is not permanently actuated, but only for a time
period (pulse width) dependent on the difference between the target temperature and
the actual temperature. This method brings the actual temperature gradually closer to
the target temperature. The cycle time is 15 minutes.
LB Management room thermostat display
5 / 14
32401513 17.08.2022
J0082401513
Valve adaptation Ƹ
This parameter is used to adapt to the electrothermal valve drives. There are drives
that are either open (deenergised open, setting NO) or closed (deenergised closed,
setting NC) when no supply voltage is applied.
Temperature sensor ƻƺ
The LB Management room thermostat display features a built-in temperature sensor,
which is used to detect the room temperature.
In conjunction with a Room thermostat insert, a remote sensor can be connected,
either to measure the room temperature or to limit the maximum floor temperature.
The following settings are possible.
ƻ: The room temperature is measured using the internal temperature sensor.
ƺ: The room temperature is measured using the remote sensor. The internal temper-
ature sensor is deactivated.
ƻ and ƺ: The room temperature is measured using the internal temperature sensor
and the floor temperature via the remote sensor for monitoring the floor temperature.
If the maximum floor temperature is exceeded, the floor heating is switched off until
the floor temperature has fallen below the maximum value again. This way, an un-
pleasantly hot floor is avoided.
Behaviour after a mains voltage failure
Voltage failure less than power reserve
– All data and settings are preserved
Voltage failure greater than power reserve
– Date and time are reset and need to be set again
– Temperature control is performed like before the power failure
– All times set in the weekly timer are retained
– All settings are retained
Default setting
Times for comfort temperature Ƶ and ECO temperature ƶ
Mo - Fr Sa - Su
Ƶ ƶ Ƶ ƶ
ƙ06:00 08:30 07:00 22:00
Ʀ12:00 14:00 --:-- --:--
Ʊ17:00 22:00 --:-- --:--
– Automatic mode is active
– Controller output depending on insert: Room thermostat insert = pulse width
modulation, switch insert = two-point control
– Internal temperature sensor for room temperature measurement is active
– Display switch-off after 2 minutes of inactivity (no button actuation) is active
LB Management room thermostat display
6 / 14
32401513 17.08.2022
J0082401513

6 Commissioning
Setting date, time and other parameters
When the year is flashing on the display, you must set or confirm the data listed in
the table.
– Briefly press the – or + button to change values or toggle between YES / No.
– A long press of the – or + button accelerates value changes.
– Press the Ƨ button to go back in the menu.
– Press the ƨ button to apply the setting and call the next value. After editing
the last parameter, all values will be saved and automatic mode will be in-
voked.
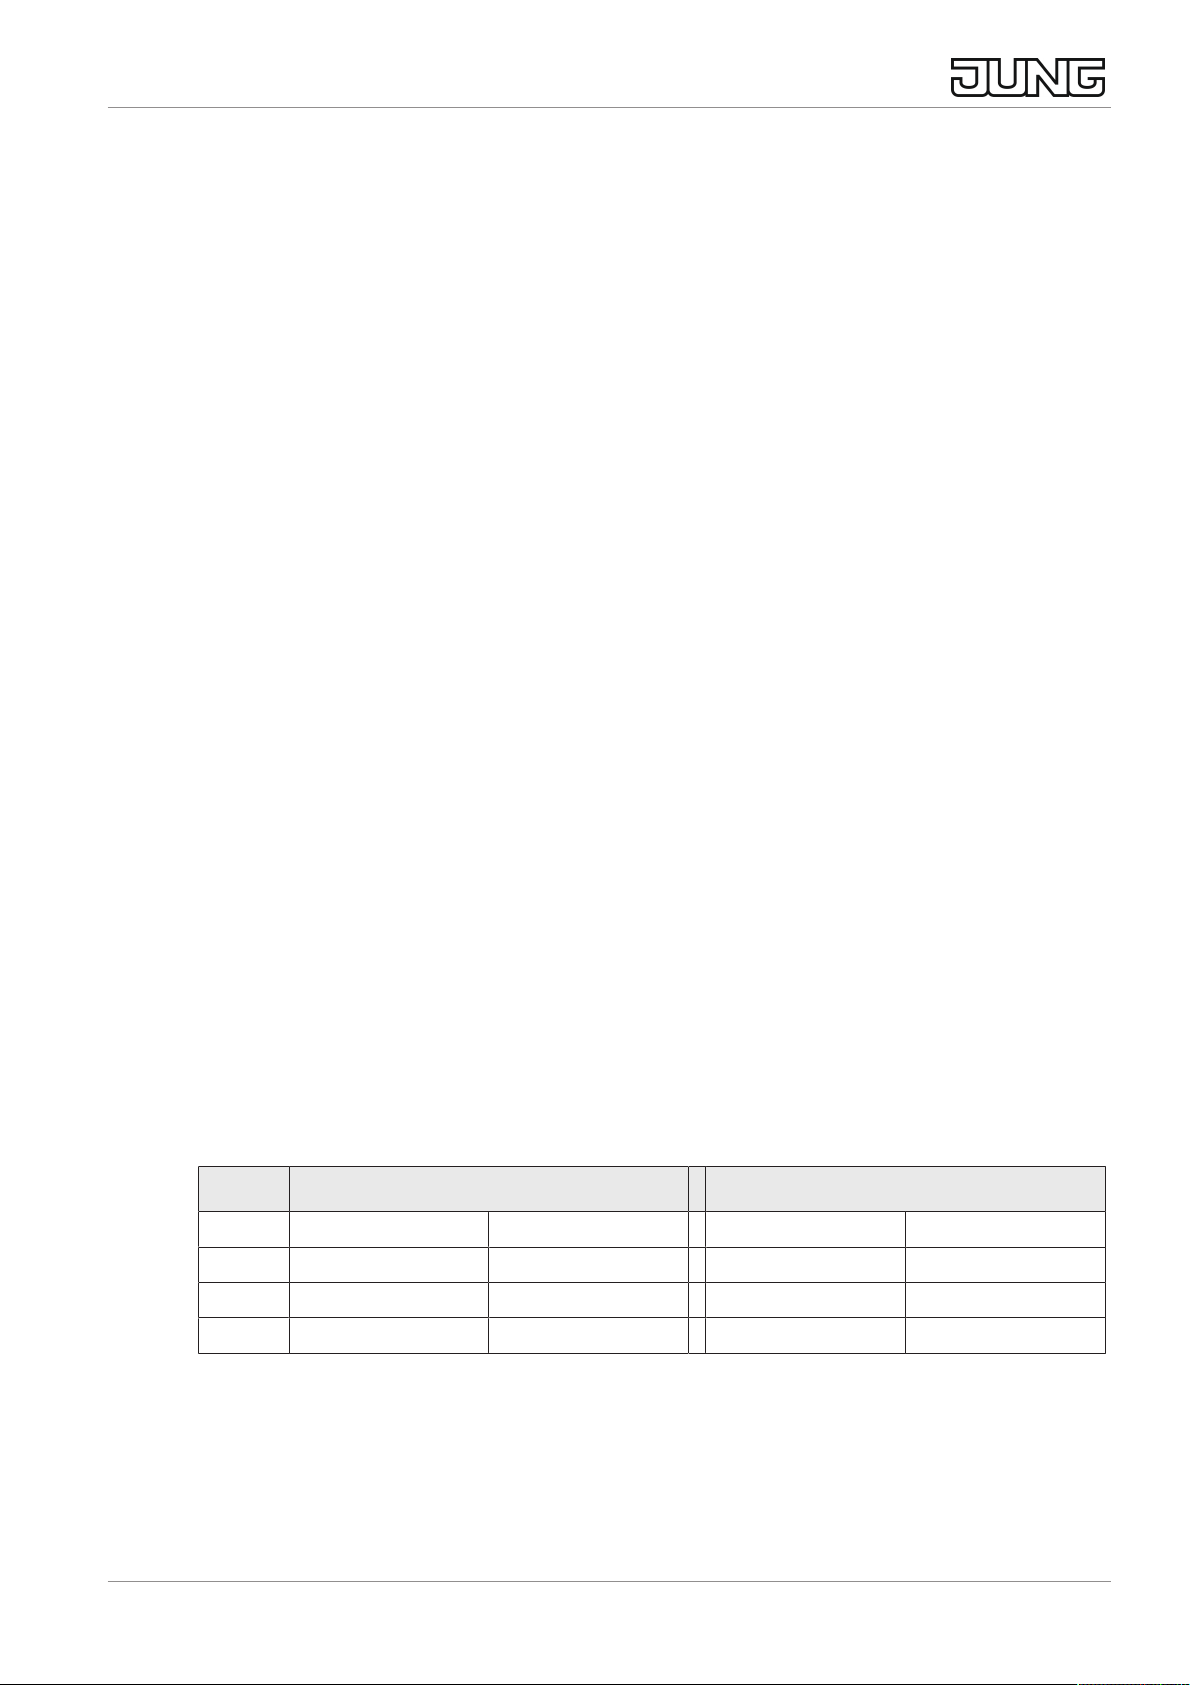
Parameters Display icon Setting option/
Default setting
Year ƛƜ 2019 or later
Month ƛƜ 01 ... 12
Day ƛƜ 01 ... 31
Hour ƛƜ 00 ... 12 ... 23
Minute ƛƜ 00 ... 59
Automatic summer time
changeover
ƛƜ Ơ YES / No
Controller output 1) ƛƜ Ƽ YES / No
Valve adaptation 2) ƛƜ Ƹ NO / NC
Optimised heating up Ʋ ƹ YES / No
Temperature drop detection Ʋ Ʒ YES / No
Temp. unit Ʋ°C / °F
Comfort temp. Ʋ
Ƶ
5 ... 21.0 ... 30 °C
ECO temp. Ʋ ƶ 5 ... 18.0 ... 30 °C
Frost protection Ʋ ƽ 5 ... 7.0 ... 30 °C
Heating / cooling Ʋ ƾ YES / No
Cooling temp. 3) Ʋ ƾ5 ... 24.0 ... 30 °C
Temperature sensor Ʋ ƻ ƻ,ƺ or both
Max. floor temp. 4) Ʋ MAX 10 ... 35.0 ... 45 °C
Offset Ʋ Ƴ -5 ... 0.0 ... +5 °C
1) Pulse width modulation (PWM) = YES, two-point control = No
2) NC: Valve is closed when deenergised.
NO: Valve is open when deenergised.
3) This parameter only appears if the device is set to "Heating and cooling".
4) This parameter only appears if ƻ and ƺ have been set for the temperature
sensor.
LB Management room thermostat display
7 / 14
32401513 17.08.2022
J0082401513

7 Operation
Increasing or reducing the room temperature
■ Press the – or + button for less than 1 second.
With every brief press of a button the target temperature changes by 0.5 °C.
The set value is retained in manual mode; in automatic mode it is retained until
the next switching time is reached.
In cooling mode the – or + buttons cannot be used to change the target tem-
perature.
If the display is switched off or has been set to indicate the actual temperature
or time, the – or + button will have to be pressed a second time or even more
before a change in the setpoint value takes place.
■ Press the – or + button for more than 1 second.
In heating mode, the saved target temperature is retrieved:
– = ECO temperature
+ = Comfort temperature
During a detected temperature drop, changing the target temperature is not
possible.
8 Activate functions
Automatic operation/manual operation
Pressing the Ƙ button toggles between automatic mode and manual mode.
If all timer blocks are deactivated, the cover will automatically switch to manual
mode. Automatic mode cannot be activated.
Image2: Target temperature indication in automatic mode
The target temperature and the Ƙ icon are shown in the display. Active heating is
indicated by the flashing heating icon ƿ. If heating is not active, the ƿ icon lights up
permanently. The Ƶ icon indicates that the system is being regulated to the
saved comfort temperature.
Image3: Target temperature indication in manual mode
LB Management room thermostat display
8 / 14
32401513 17.08.2022
J0082401513
In manual mode, the ƴ icon is displayed.
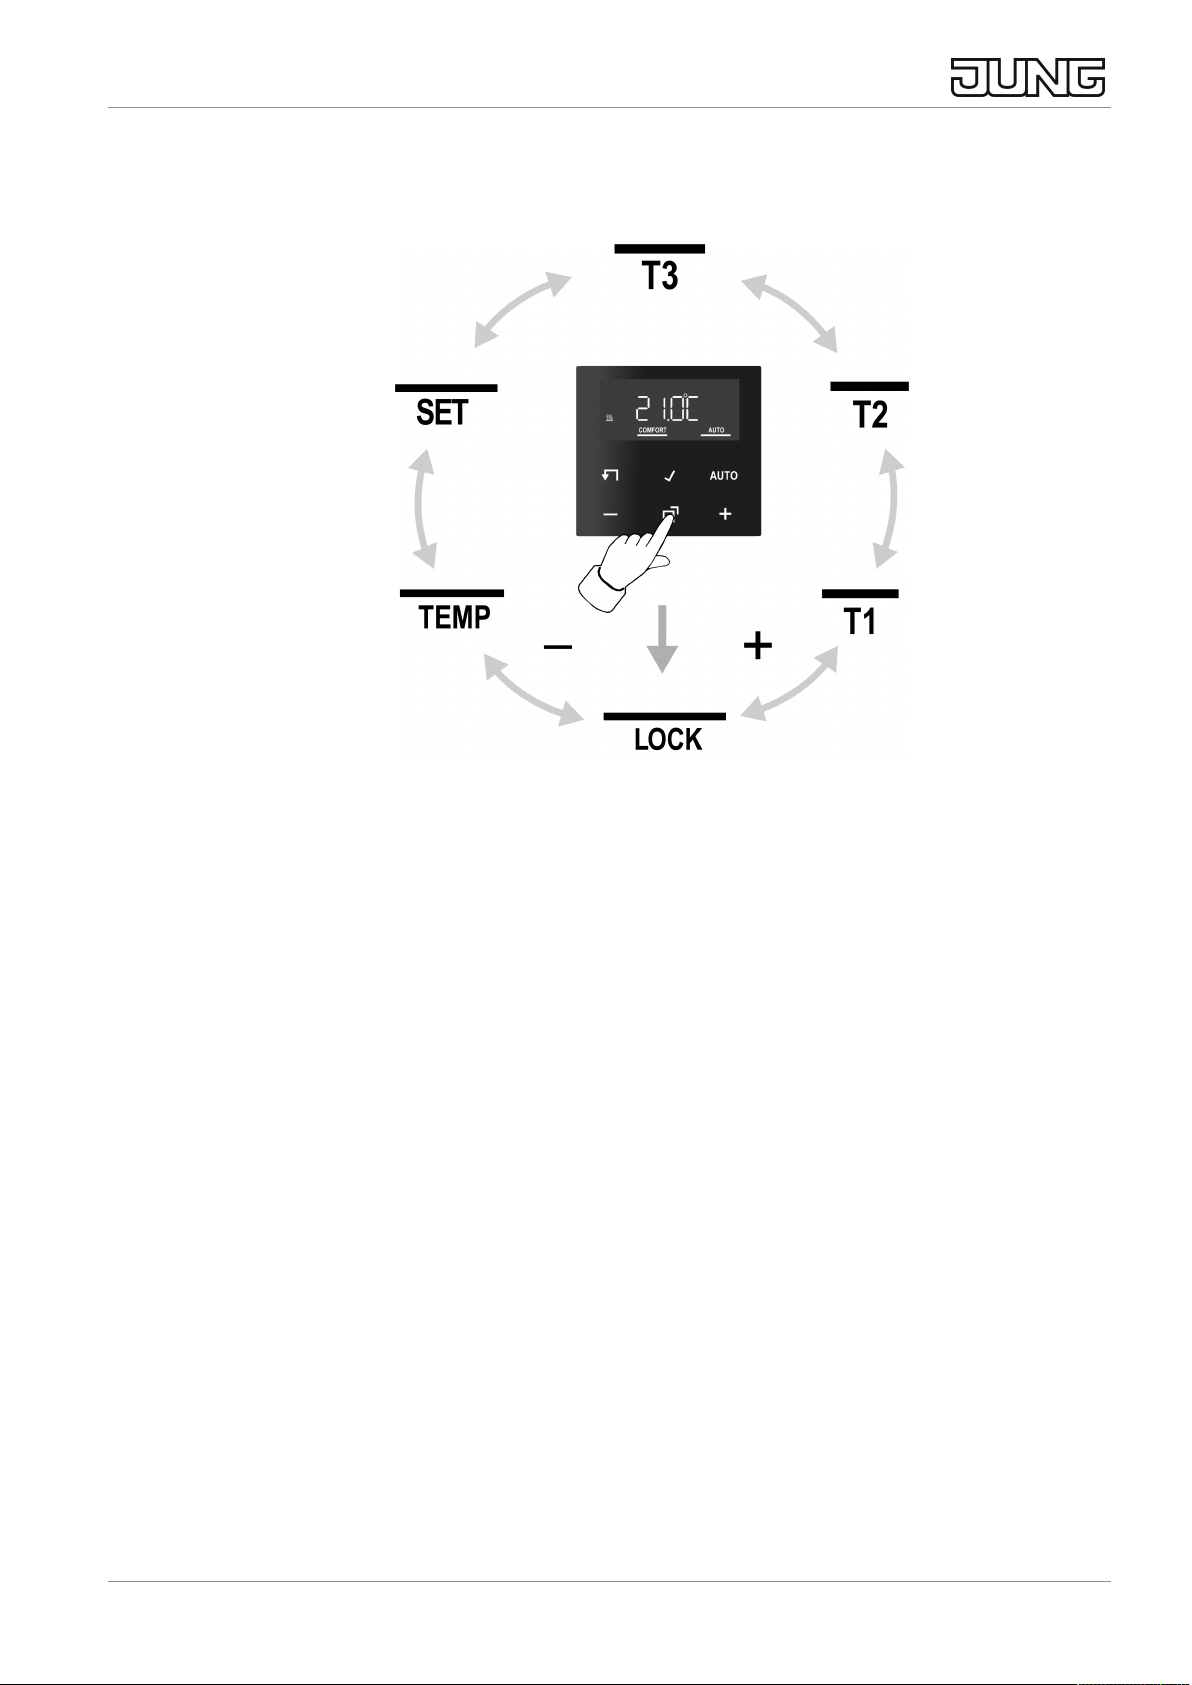
Programming menu overview
Image4: Programming menu
Press the ƣ button to call up or exit the programming menu.
Navigate through the menu with the – or + button and confirm the selection with the
ƨ button.
ƗActivating/deactivating the operating lock
ƙ Ʀ
Ʊ
Three memory areas for comfort and ECO temperature for the two week-
day blocks Mo - Fr and Sa - Su
ƛƜ Setting date, time and automatic summer time changeover
ƲSetting the comfort temperature, ECO temperature and cooling temperat-
ure,
activating optimised heating up, temperature drop detection and setting an
offset value
Activating/deactivating the operating lock
An activated operating lock prevents users from directly operating the system on the
cover.
■ Press the ƣ button.
Ɨ flashes in the display.
■ Press the ƨ button.
No flashes in the display.
■ Change settings with the - or + button on YES and confirm with the ƨ button.
LB Management room thermostat display
9 / 14
32401513 17.08.2022
J0082401513

The operating lock is active and the Ɨ icon appears in addition to the nor-
mal indication.
Deactivate: Press and hold the – and Ƙ buttons simultaneously for more
than one second.
The operating lock can be activated via the same button combination that is
used for deactivating the lock.
Setting switching times
■ Press the ƣ button.
■ Select memory area ƙ, Ʀ or Ʊ.
■ Confirm with the ƨ button.
YES or No flashes in the display.
No is used to deactivate all times in the selected memory area.
The switching times of the memory areas (ƙ, Ʀ, Ʊ) must not overlap or be
set to the same time. Temperature control can then not be carried out reliably.
The available memory areas are described in the table in the Default setting
section.
■ Change selection with the – or + button and confirm with the ƨ button.
The first switching time for the comfort temperature appears in the display.
The flashing switching time can be changed with the – or + button and saved with the
ƨ button. The times for comfort temperature and ECO temperature can be saved,
one after the other, for the weekday blocks Mo-Fr and Sa-Su.
The menu is exited upon saving the last time setting.
Set the clock - -:- - to deactivate individual switching times.
After one minute without any operation the menu is exited automatically
without saving.
Set date and time
■ Press the ƣ button.
■ Select ƛƜ.
■ Confirm with the ƨ button.
The year flashes in the display.
■ Date, time and automatic summer time changeover can be edited as de-
scribed in the Commissioning section.
Changing temperature parameters
■ Press the ƣ button.
LB Management room thermostat display
10 / 14
32401513 17.08.2022
J0082401513
Tabla de contenidos
Otros manuales de Monitor de Jung


