
Jimwey WF1036T Manual de usuario
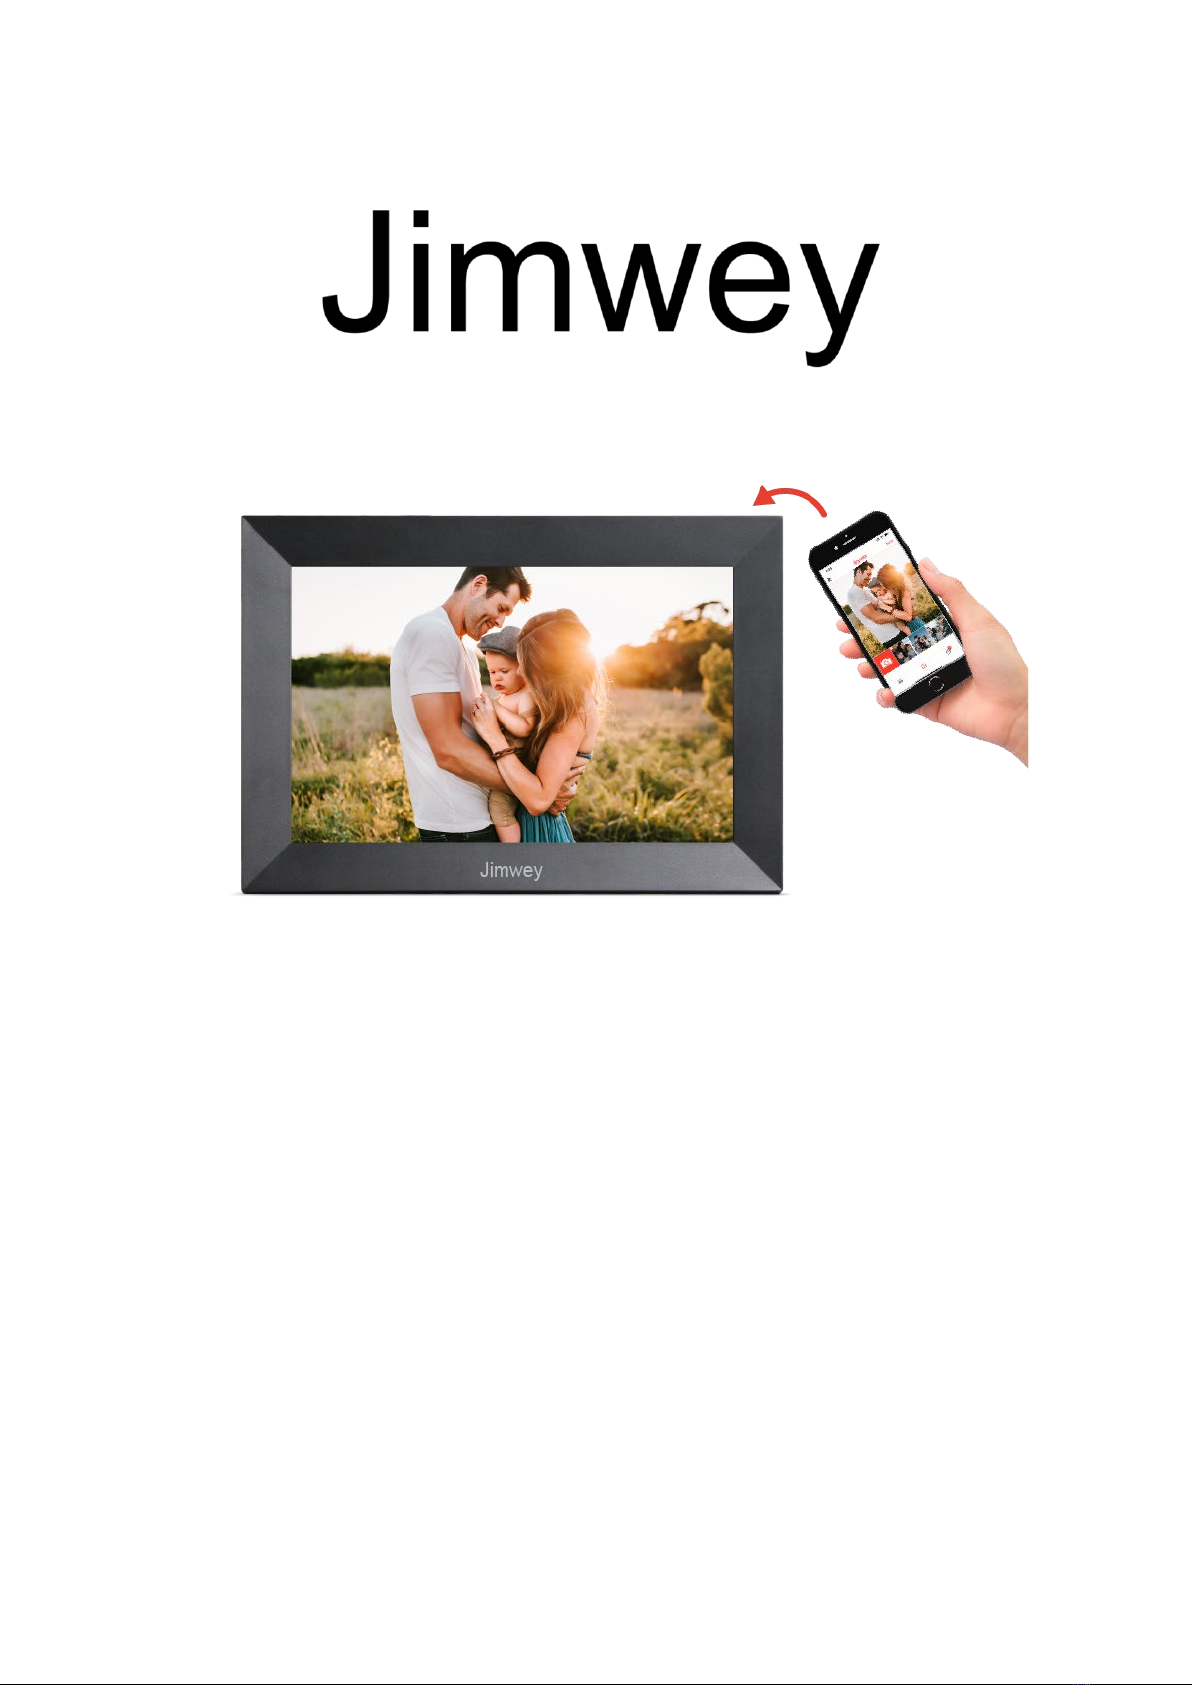
Wi-Fi Photo Frame
User Manual
English: P1-P13
German: P14-P26
Model:WF1036T

1
Preliminary notes
These instructions are for reference only. The interface may change due to software
occasional updates. If you need an updated version manual, you can contact our
customer service or download it from our official website. You can also watch the
operation video on our website. The following is the QR code and contact
information of our official website. We are always at your service.
www.jimwey.net www.facebook.com/jimwey.jimwey
Email for customer service:customerservice@jimwey.net
Contact directly via Facebook:m.me/Jimwey.net

2
Getting started
Congratulations with your brand new digital photo frame!
If you are new to using photo frame then start by following the Frameo quick setup
or follow the on-screen guide when powering it on for the first time.
Once you have set up your photo frame, you can start connecting it to your friends
and family.
Frameo app
To send photos to your frame, use the Frameo app for iOS or Android.
Find the Frameo app by scanning this code:
For Android: Search for “Frameo”on Google Play.
For iOS: Search for “Frameo”on App Store.
Frameo quick setup
When starting your frame for the first time, you will need to setup the frame.
●Select a language. This will be the language used on the photo frame.
●Connect your frame to the internet by connecting it to a Wi-Fi.
●Photo frame may ask you to update to the latest version. It is recommended
to update your frame before continuing if asked to.
●Enter your name and the location where you have placed your frame e.g.
“John”, “Kitchen” or “Office”. Finally set the timezone if not already correct.

3
Start using photo frame
Next step is to connect Frameo with your friends and family by providing them with
a code from your frame.
If you want to be able to send photos to the frame yourself, start by downloading
the app for iOS or Android on App Store or Google Play. Then use the code to
connect your frame and app as described below.
Connecting a new friend
Make sure that your friend has downloaded and installed the Frameo app.
Click the add friend icon on your frame . A dialog will appear showing a
connection code, which is valid for 12 hours.
Now share this code in whatever fashion you prefer e.g. SMS, E-Mail, IM, phone call,
to your friend.
Once your friends have added the code in their Frameo app, they will automatically
appear on your frame and be able to send you photos.
Read chapter Change options for a friend to allow connected friends, to retrieve and
share the connection code via the smartphone app.
Navigating your photo frame
Swipe left or right to go through your photos.
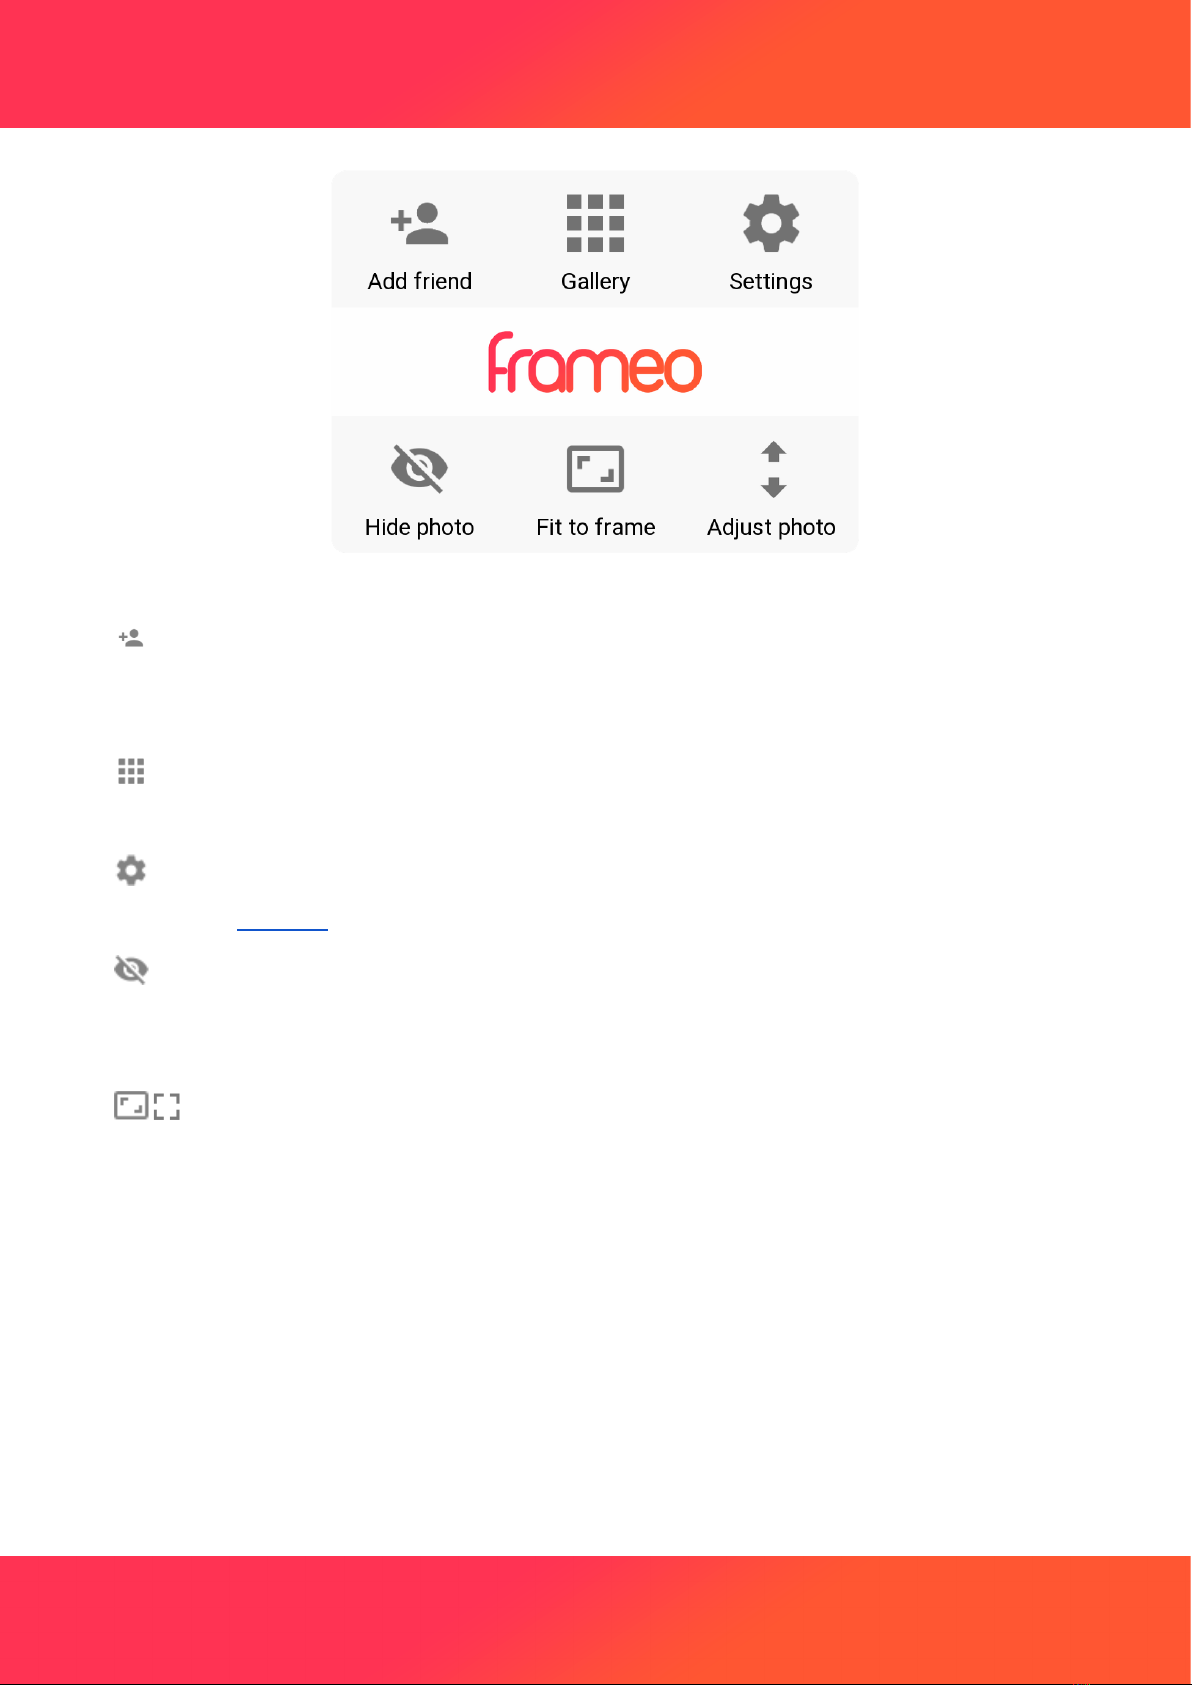
To access the menu, simply tap once on the screen.
4
In the menu you will find the most used features.
Add friend
This will generate a code that you can share with your friends and family so they can
connect and send photos to your frame.
Gallery
Opens a gallery which allows for easy and fast navigation through your photos.
Settings
Opens the Settings.
Hide photo
Hides the current photo. This means that the photo will no longer be shown in the
slideshow. If needed the photo can be shown again through the settings menu.
Fit to frame/Fill frame
This toggles how the photo is shown.
The Fill frame option is the default. The photo is scaled so that it fills the whole
screen. It will be centered around what is selected as the most important part. See
the first picture below.
Fit to frame will make sure that the entire photo is shown on the screen. See the
second picture below.

5
Adjust photo
The adjust photo feature is only available when the photo is set to fill frame. It
allows you to adjust the position of photo in the frame for an even better fit.
Interacting with videos
When a video is shown two additional controls are shown. One for play/pause of the
video and one for mute/unmute of the video.
Press to start the video playback. Pressing will pause the video playback.
Pressing will mute the video while pressing will unmute the video.
If you need to adjust the video volume, you need to adjust through the following
settings: Settings -- Slideshow-- Video volume.
Power menu
Click on the screen, the power icon will appear in the top right corner of the
screen, tap it to access the power menu. Here you can power off using , restart
your frame using or enter sleep mode using .
NB. Make sure to use the power off button on the device or in the power menu to
turn photo frame off. Never disconnect power when photo frame is running.

6
Settings
Through the settings, you can personalize your frame to your needs.
My frame
Frame name
Changes the name of your frame. This is also the name that connected friends and
family will see in their list of connected frames in the smartphone app.
Frame location
Changes the location of your frame. This is the location displayed on your friends'
and family's list of connected frames which can help to distinguish frames from each
other.
Set language
Sets the language used on the frame.
Set time zone
Sets the time zone used on the frame.
Use 24-hour format
Enables /disables 24-hour time format.
Manage photos
In the manage photos menu you can see how many photos are on your frame and
the storage they use. You can also see the amount of storage left available on your
device for storing new photos.
Show/hide photos
Select which photos to hide by tapping them. Hidden photos will NOT be deleted
from your frame and you can always select them to be shown again. Use to hide
or show all photos.
Delete photos
Select photos that you want to permanently delete from your frame by tapping the
photo.
Use to select or deselect all and to permanently delete the selected photos.

7
Import photos
Allows you to import photos from a micro SD card.
Before you try to import photos, make sure you have a micro SD card inserted into
your frame with the photos you wish to import.
Start by selecting the photos that you want to import onto your frame. Once
selected tap the import button to start the import process.
Use to select or deselect all photos on the micro SD card.
Use to set the sort order of photos before import and to order by
ascending/descending.
It is currently not possible to add a caption or define the most important part of the
photo when using the import function. An alternative for this is to add yourself to
your friend list and send the photos using the app.
Export photos
Allows you to export photos from the frame to micro SD card.
The export function will export all photos on the frame as well as profile pictures.
My Friends
This list contains all the connected friends that are allowed to send photos to your
frame.
Change options for a friend
Click the options icon to open the friend options menu. From here you can allow
/ disallow if a friend may share the code to the frame. If this is enabled the friend
can retrieve and share the code to the frame from his/her app.
From the options menu you can also delete a friend, by pressing the DELETE FRIEND
button. This will remove the friend from the list and thereby remove their
permission to send photos to the frame. You will then be asked to confirm the
removal and if you would like to remove all photos previously received from this
friend.

8
Add person
To allow a new person to send you photos, simply tap the add friend button and
share the presented code in whatever way you prefer.
Display
Brightness level
Adjust the brightness level of the screen.
Sleep mode
Photo frame offers a sleep mode which turns off the screen to reduce power
consumption. The default setting is to turn off the screen at 23:00 and turn on the
screen again at 07:00. To change this just set the sleep mode start/end time.
Your frame is not powered down or in standby, so you will still be able to receive
photos during sleep mode.
Slideshow
Timer
Set the duration that a photo should be displayed before showing the next photo.
Show caption
Sets whether or not to display the captions that your friends have sent with the
photo. Check to display captions. Uncheck to hide captions.
Fill frame
Sets the default frame photo setting. Check to set default to fill which makes the
photos fit the device screen according the most important part of the photo.
Uncheck to make the photo fit inside the screen of the device, adding blurred bars
on the sides or top/bottom
Photo display order
Sets the order in which your photos are displayed on the frame.
●By date: Photos are shown newest to latest.
●Shuffle: Photos are shuffled and shown in a random order.

9
Video settings
Autoplay
Enables/disables autoplay of videos in the slideshow. Videos can always be manually
started regardless of this setting.
Video playback
Determines how videos should be played when autoplay is enabled.
●Loop videos (Loop single video): The video will loop until the slideshow timer
is up. When the timer is up, the current video will also be completely played,
and then automatically switch to the next picture / video.
●Play once: The video will play once and show it’s thumbnail until the timer is
up. After playing the entire video, it will automatically pause or switch to the
next picture / video.
●Play once and continue: The video will play once and continue to the next
photo, or video, once it completes.
Playback audio
Sets the default audio playback behaviour of videos in the slideshow to ON or OFF.
Audio can always be manually enabled/disabled regardless of this setting.
Video volume
Adjust the volume level for video sounds on the frames.
Wi-Fi
Please click Setting icon on the main menu and then go into the setting menu, find
the Wi-Fi option. Find out the Wi-Fi Name you want to connect and input the
password. Click OK and all finish.
Wi-Fi details
Use to show details about the current connected Wi-Fi.
Tabla de contenidos
Idiomas:


