JCM GEN5 Series Manual de usuario

A JCM Product
Quick Reference Guide
© 2017 JCM Global Corporation
Part No. 960-000194R_Rev. A
GEN5™Printer
For more information about product set up, use, testing procedures
and troubleshooting methods, please contact the Technical Support
Division of Customer Service via the email addresses listed below:
Americas
Europe, Middle East, Africa, Russia & UK
Asia & Oceania
NOTE: Due to advancements in industry technologies
and future product development, the information in
this guide is subject to change without notice.
GEN5_FlipBookRevA_v15.fm Page 1 Friday, June 30, 2017 9:20 AM

GEN5™ Printer
© 2017 JCM Global Corporation 2Part No. 960-000194R_Rev. A
QUICK REFERENCE
TROUBLESHOOTING GUIDE
Introduction
This Quick Reference Guide is designed for use with the GEN5™
line of Printers (Figure 1).
This Guide covers the set-up and use of the following Printer:
PSA-66-ST5.
Figure 1 Typical GEN5 Printer
GEN5_FlipBookRevA_v15.fm Page 2 Friday, June 30, 2017 9:20 AM

© 2017 JCM Global Corporation 3Part No. 960-000194R_Rev. A
GEN5™ Printer
Operator Indicators (LED) And Controls
The GEN5 Printer features a Keypad with LED Status Indicators and
a FEED Button (Figure 2). Printer Status indicators include a Front
Bezel Light and the four (4) Keypad LEDs. Refer to Table 1 below
for GEN5 Keypad LED Status Codes.
Bezel LED
Connector
Figure 2 GEN5 Printer Keypad, LEDs and FEED Button
Table 1 GEN5 Keypad LED Status Codes
Condition Ready Paper Open Fault
Powered OFF
Ready Blinking
Flushed
Paper Out
Head Up or Ticket
Module Open
Temperature Error
Voltage Error
Print Head Error
Missing Index Marker
Paper Jammed Blinking
GEN5_FlipBookRevA_v15.fm Page 3 Friday, June 30, 2017 9:20 AM

GEN5™ Printer
© 2017 JCM Global Corporation 4Part No. 960-000194R_Rev. A
B
EZEL
O
PERATION
Table 2 identifies the Front Bezel Display indications, which allow
you to determine the Printer Status from a distance.
D
ISABLING
/E
NABLING
THE
P
APER
L
OW
S
ENSOR
To disable or enable the Paper Low Sensor:
1. Create a Paper Out condition.
2. Create a Paper In Chute condition.
3. Press and hold the FEED button for three (3) seconds.
When the Paper Low Sensor is enabled, the GREEN READY
LED flashes three (3) times. When the Paper Low Sensor is
disabled, the RED FAULT LED flashes three (3) times.
GEN5 DIP S
WITCH
S
ETTINGS
The GEN5 Printer has a bank of DIP Switches. The functionality of
the DIP Switch settings is determined by the Firmware loaded into
the GEN5 Printer.
Table 2 GEN5 Bezel Display Status Indicators
Bezel Display Status
Solid On Printer Idle and Ready
Slow Blink Paper Low or Printer Error
Fast Blink Ticket Printing/Ticket In Chute
OFF Printer Power Off
NOTE: For current DIP Switch settings, refer to the
Software Information Sheet for the Firmware version
installed in the GEN5 Printer.
GEN5_FlipBookRevA_v15.fm Page 4 Friday, June 30, 2017 9:20 AM

© 2017 JCM Global Corporation 5Part No. 960-000194R_Rev. A
GEN5™ Printer
Self-Test Procedure
The Self-Test Procedure is used to print a “Configuration Ticket” and
verify that the GEN5 Print function operates normally. The Configu-
ration Ticket can be used to check print quality. To print a Configura-
tion Ticket (Figure 3), press the FEED button twice.
Model Number
System
Communications
Setup
Print Control
Parameters
Amount of
Memory
Resident Ticket
Template Package
Version
Firmware Version
Templates, print
regionsandfonts
available in the
printer by TCL
page mode
Figure 3 GEN5 Printer Configuration Ticket
GEN5_FlipBookRevA_v15.fm Page 5 Friday, June 30, 2017 9:20 AM

GEN5™ Printer
© 2017 JCM Global Corporation 6Part No. 960-000194R_Rev. A
PRINTER SENSOR FUNCTIONS
There are five (5) primary Sensor functions on the GEN5 Printer.
Bezel light and Keypad LEDs may indicate a Sensor-related error
condition (refer to Table 3).
Table 3 GEN5 Printer Sensor Status
Sensor Location/Description
Paper Out Located in the Print Head, Paper Out indicates that paper is
not loaded in the GEN5 Printer.
Paper Low Located in the Paper Tray, Paper Low indicates that less
than two (2) Tickets are detected in the GEN5 Printer.
Paper Taken Located in the Presenter Chute, PaperTaken indicates that a
Ticket remains in the Presenter Chute.
Drawer Open Located on the CPU Board, Drawer Open indicates that the
Printer is not seated properly in the Host Machine.
Printer Lid Open Located in the Print Head, Printer Open indicates that the
Printer Lid is open.
GEN5_FlipBookRevA_v15.fm Page 6 Friday, June 30, 2017 9:20 AM

© 2017 JCM Global Corporation 7Part No. 960-000194R_Rev. A
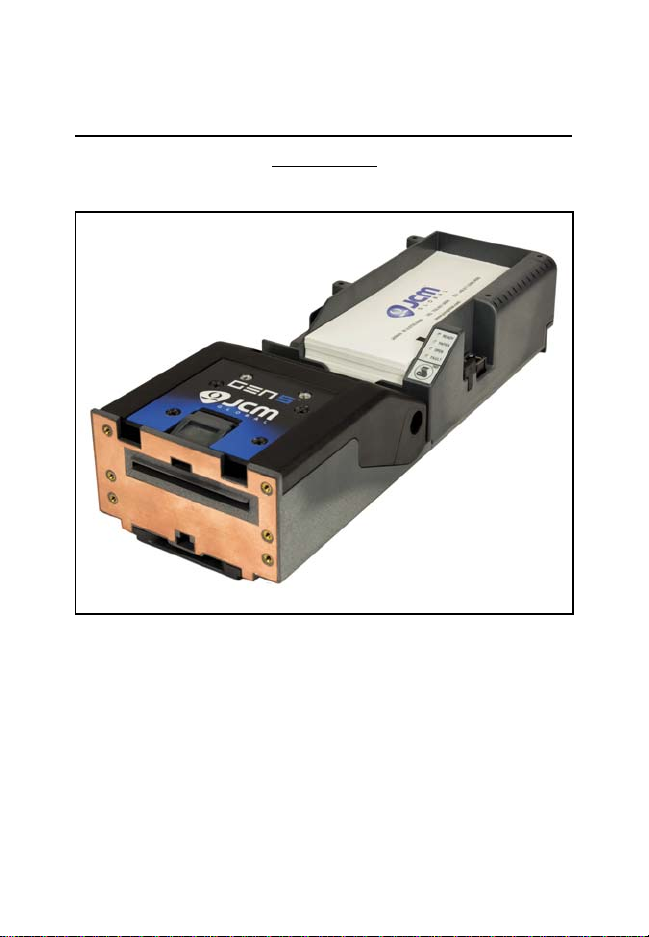
GEN5™ Printer
P
RINTER
E
RRORS
Most Printer Errors occur due to paper running out or user interven-
tion. See Table 4 below for Error Descriptions and recommended
solutions. Refer to Figure 2 and Table 1 (Page 3) for Error Indicators.
Table 4 GEN5 Printer Errors
Error Description Remedy
Paper Out Paper is not detected. Load new paper stack.
Lid Open The Printer Lid is open. Close the Printer Lid.
Temperature Operating Temperature exceeds
limits. Determine cause of high
temperature, let unit cool down.
Voltage Power Supply voltage exceeds
acceptable range. Check cabling, apply correct
power level.
Print Head Error due to connectivity or
interface issue with Print Head. Power cycle and reset printer. If
error recurs, service the printer.
Missing
Black Index The Black Index Mark is not
detected. Ensure paper meets
specifications and is loaded
correctly.
Paper Jam Error in Paper path as Ticket is
presented. Open Printer Head, inspect for
jammed Ticket.
GEN5_FlipBookRevA_v15.fm Page 7 Friday, June 30, 2017 9:20 AM

GEN5™ Printer
© 2017 JCM Global Corporation 8Part No. 960-000194R_Rev. A
UPDATING FIRMWARE ON THE PRINTER
To update Firmware on the GEN5 Printer using a PC:
1. From your PC Desktop, launch the JCM Device Firmware
Upgrade Downloader (JCM DFU) (Figure 4).
2. Make sure the GEN5 Printer is powered ON.
3. Connect a USB cable from the PC to the Printer’s USB port
(right side).
Figure 4 JCM Device Firmware Upgrade
Downloader UI Window/Closeup
NOTE: A USB Hub is recommended. Connect the
USB Hub between the PC and the GEN5 Printer.
GEN5_FlipBookRevA_v15.fm Page 8 Friday, June 30, 2017 9:20 AM

© 2017 JCM Global Corporation 9Part No. 960-000194R_Rev. A
GEN5™ Printer
4. To verify communication between the GEN5 Printer and the
Device Firmware Upgrade Application, look for the Printer
Detected indicator (Figure 5 a) in the window.
5. Click the Select FIRMWARE button to select the desired
Firmware Upgrade file to be downloaded (Figure 6 a).
a
Figure 5 “Printer Detected” Indicator
a
Figure 6 Click Select Firmware
GEN5_FlipBookRevA_v15.fm Page 9 Friday, June 30, 2017 9:20 AM

GEN5™ Printer
© 2017 JCM Global Corporation 10 Part No. 960-000194R_Rev. A
6. From the Firmware Upgrade window (Figure 7), click on the
desired Firmware update file (Figure 7 a) to be downloaded
to the Printer. Then click the Open button (Figure 7 b) to con-
tinue.
a
b
Figure 7 Select the Firmware File to Download
GEN5_FlipBookRevA_v15.fm Page 10 Friday, June 30, 2017 9:20 AM
Otros manuales para GEN5 Series
2
Tabla de contenidos
Otros manuales de Impresora de JCM


