Innovage jumbo Manual de usuario

Jumbo Remote Upgrade Installation Instructions
Before you attempt to disassemble your Jumbo remote
Control, please be aware that the upgrade is specific
to the Innovage Jumbo Remote, shown in Fig.5 below. If
your board is different, there is no guarantee that the
board and software will work.
You should have the proper tools in order to do the
installation. These include:
1.Plastic Prytool for tablets or mobile phones
sometimes referred to a spudger.
Fig.1 Plastic Prytool
This tool will allow you to open the remote without
damaging the tabs and marking the shell.
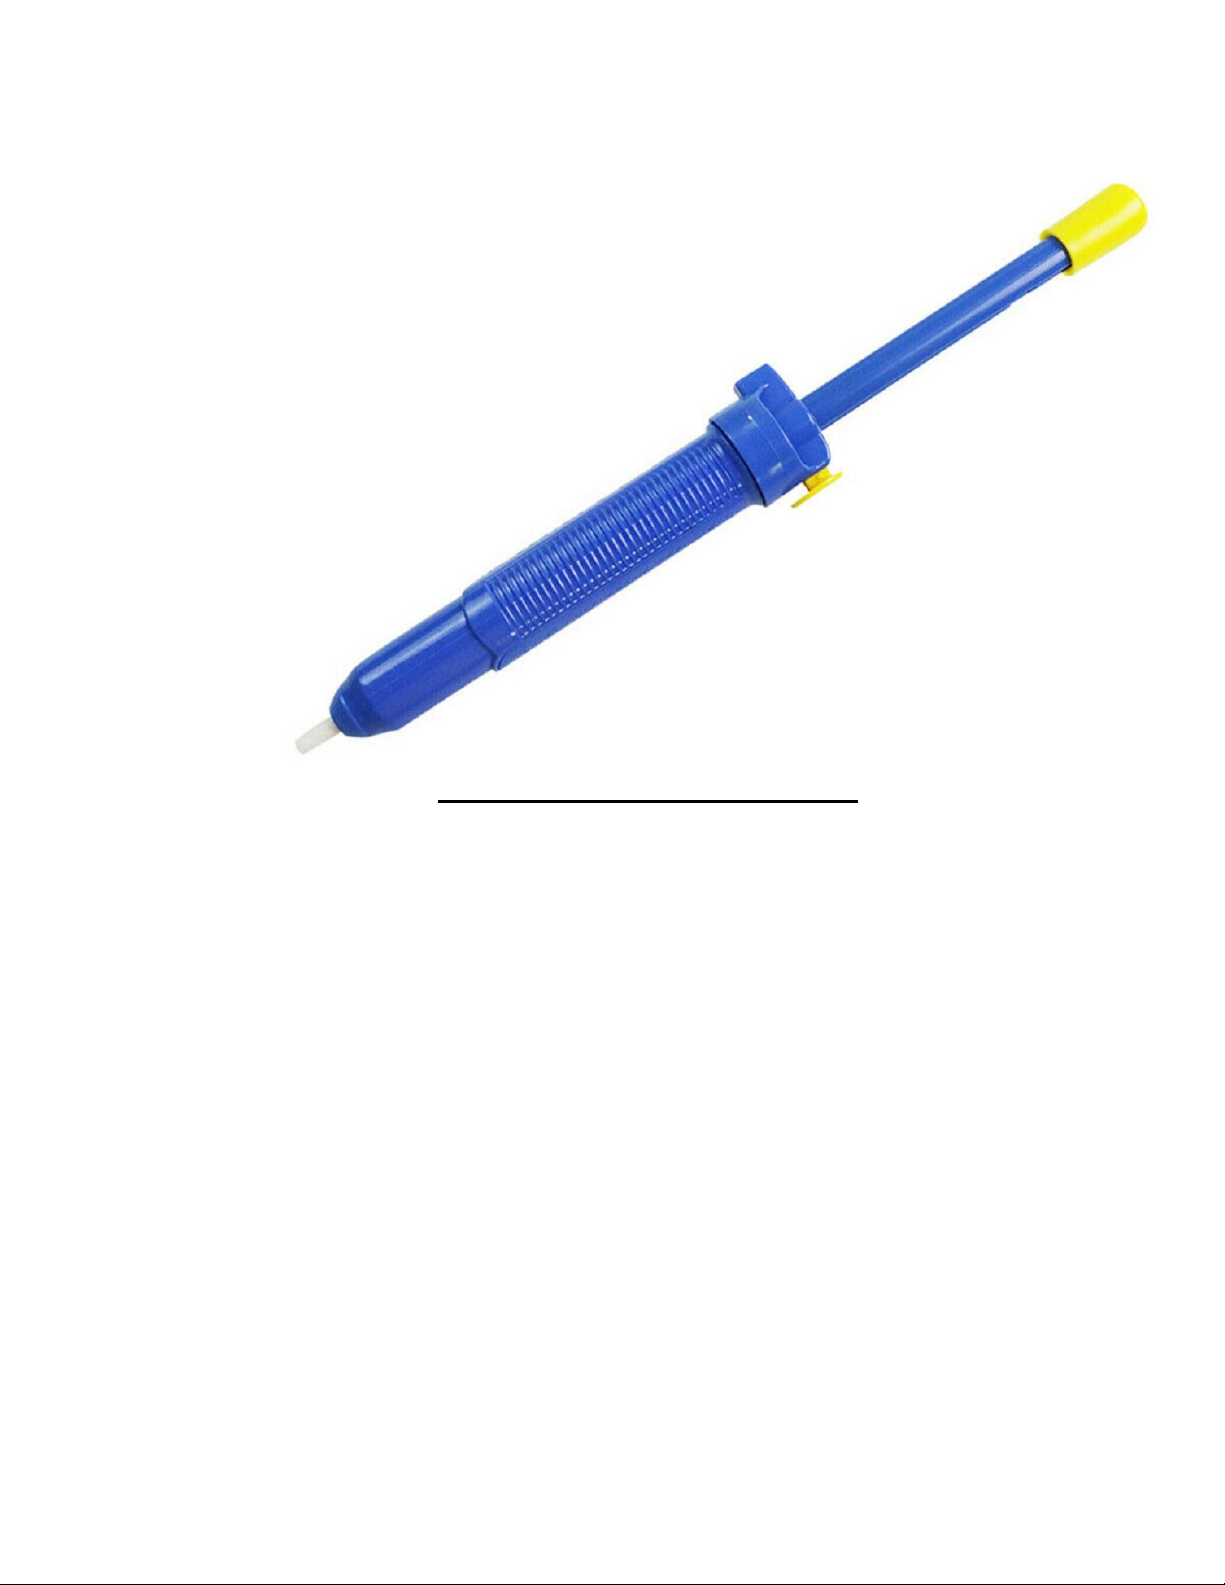
2.Soldering equipment. A de-solder pump tool.
Fig.2 De-solder Pump Tool
This tool is necessary in order to remove the cable
from the old circuit board. A good soldering iron
and lead free solder is also necessary.
(and most of all, very good eye sight)

3. A square file for filing the programming access
hole.
Fig.3 Square File

Step 1. Opening the Remote Control
Remove batteries and the 6 screws shown in Fig.4
below.
Fig.4 Removing Screws

Step 2. Remove the two screws.
Fig. 5 Remove the Screws
Step 3. De-soldering the wires and the cable.
You will be removing the small board. In order to
do this, you must carefully de-solder the black and
red wires (ground and power) and the cable that
connects to the keypad circuit board. To access the
solder connections, flip the board over as in Fig.6
below.
Fig.6 Removing the old board
Remove the Red and Black wires. Carefully de-solder
the cable, DO NOT PULL ON THE CABLE until it is de-
soldered completely. You will need to re-use the
cable with the upgrade board.

Inspect the cable. Ensure that the wires are
straight and not frayed. This is important as you
will see it is challenging to re-install the cable
on the new board. If necessary, tin each wire with
solder. If there are strayed wires, they may short
on the adjacent wire causing the keypad to
malfunction.
Fig.7 Inspect the Cable

Step 4. Install the new board.
Do not connect the RED and Black wires at this
time. Carefully solder the cable to the new board.
Inspect every wire in the cable. You can use an
ohmmeter here to check your soldering and for
shorts.
Fig.8 Install the New Board
Fig.9 Upgrade Board Installed Successfully

Step 5. Drilling the Programming Access Hole.
Carefully measure and mark the hole with a pencil.
Drill the hole according to the specifications
below.
Fig.10 Drill the Programming Access Hole
A = 18 mm
B = 72.5 mm
C = 44 mm
D = 6 mm
Now use a square file to fine tune the access hole
to the dimensions above.

You may need to make the hole bigger if you are
using a larger programming connector like this one:
Fig.11 6 Pin Programming Connector
Now you can solder the red and black wires to the
new board. The new board is marked “+” for the red
wire and “-“ for the black wire.
Re-assemble the remote, insert the batteries and
test it. The remote should work as the board comes
with test code programmed. Please do not program
the fuses, they are already programmed and never
need to be changed.
It is a good idea to cover the hole with electrical
tape when you are finished programming to prevent
debris from entering the remote enclosure.
Please read the JumboUpgradeUserGuide.pdf before
attempting to program the remote.
Any questions?
Please email:
Always happy to offer support.
Otros manuales para jumbo
2
Otros manuales de Mando a distancia de Innovage


