6
3.4 Creating luminaires
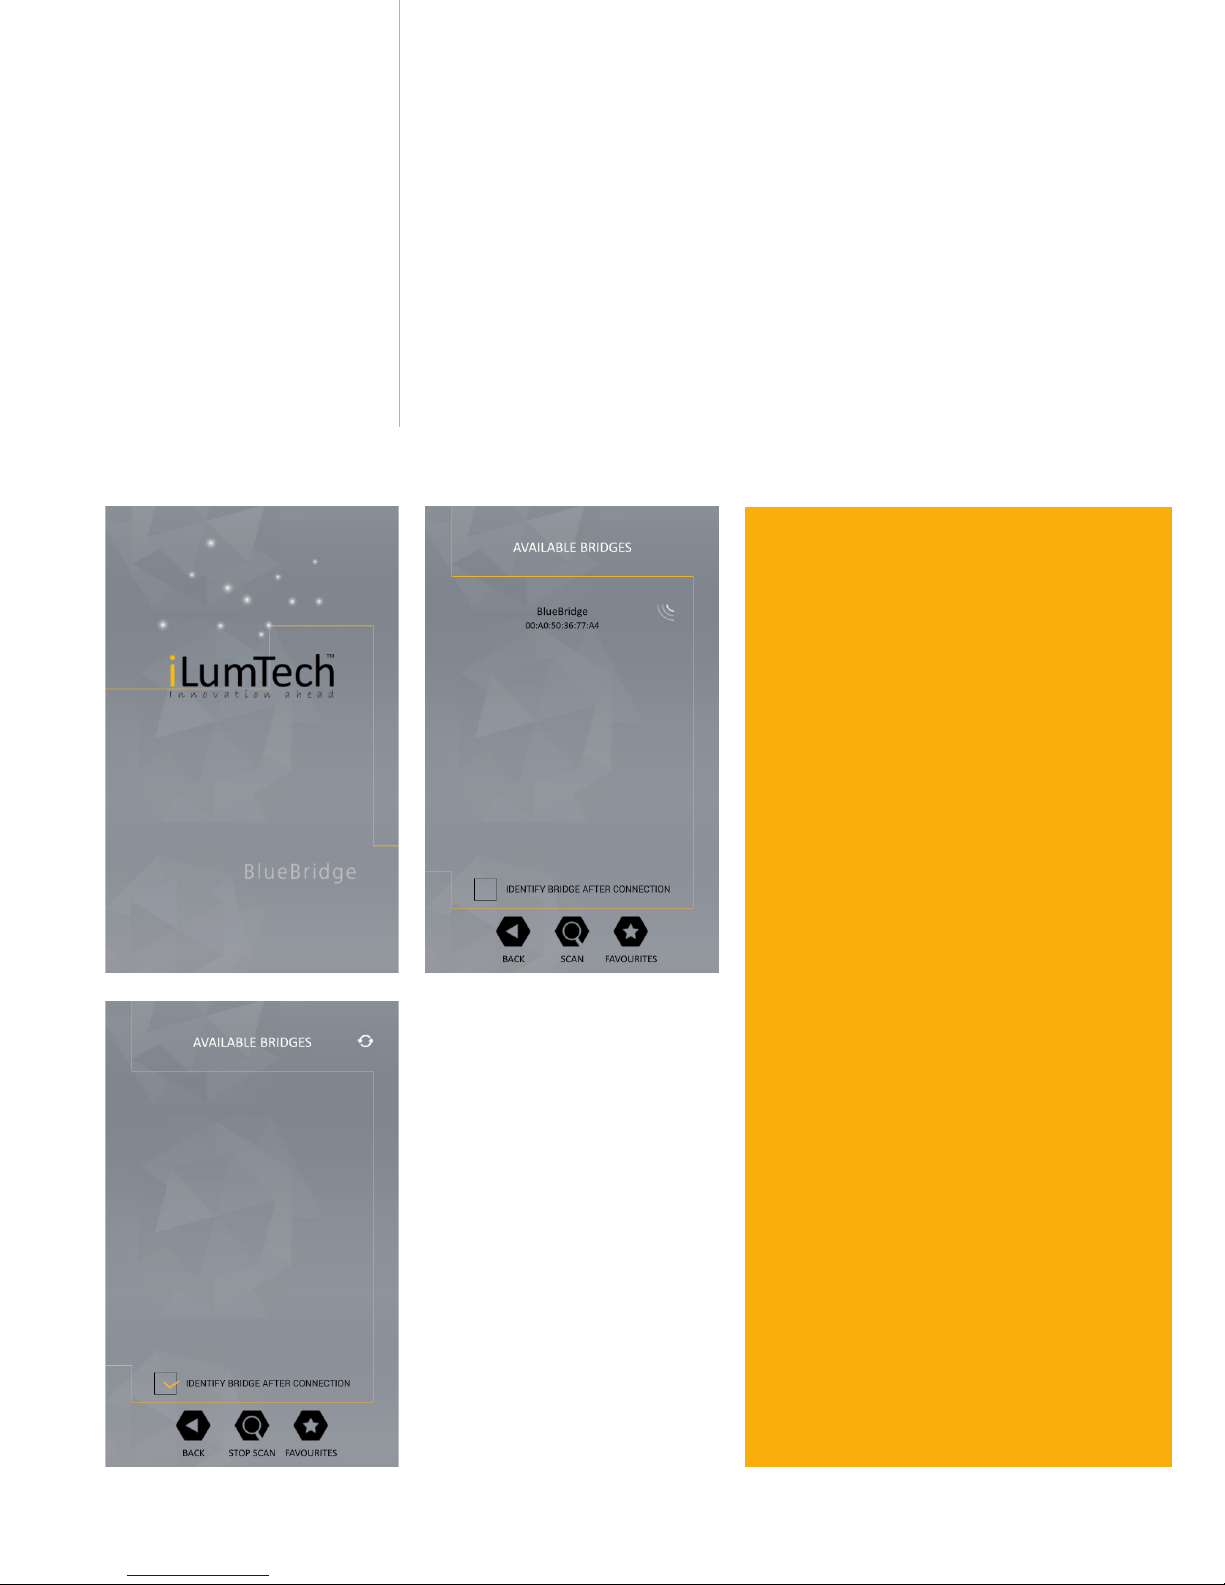
After successful connection, you will be asked whether
you would like to scan the DALI network. This step is
essential when running the app for the first time. The app
will perform the scan in order to discover all the luminaires
connected to the DALI network. During this step, the app
will discover the FW version of the connected BlueBridge.
If the FW is not up-to-date, you will see a notice saying
that there is a new version available. During scanning, you
will see how the process is progressing including how many
luminaires are discovered.
If the BlueBridge detects some DALI devices without
addresses, it will start commissioning automatically. The
progress of commissioning is shown in the dialog windows.
When scanning is finished, you will see a ‘Create
Luminaires’ wizard. In the upper part of the screen,
you can see the total number of luminaires (or addresses)
discovered during the scanning process. Below, you can
see six basic types of luminaires and three types of control
devices. The first four types work with DALI device type
6 – Basic (single colour), TW Cold/Warm, TW Brightness/
CCT, and RGB. The app is not able to differentiate between
single colour luminaires and other TW or RGB luminaires so
the user must define this information. If you want to create
a single colour luminaire, select the ’Basic’ option.
You can also add sensors or input units. Read more about
control devices in Chapters 4, 5 and 6. You will be asked
to select the address of the luminaires. Selected
addresses are indicated by a yellow tick. Each time you select
an address, the corresponding luminaire will be switched off
and on again making it easy to identify the luminaire you
want to define. Addresses in black are already used by other
luminaires. When the addresses are selected correctly, choose
‘Next’, which will take you to a screen where you can test
the dimming of the luminaire and choose a specific label for
it in order to easily distinguish it from other luminaires (you
don't need to remember all the addresses). Once you have
finished, you can confirm the settings by clicking ‘Accept’.
You will see that the number in the ’Basic’ group has been
incremented and that the number of unused addresses
is lowered by one. In a similar way, you can add Tunable
White luminaires with either Cold/Warm or Brightness/CCT
control methods. You will be asked to select two addresses
as each of these Tunable White luminaires requires a separate
addresses for each function. The same is valid for three-
channel RGB luminaires, which require three independent
addresses. Already selected addresses are highlighted
in a corresponding colour – for example when selecting
address for the blue channel of an RGB luminaire, you will
see the address for the red channel in a red square and the
address for the green channel in a green square. In the case
of switches (Device type 7) and colour control (Device Type
8), the app is able to recognise the type of luminaire and only
corresponding device type devices will appear in the address
selection screen when selecting ’Switch’ or ’Colour control’
type. For ’Colour control’ type, you can select only a single
address.
You can check the current state of the ‘List of luminaires’
at any time by clicking on the list, which includes already
created luminaires. Once you have defined all the luminaires
in your installation (unused addresses will equal 0), you can
finish the wizard by clicking on ‘Done’.
The ‘AutoCreate’ button automatically creates luminaires
sand groups using current settings for the DALI network.
The app reads the group status of all luminaires and
creates groups accordingly. Group names are based on the
group addresses. When using the AutoCreate function,
the app cannot distinguish between type 6 single colour
luminaires and Tunable White or RGB luminaires, so all type
6 luminaires will be considered single colour.