Dongguan HCP Technology Co., Ltd
41041 Trimboli Way, #1761, Fremont, CA 94538, USA
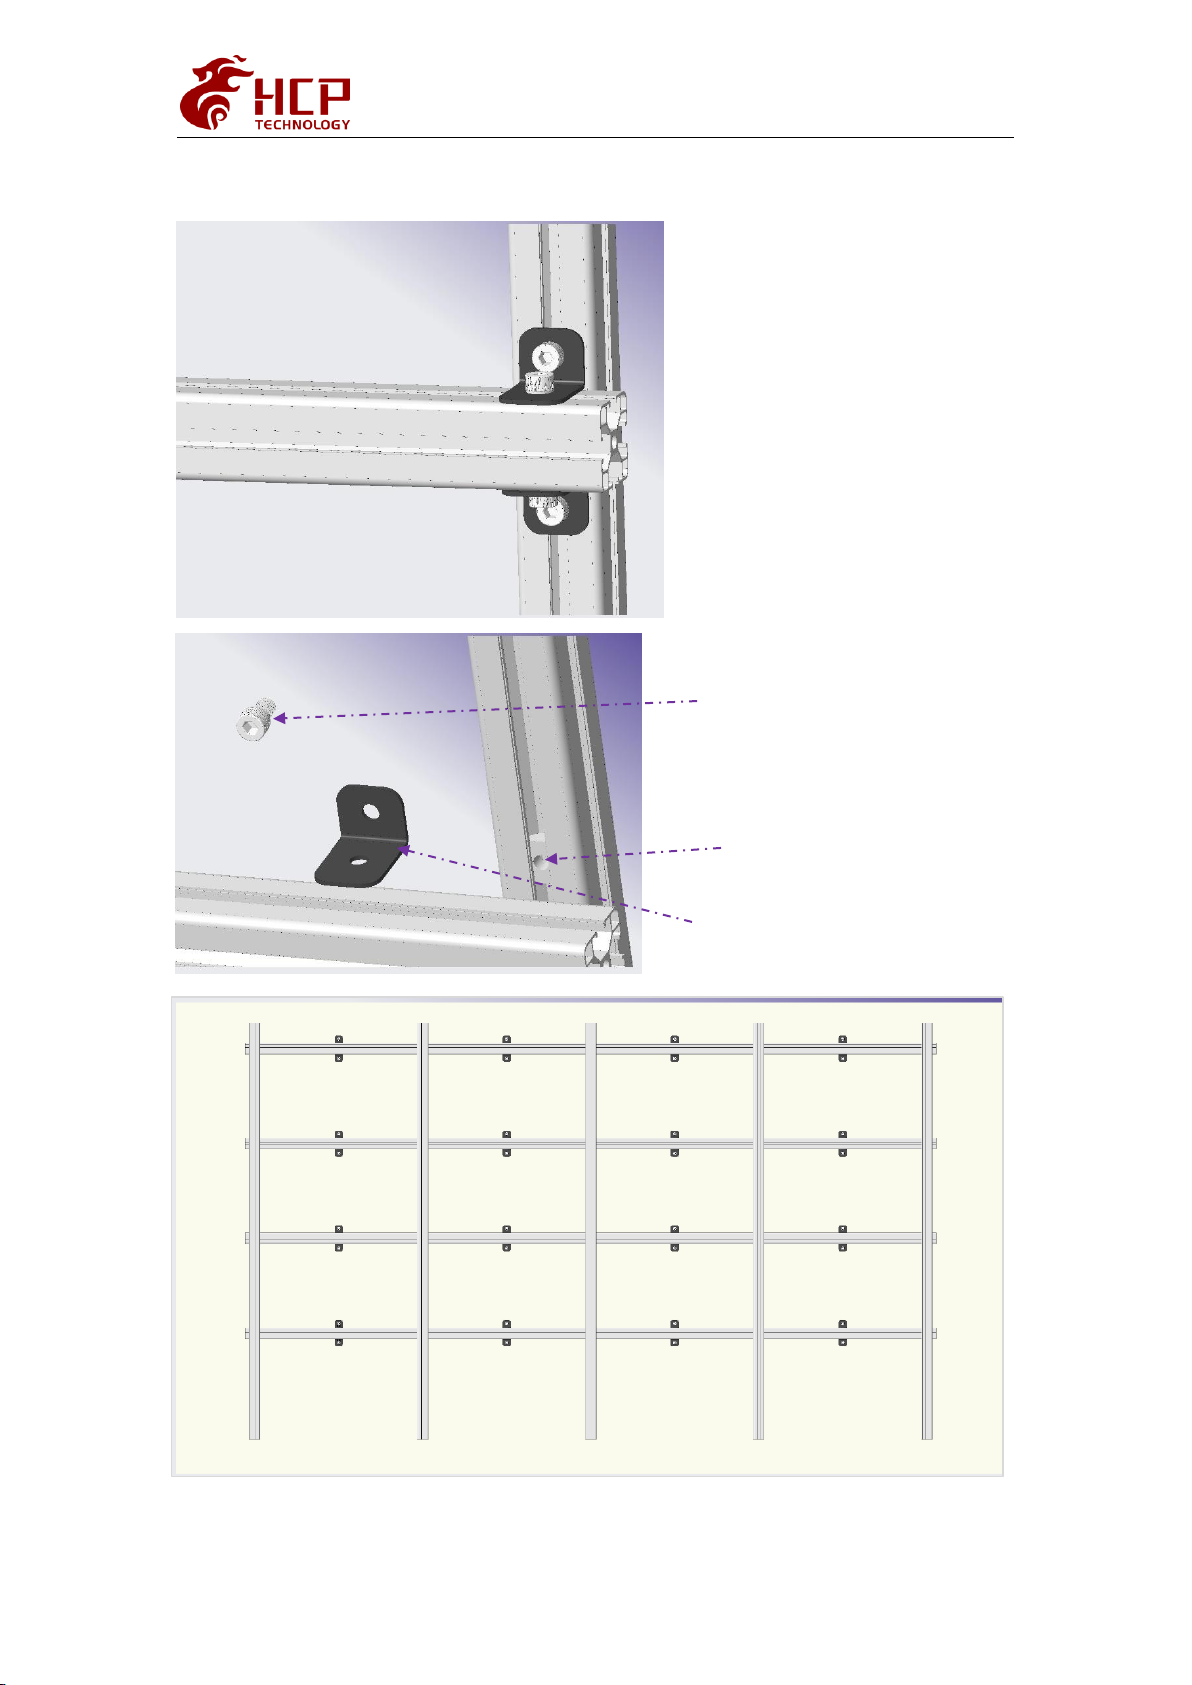
3
Safety Information
Warning!
A warning for a potentially hazardous situation that can result in
death, personal injury, or property damage if not adhered to.
Caution!
A recommendation for a potentially hazardous situation that
may result in personal injury or property damage if not adhered
to.
Warning!
Risk of electric shock or fire due to high-voltage components.
※Do not expose this unit to rain or moisture.
※Do not submerge this unit partially, or completely in water, or
liquids.
※Do not use this unit's polarized plug with an extension cord
receptacle or other outlets unless the prongs can be fully
inserted.
※Do not open the cabinet because of the high-voltage
components inside. There are no user-serviceable parts are
inside.
※Only qualified service personnel are allowed to service and
open the unit.
Risk of electric shock.
※If not in use, fully disengage the power to the unit by
disconnecting the power cord from the AC outlet.
※Do not use damaged cables. Check cables regularly. Replace
damaged cables immediately, they are not user-serviceable.
※Ensure the system is properly grounded.
Risk of overload of the power cable.
To protect the power cable against overload maximum 16
cabinets shall be wired in a row at 100 V AC or 38 cabinets at
240 V AC. The total load must not exceed 16 A per cable.
Risk of fire, injuries and product damage.
※Keep the system away from flammable material.
※Never block the air ventilation spaces around the LED Wall.
Keep them free at all times.
※Only use the supplied cables, which are fit for the system and
its components.