13
◦Insert a detonator in the end of explosives.
* Insert the detonator to the end of plug (black rubber)
in the explosives.
◦Charge explosives according to the blast design.
◦After completing the charging of explosives, fill it up with
sand to harden.
◦
Set information about delay time after selecting mode at the
Planner (Refer to 3.1.4 Start New Blasting).
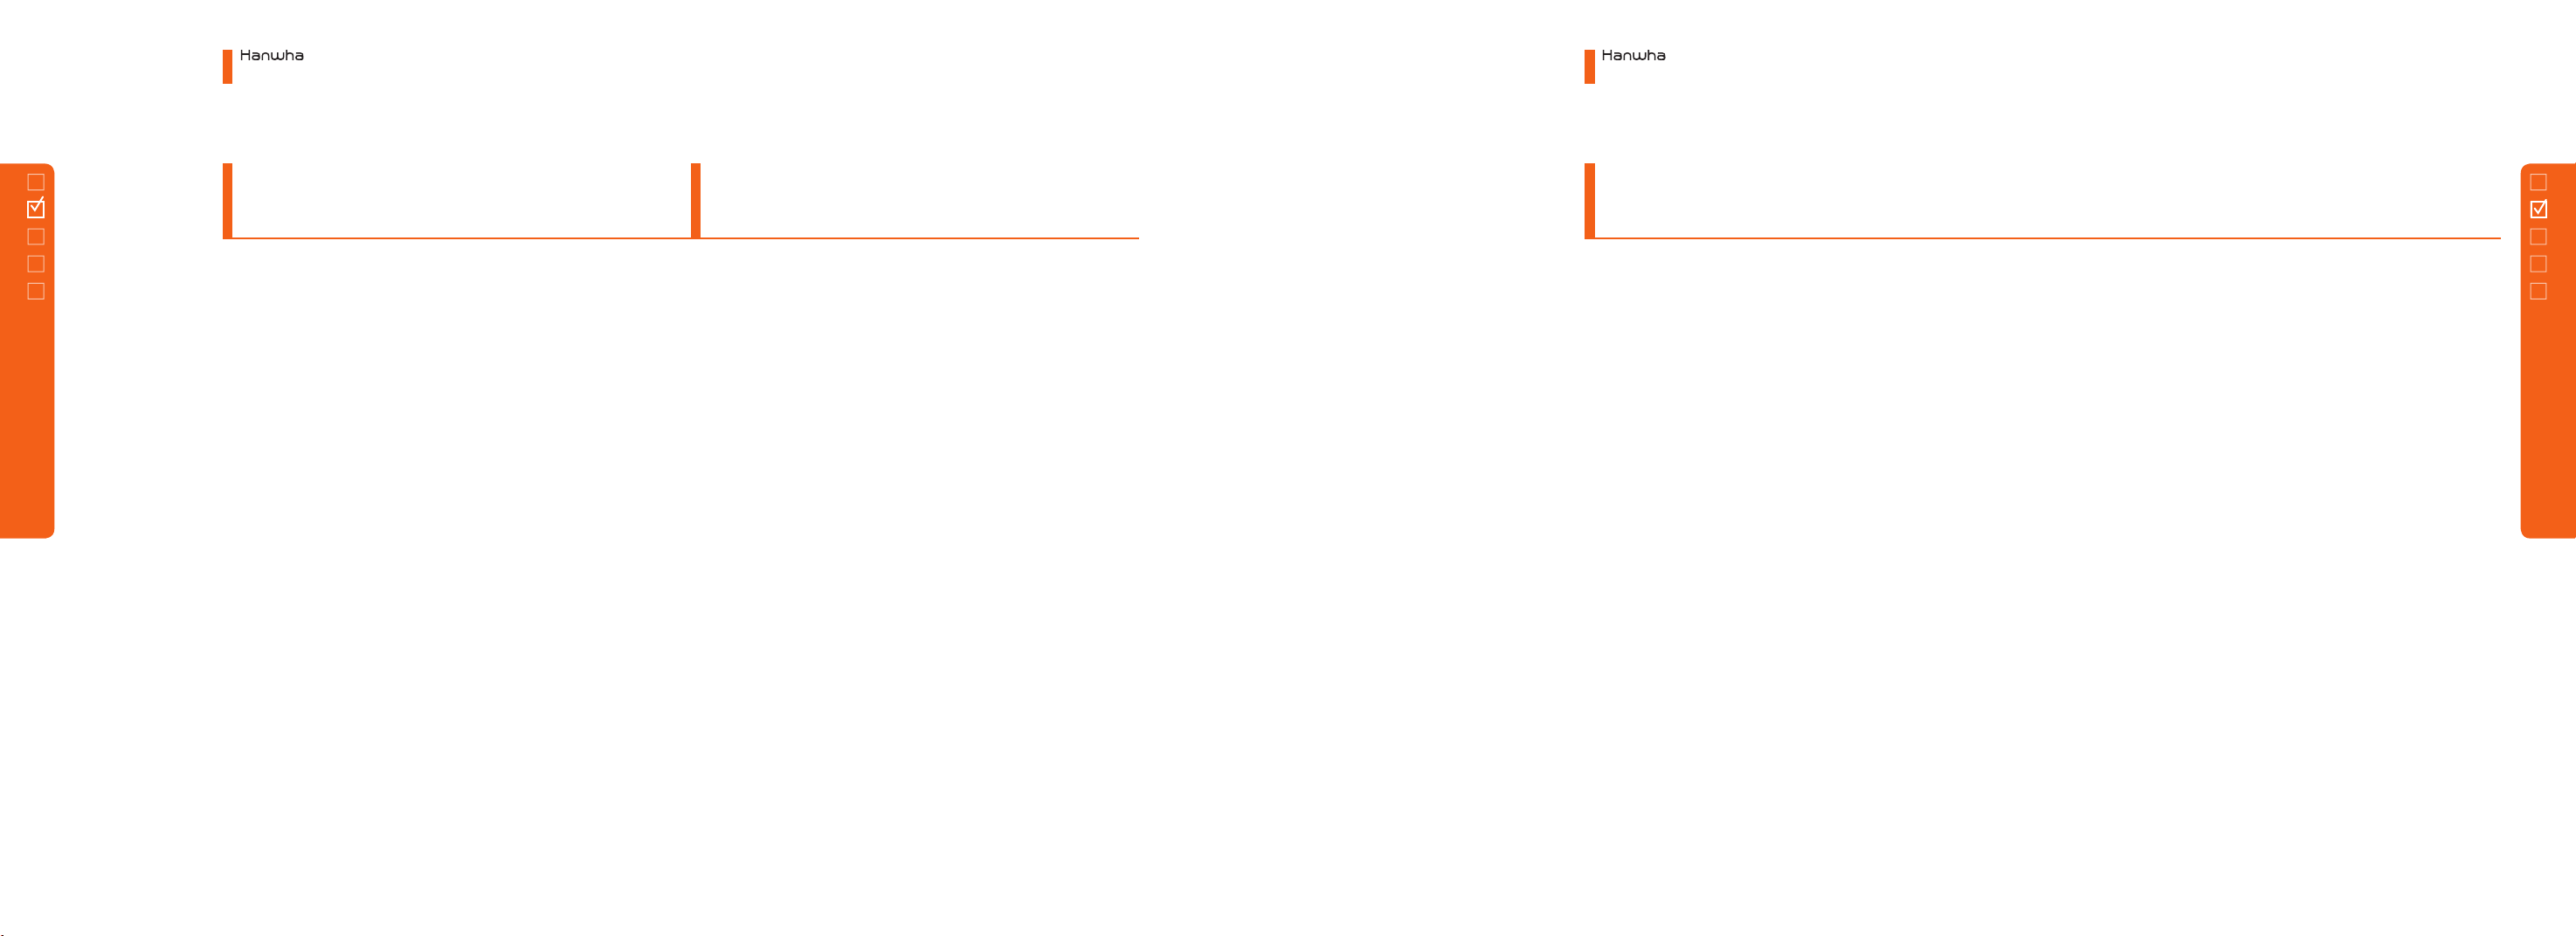
◦
Scan QR code of detonator's connector in desired sequence
as in the figure.
◦
Confirm the connection of detonator through
'COMMUNICATION' at the Planner after the scan completion
(Refer to 3.1.5 (3) Communication).
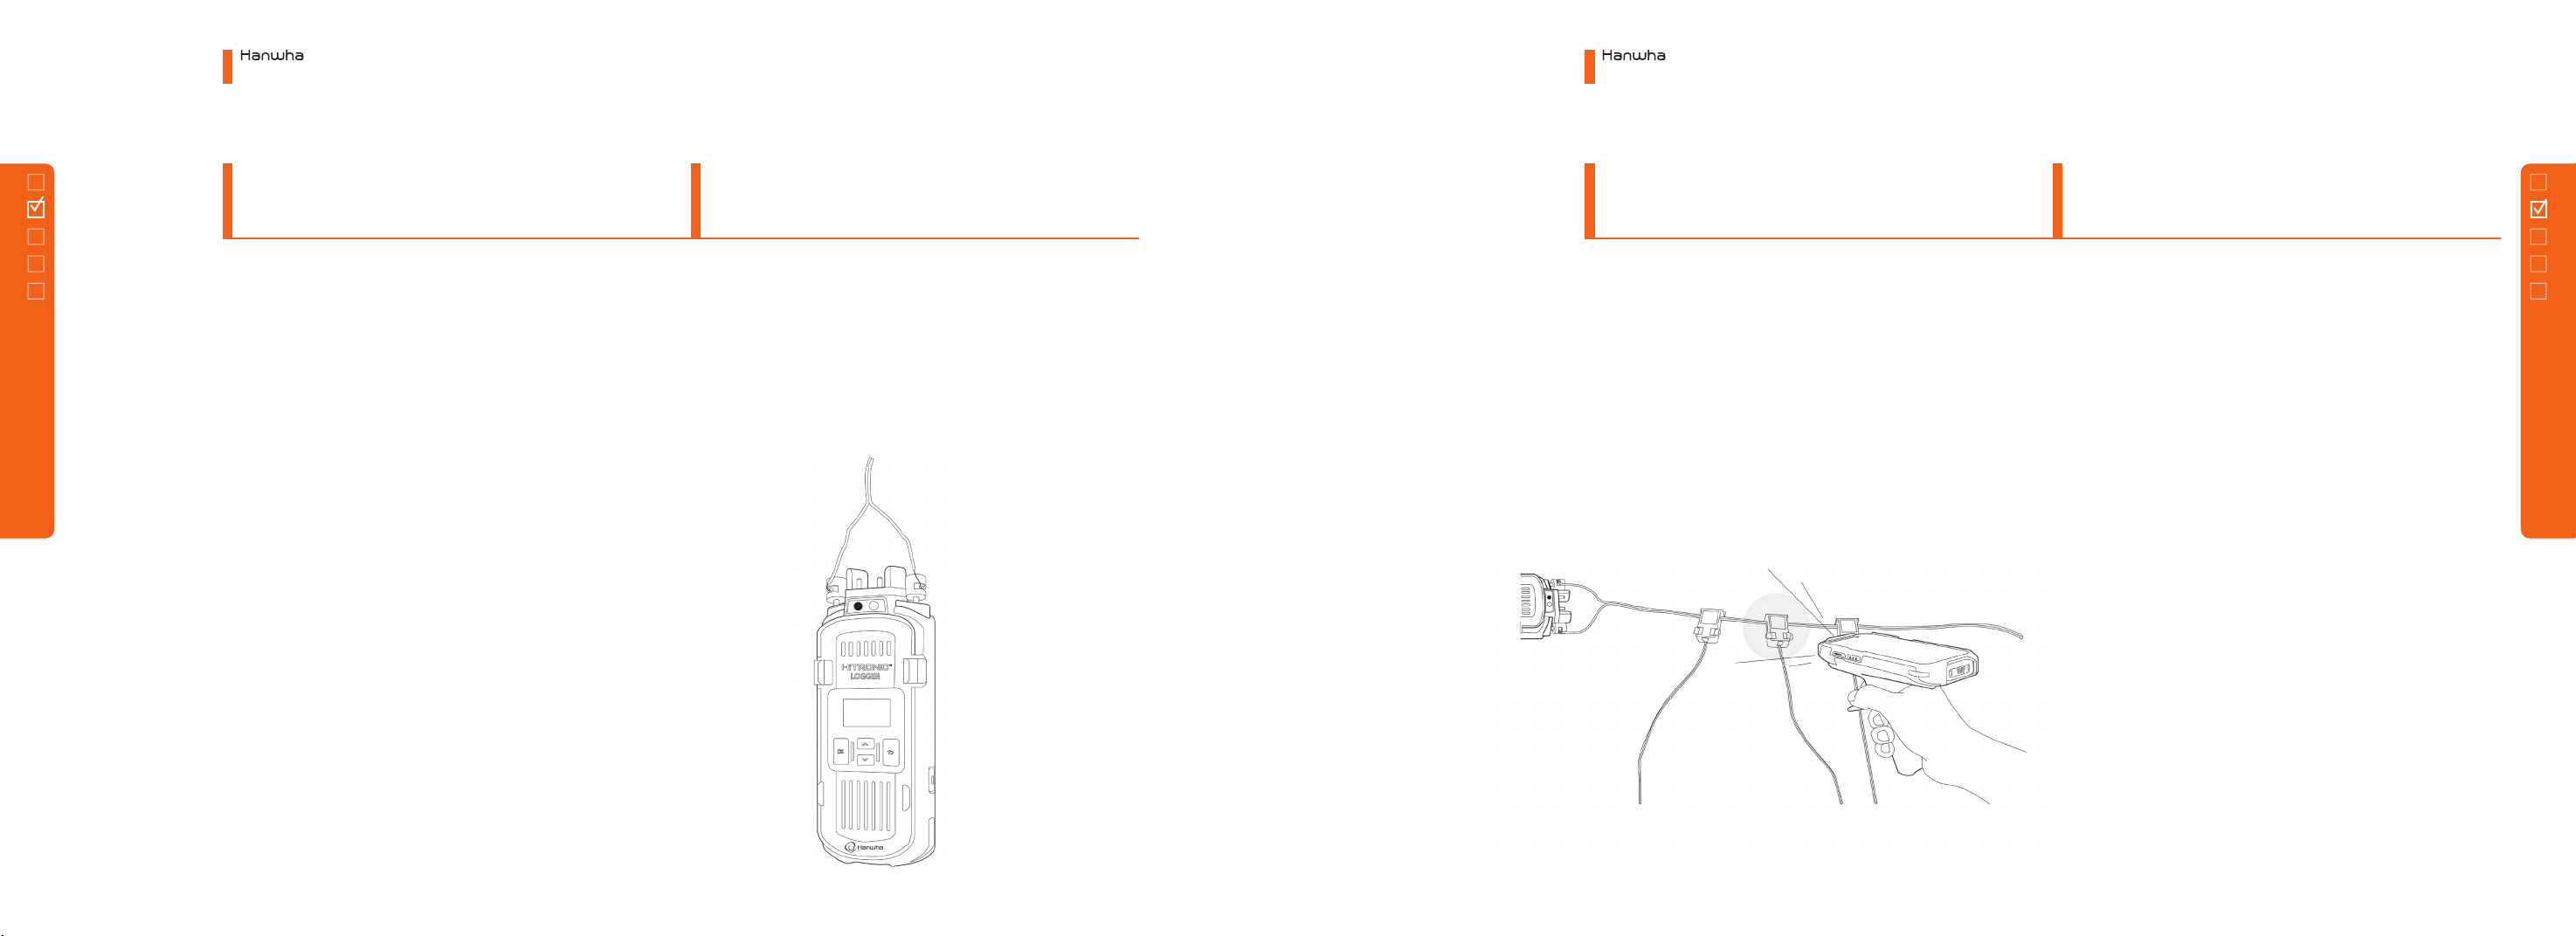
◦As shown in the figure, connect one end of harness wire to
a positive terminal of Logger.
◦Connect Logger on the Planner screen (Refer to 3.1.5 (1)
Logger Information). Running the ‘Line Test’at the planner.
◦Couple a connector of detonator with the harness wire
◦
Connect the harnesswire to a main bus wire and conncect
the wire to the blaster.
◦Turn on the blaster power and check RFID card.
◦
Touch ‘Start Firing’ and check recharging and
communication details.
◦Input password and proceed with ARM.
◦Firing (Refer to 3.3 Blaster).
Electronic Blasting System
2. How to Use Devices
Electronic Blasting System
2. How to Use Devices
12
2.1
Scanning
Type
2.1.3
Scanning
2.1.4
Blasting
2.1.1
Charging
2.1.2
Wiring
2.1 Scanning Type
2.1 Scanning Type