GreenPan CONTACT GRILL Guía

CONTACT GRILL
PANINI PRESS / TEPPANYAKI / WAFFLE MAKER
INSTRUCTION MANUAL
& WARRANTY

2

3
CONTENTS
General Safety Instructions
Description Of The Parts
Before First Use
General Use
Cooking Guide
Disposal Of The Appliance
Commercial Warranty
04
07
08
08
11
14
14
PRECISION
ENGINEERED
FOR MAXIMUM
PERFORMANCE
Before using this
appliance, please
read the following
instructions
carefully. We
recommend that
you keep these
instructions. For
your own safety,
you must follow
these safety
instructions when
using electrical
appliances.

4
GENERAL SAFETY
INSTRUCTIONS
1. This appliance can
be used by children
aged from 8 years and
above and persons
with reduced physical,
sensory or mental
capabilities or lack
of experience and
knowledge if they have
been given supervision
or instruction concerning
use of the appliance in a
safe way and understand
the hazards involved.
Children shall not play
with the appliance.
Cleaning and user
maintenance shall not be
made by children unless
they are older than 8 and
supervised.
2. Keep the appliance and
cable out of reach of
children under 8.
3. Do not leave the
appliance unattended
when in use.
4. Do not immerse the
appliance, or its power
supply connector in water
or other liquids and do
not allow it to become
wet.
5. Do not operate any
appliance with a
damaged cord or plug
or after the appliance
malfunctions or has been
damaged in any manner.
Return appliance to
the nearest authorized
service facility for
examination, repair, or
adjustment.
6. Only use the appliance
for its intended domestic
use. We will not accept
any liability if the
appliance is subject to
improper use, or failure
to comply with these
instructions.
7. Intended for counter top
use only as directed.
8. Do not use outdoors.

5
9. Do not place on or near
a hot gas / naked flame
or electric burner, or in a
heated oven.
10. Do not use this appliance
near bathtubs, showers,
basins or other vessels
containing water.
11. Do not use the
appliance near or below
combustible materials
(e.g. curtains).
12. Do not let the power
cable hang over the edge
of the table or worktop
or touch hot surfaces.
(This also applies to an
extension lead if used).
13. The appliance must be
connected to a socket-
outlet having an earthing
contact.
14. To disconnect, turn the
unit off, then remove the
plug from the wall outlet.
15. If this appliance is
used with an extension
lead, ensure that it is
suitable for the rating of
the appliance and that
the extension lead is
reliably earthed. If unsure
check with a qualified
electrician.
16. The supply cord should
be regularly examined
for signs of damage and
the appliance must not
be used if the cord is
damaged.
17. Unplug the appliance
from the power supply
when not in use.
18. Do not connect the
appliance via a timer or
remote control system.
19. DO NOT touch hot
surfaces .
Accessible surfaces are
liable to get hot during
use. Always use the
handle and controls.
20. The use of accessory
attachments not
recommended by the
appliance manufacturer
may cause injuries.

6
21. Use tongs or other
heat safe utensils to
remove food. Do not lift
appliance.
22. With some foods large
quantities of smoke are
emitted - ensure there is
adequate ventilation.
23. Do not wrap food in
plastic film, polythene
bags, or metal foil. This
will damage your grill /
teppanyaki plate and you
may cause a fire hazard.
24. Do not use your grill for
any purpose other than
cooking food.
25. Do not use your grill
if it is damaged or
malfunctions.
26. Prior to first use, please
make sure that the
electrical rating of
the appliance is in
conformity with the
current electric rating.
27. WARNING: Charcoal or
similar combustible fuels
must not be used with this
appliance.
28. This appliance complies
with European Economic
Community Directive
2014/30/EU.
29. THIS APPLIANCE IS FOR
HOUSEHOLD USE ONLY.

7
DESCRIPTION OF
THE PARTS
1. BASE AND COVER
Solid construction with self-adjusting cover.
2. HANDLE
Panini-style handle to help adjust cover to
accommodate thickness of food.
3. ADJUSTABLE HEIGHT SETTINGS AND
LOCKING MECHANISM
Features preset height positions for top
melting. Locks cover closed to store.
4. LCD DISPLAY / CONTROL PANEL
Start / Stop and sear buttons with indicator
lights; dial controls and LCD display screen.
5. REVERSIBLE GRILL / TEPPANYAKI
GRIDDLE PLATES
Removable and reversible with ThermolonTM
Volt ceramic non-stick coating.
(5A: Grill plate) (5B: Teppanyaki plate)
6. DRIP TRAY
Collects grease and removes from base for
easy cleanup.
7. PLATE RELEASE BUTTONS
Push in to release and remove cooking
plates.
8. HINGE RELEASE BUTTON
Allows cover to extend back to the Flat
position.
9. POWER CABLE STORAGE
Conveniently located underneath to hide
away the cord.
1. 2.
3.
8.
7.
7.
6. 9.
4.
5.
(5A) Grill plate (5B) Teppanyaki plate Belgian Waffle plate
(Buy additional Belgian Waffle plates
suitable for this Contact Grill!)
CONTACT GRILL PLATES

8
BEFORE FIRST USE
• Remove all packaging, stickers and various
accessories on the inside and outside of
the appliance and check that all items have
been received in good condition or check
for any defects.
• Tear up all plastic bags and dispose of
properly as they can pose a suffocation or
choking risk to children.
Note: When you unpack the appliance,
the cover will be in the locked position. To
unlock, use the slider to move to the open
position. Please do no attempt to open the
cover at any point during the operation, with
the slider in the locked position.
CLEAN BEFORE FIRST USE:
• Remove the removable / reversible plates
and wash with warm soapy water and dry
thoroughly before returning to the base unit.
• Wipe body clean with a dry cloth.
• Confirm plates are securely fastened to the
upper lid and lower base unit.
• Before plugging in, make sure your
electricity supply is the same as the one
shown on the underside of your appliance.
• WARNING: THIS APPLIANCE MUST BE
EARTHED.
Note: if a non-rewireable plug is cut off
it must be DESTROYED IMMEDIATELY.
An electric shock hazard may arise if
an unwanted non-rewireable plug is
inadvertently inserted into a 13A socket
outlet.
• Your Contact Grill / Panini Press /
Teppanyaki is now ready for use.
• Only the removable / reversible plates
are dishwasher safe. NOTE: Do not use
harsh abrasive cleaners, scouring pads or
products that are not considered safe to use
on ceramic non-stick coatings. If washing in
the dishwasher, a slight discolouration to the
plates may occur. This is cosmetic only and
will not affect performance.
GENERAL USE
ASSEMBLY INSTRUCTIONS
To get Started, place the GreenPanTM Contact
Grill / Panini Press / Teppanyaki on a clean,
flat surface. The appliance has three different
positions:
CLOSED POSITION
Top plate / cover rests flat on lower plate /
base. This is the standard Starting and heating
position for the contact Teppanyaki / Griddle or
panini press functions.
OPEN POSITION
Top plate / cover is open. Open the cover to
this position before using the appliance as a
contact Teppanyaki / Griddle or a panini press.
To adjust the appliance into the open position,
lift the handle until you feel it move to a steady
position.
The Teppanyaki / Griddle will remain in the
steady position until you close the cover or
move it to the flat open Teppanyaki / Griddle
position. The top plate / cover will stay in an
upright position until you lower the handle
for cooking. When you lower the handle for
cooking the hinge will self-release to allow the
top plate / cover to lie flat on your food and
ensure total contact and cook your food evenly.

9
FLAT POSITION
Top plate / cover is opened so that the top
and lower plates are level and create a single
cooking surface.
When opening the cover to the flat position,
hold onto the handle, press the cover release
button on the right of the unit and pull
the handle back until the grill touches the
countertop. Remember to put the drip tray into
position to support the upper grill at the centre.
INSTALLING COOKING PLATES
The appliance should be off and cooled. Put the
appliance in the flat position. Insert each plate
individually. Find the metal holding brackets at
the centre of the housing. Tilt the back end of
the plate and line up the cut-outs with the metal
brackets. Slide the plate beneath the brackets
and push down on the front end of the plate.
You should hear it snap into place. Turn the
appliance 180° and install the second plate into
the upper housing the same way.
REMOVING COOKING PLATES
The appliance should be off and cooled. Put
your appliance in the flat position. Find the
plate release buttons on one side. Press one
button firmly and the cooking plate will pop up
from the base. Grab the cooking plate with both
hands, slide it from under the metal brackets
and lift from the base. Press on the other button
to release the other cooking plate the same
way.
OPERATION
Prior to using this appliance for the first time,
wash the grill / teppanyaki plate, base, lid and
drip tray in accordance with the instructions
given under the “Before First Use” section. Dry
thoroughly and then lightly brush the surface of
the grill plate with cooking oil. Place the drip
tray into the base, then place the grill plate onto
the drip tray. Never use the grill plate directly
on the work surface, always use with the drip
tray and base.
This appliance should only be used on a heat
resistant and easy to wipe clean surface.
Once your appliance is properly assembled,
plug the cord into a standard electrical outlet
and you will be ready to get cooking. The
LCD will illuminate, after any button or dial is
selected, but no cooking function is selected
yet. To turn on the product for function selection,
press the Start / Stop button.
Put your appliance in the preferred cooking
position and use the temperature control to
choose your cooking temperature. Settings
range from Low (80°C) to High (230°C). If you
wish to use the appliance in the flat position
but you do not need the entire surface, it is
recommended that you only use the bottom
plate.
GETTING STARTED
Selecting Plates & Temperature
• To Start using your appliance, turn the plate
select dial to select which plate(s) you need
to adjust setting.
• Select “Lower” or “Upper” if you want to
select a different temperature for each plate.
Select “Both” if want to adjust the setting of
both plates simultaneously.
• Default timer and temperature will appear
on the LCD display.
• Turn the dial to adjust your temperature.
• To adjust your countdown timer, turn the dial
to select the number of minutes.
• Press the Start / Stop button, and you
will notice the LCD screen will display
“PREHEAT” and bars running from left to
right.
• Once it’s done preheating, it will beep three
times and the “PREHEAT” disappears and
the minutes will Start blinking.
• Press Start / Stop to Start the timer counting
down and add your food to the plate(s).
NOTE: If both plates complete preheat and
the Start / Stop button is not pressed within
60 minutes, the appliance will go into OFF
mode and LCD turns Off.
• When the countdown timer runs out, the
appliance will beep three times. The time
will reset to the previously selected values
and will Start flashing to indicate that it’s
ready to Start the next cycle.
• To Stop cooking, select the plate to turn off,
then turn the temperature dial to beyond
minimum value, “OFF” will display for the
selected plate. If both plates are during
cooking or preheat, pressing Start / Stop
button will turn off the product.

10
DURING USE
As the appliance will become hot during
use, always use caution when operating the
appliance. Always use the front handle to
open the appliance, as this part of the handle
is designed to stay-cool to the touch while
cooking. The top cover will become hot during
use.
DO NOT TOUCH THE COVER OR ARMS
DURING OR IMMEDIATELY AFTER COOKING
The top cover should not be touched during or
immediately after cooking. Use an oven mitt if
you need to adjust the cover to prevent burns.
The base of the appliance will be very hot
too. If you need to move the appliance for
any reason allow the appliance to cool before
handling (at least 30 minutes).
NOTE: During first use, the appliance may have
a slight odour and it may smoke a little. This is
perfectly normal and will disappear with use.
SEAR FUNCTION
You can sear foods at 260°C for up to 2
minutes. Pressing the Sear button will toggle
among Upper / LOWER / BOTH / No action.
Pressing it once will have “SEAR” appear on
the upper plate section. Pressing it a second
time will have “SEAR” appears on the lower
plate section. The third press will have “SEAR”
appear on both upper and lower plate sections.
Fourth press will have “SEAR” disappear on
both upper and lower plate section.
EXPLORE NEW CULINARY TERRITORY
The Contact Grill, Panini Press, Teppanyaki
& Waffle Maker delivers ultimate versatility
with many different cooking modes. Use it as
a contact grill, contact Teppanyaki / Griddle,
panini press, open grill, or open Teppanyaki /
Griddle, or grill on one side and Teppanyaki /
Griddle on the other. See Assembly Instructions
and Operating Instructions for additional
information on use.
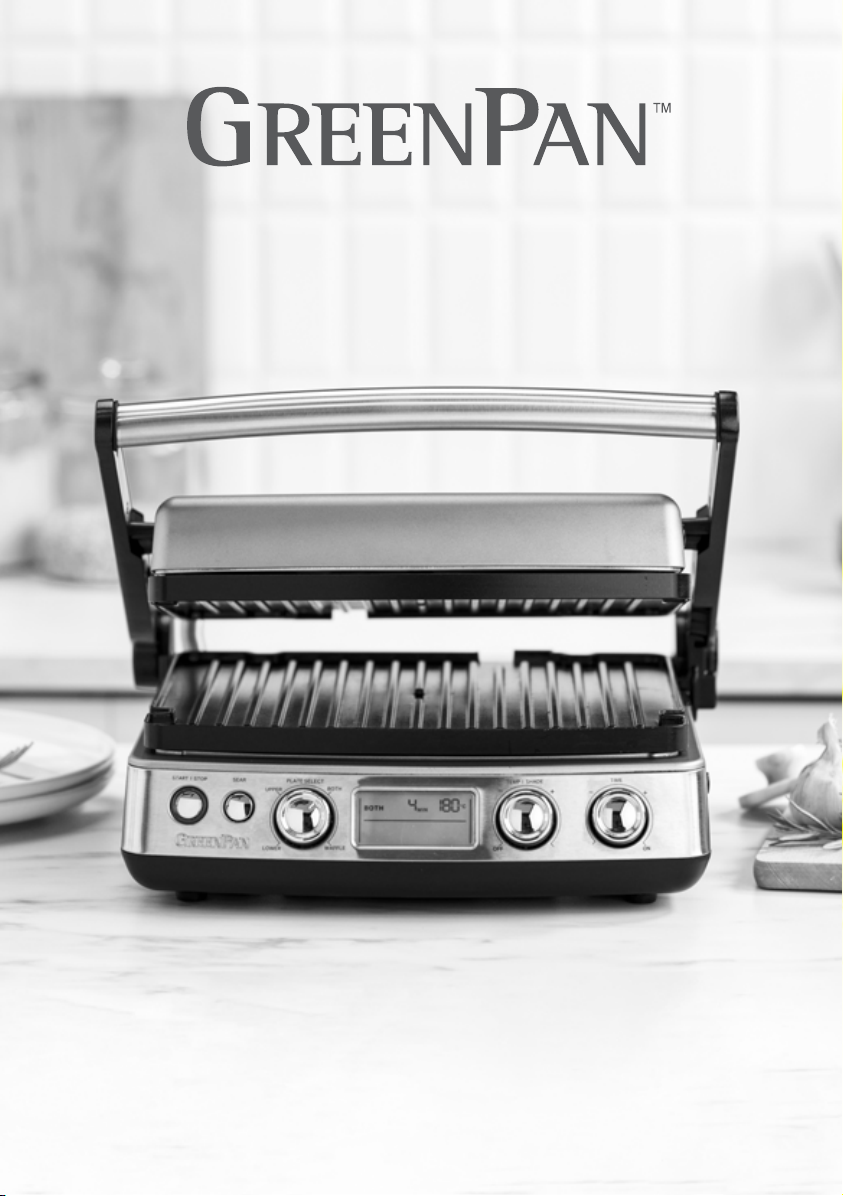
CONTACT TEPPANYAKI / GRIDDLE
(CLOSED POSITION)
Perfect for sausages, boneless chicken and
veggies, the contact Teppanyaki / Griddle
saves time because you’re griddling both
sides of your food at once. The Contact Grill,
Panini Press, Teppanyaki & Waffle Maker
was designed with convenience in mind, so
our handle and hinge let the cover adjust to
your food, so you get total contact. Evenly
Teppanyaki / Griddle everything from thin hash
browns to a thick steak. When cooking multiple
items, it’s important to take the thickness of your
food into consideration. Make sure your food
is a consistent thickness so the cover will close
evenly.
CONTACT GRILL (CLOSED POSITION)
Get classic sear marks faster with the closed
grill position. Utilizing two grill plates, you can
get grill flavour in half the time. Just put your
food in and close the grill to cook both sides
at the same time. That means faster burgers,
steaks, pork chops, and so much more. Always
consider the thickness of your food before using
this mode. Keeping your food to the same
thickness will ensure it all cooks evenly.
PANINI PRESS (CLOSED POSITION)
Crispy paninis and wraps are easy with the
Contact Grill, Panini Press, Teppanyaki &
Waffle Maker. The Contact Grill, Panini Press,
Teppanyaki & Waffle Maker is designed with
a self-adjusting handle and hinge that lets you
cover your sandwich or wrap completely so
it cooks evenly. You can apply light pressure
to the handle to press your food to your
liking. Remember to take the thickness of your
sandwiches into consideration when cooking so
the cover will close evenly.
WAFFLE (CLOSED POSITION)
To use your Contact Grill, Panini Press,
Teppanyaki & Waffle Maker to make waffles,
insert the top and bottom waffle plates. Select
both plates for your browning from 1 to 7. The
time is pre-set for you after adding the batter.
Close the cover and press Start / Stop button to
Start cooking. You will hear 3 beeps when the
waffle is done (approximately 5 to 9 minutes).
Prepare the next batch or turn off. Note: Waffle
plates should always be used in the closed
position, and should never be mixed with other
plates.
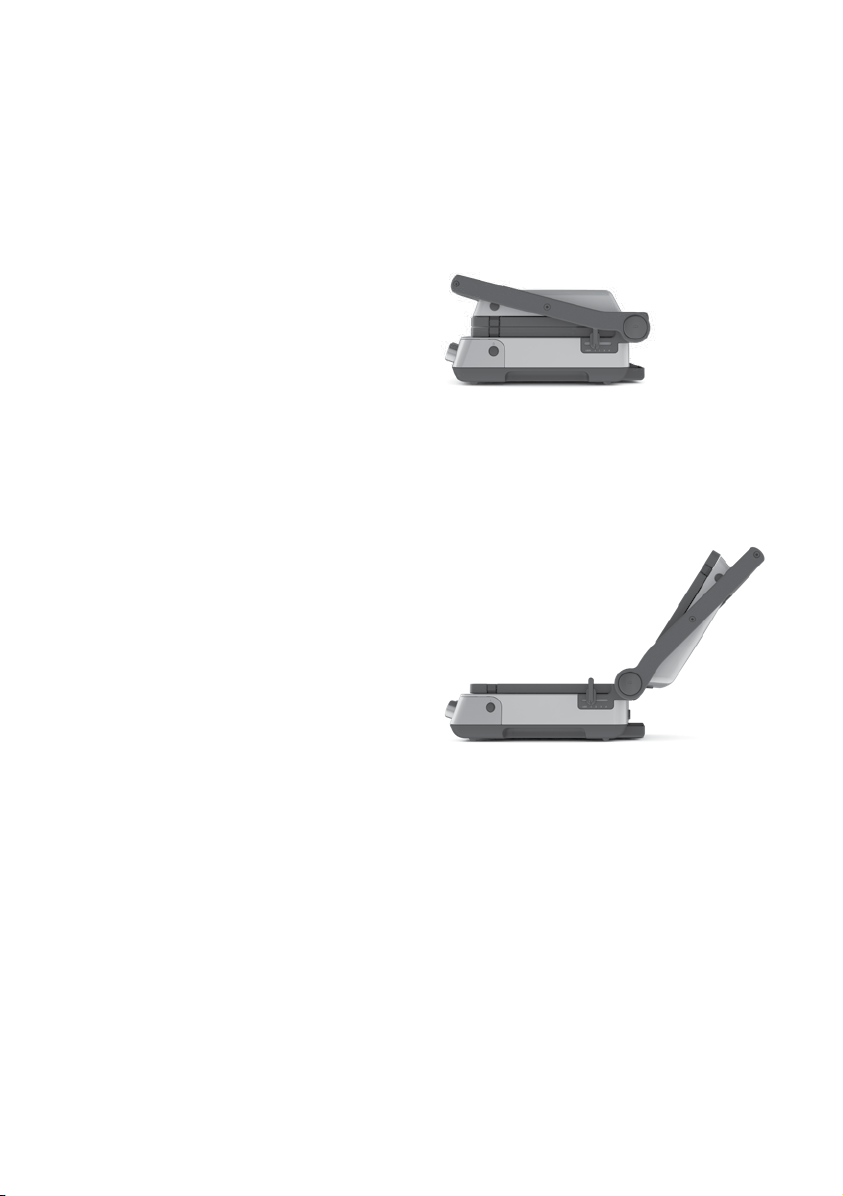
FLAT GRILL (OPEN POSITION)
Bring outdoor flavour inside with the flat grill
position. Just open the cover flat against the
counter. This position utilizes two grill plates
to deliver a full-sized healthy ceramic non-stick
grill. Sear a classic steak, make a juicy burger,
and make hot dogs for the kids all on the same
device. The extra room and easy to clean grill
plates make getting the perfect sear marks
effortless.
Tabla de contenidos
Otros manuales de Máquina para hacer wafles de GreenPan


