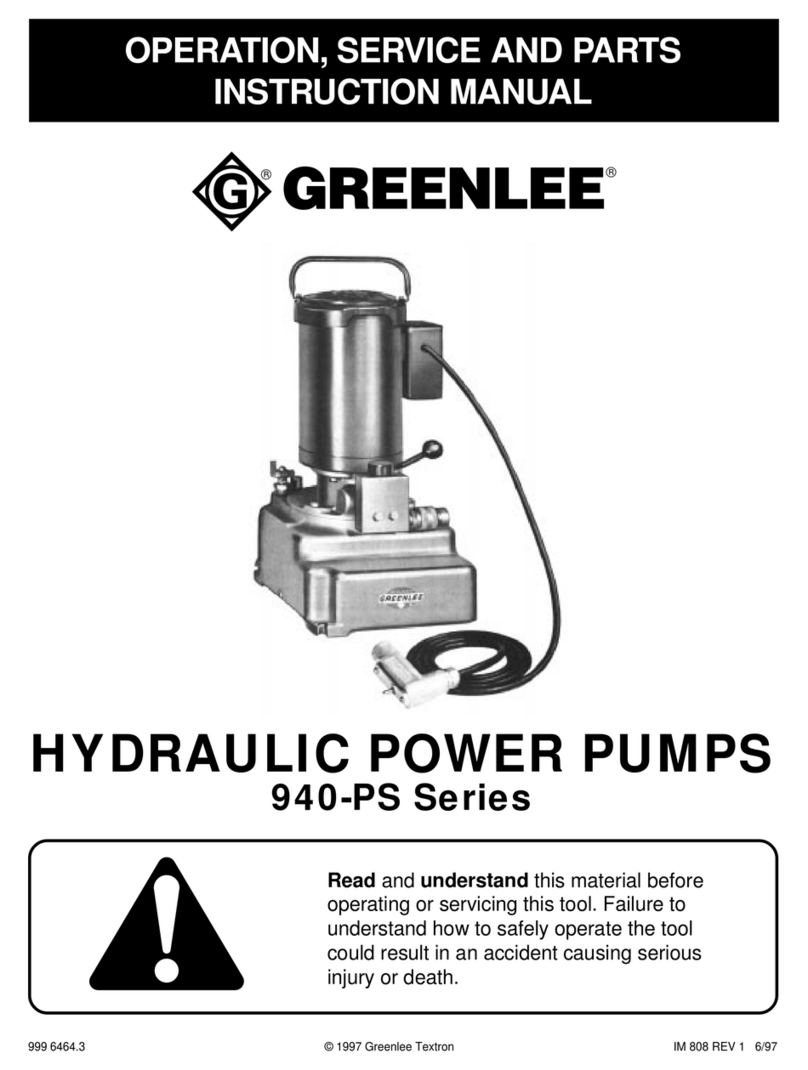
Greenlee 940m3 SERIES Manual de usuario

INSTRUCTION MANUAL
999 5540.7 © 2003 Greenlee Textron IM 839 REV 17 1/03
Read and understand all of the instructions and
safety information in this manual before operating
or servicing this tool.
940-M3 SPEC. 55
Hydraulic Power Pump
Effective with Serial Number KP1957TB

2
Hydraulic Power Pump
Additional or replacement manuals may be obtained
from your Greenlee distributor. When tool is received,
complete the following record:
SERIAL NUMBER: ____________________________
DATE OF PURCHASE: ________________________
WHERE PURCHASED: ________________________
Always mention the tool’s serial number when ordering
or writing about parts.
For convenience in ordering, parts are listed by part
number, description and quantity. If in doubt as to part
needed, send a full description, sketch, or the part itself
with the order. Prior arrangements must be made before
returning a tool for warranty service.
To insure correct and prompt shipment of parts, always
provide the following information when ordering:
1. Quantity of each part wanted
2. Part number of item
3. Description of part
4. Serial Number of tool
5. Preferred method of shipment: by mail, UPS,
or air freight
IMPORTANT SAFETY INFORMATION
This symbol is used to call your attention to hazards
or unsafe practices which could result in an injury
or property damage. The signal word, defined below,
indicates the severity of the hazard. The message after
the signal word provides information for preventing or
avoiding the hazard.
Hazards or unsafe practices which, if not avoided,
MAY result in injury or property damage.
Hazards which, if not avoided, COULD result in severe
injury or death.
Immediate hazards which, if not avoided, WILL result
in severe injury or death.
SAFETY
ALERT
SYMBOL
Read and understand all of the
instructions and safety information
in this manual before operating or
servicing this tool.
Failure to observe this warning will
result in severe injury or death.
Bee Line Company
6231 State Street
P.O. Box 709
Bettendorf, Iowa 52722-0709
319/332-4066
Do not connect the pump to any system or system
component other than those supplied by Greenlee.
Other manufacturers’ components may not with-
stand the maximum pressure and may fail. Nearby
personnel can be injured by flying components and
hydraulic oil.
Failure to observe this warning will result in severe
injury or death.
Do not alter the internal high-pressure relief valve
setting. Altering this setting will change the maxi-
mum pressure the pump can develop, which can
cause a component failure. Nearby personnel can
be injured by flying components and hydraulic oil.
Failure to observe this warning will result in severe
injury or death.

3
Hydraulic Power Pump
IMPORTANT SAFETY INSTRUCTIONS
Note: Keep all decals clean and legible, and replace
when necessary.
Do not use this pump in a hazard-
ous environment. Hazards include
flammable liquids, gases, or other
materials. Using this pump in a
hazardous environment can result in
a fire or explosion.
Failure to observe these warnings
will result in severe injury or death.
Electric shock hazard:
•Do not expose power tools to rain.
•Do not immerse the pendant
switch in water or other liquid.
Failure to observe these warnings
can result in severe injury or death.
Skin injection hazard:
Oil under pressure easily punctures
skin, causing serious injury, gan-
grene,
or death. If injured, seek
medical help immediately to remove
oil.
•Do not use hands to check for
leaks.
•Depressurize the hydraulic system
before servicing or disconnecting
the hose.
Wear eye protection when operating
or servicing this tool.
Failure to wear eye protection can
result in serious eye injury from
flying debris or hydraulic oil.
Inspect pump, hoses, couplers, and fittings for
wear or damage. Replace worn, damaged, or
missing components with Greenlee replacement
parts. Worn or damaged components can fail,
resulting in injury.
Failure to observe this warning can result in
severe injury or death.
•The pump is heavy and requires two persons to
lift. Improper lifting can result in injury.
•Do not use hose or cord to pull, lift, or carry the
equipment. Misuse will damage the hose or cord.
Failure to observe these precautions can result in
injury or property damage.
Make sure all hose fittings are properly seated
before starting the pump. Incomplete connections
may not allow the accessory’s ram to retract after
the hydraulic operation is finished.
Procedure for depressurizing the hydraulic system:
1. Release pressure and allow the ram to retract
fully.
2. Disconnect the pump from the power source.
3. Disconnect the hose slowly to release any
trapped pressure.
Fill unit with hydraulic oil before
operating pump.
Failure to fill unit with oil will result in
damage to the pump.

4
Hydraulic Power Pump
CONNECTIONS FOR CW ROTATION VIEW LEAD END OF MOTOR WIRING DIAGRAM
LOW VOLTAGE (115 Volt)
Purple P1
Brown P2
Black T5
Orange T3
Yellow T4
Red J10
White T2
Purple P1
Brown P2
Black T5
Orange T3
White T2
Red J10
Yellow T4
Insulate This Lead High
Voltage
Line
HIGH VOLTAGE (230 Volt)
Low
Voltage
Line
Brown (10)
Violet (9)
Pink (1)
Orange (5)
Black (2)
Red (8)
Blue (4)
Brown (10)
Violet (9)
Pink (1)
Orange (5)
Blue (4)
Red (8)
Black (2)
Franklin GE
Franklin GE
Introduction
The 940-M3 Special No. 55 is a high-pressure hydraulic
power pump which is simple to operate, lightweight,
durable and portable. The pump also contains an
externally mounted three-way, three-position directional
control valve for advancing, holding and returning ram.
This power pump features a built-in high volume / low
pressure pumping feature which gives fast approach
ram action and automatic changeover to low volume /
high pressure when pressure exceeds 200 psi. The
pumping unit consists of a one-position radial-type
capable of developing 10,000 psi. The pump also has a
relief valve which permits the motor to be shut off and
restarted with ram held at any desired pressure up to
maximum pressure of pump.
Note: Relief valve on this power unit has been preset
by the factory at 10,400/10,000 psi. If any
change is required, please contact factory first.
Assembly Instructions
The 940-M3 Special No. 55 pump is completely as-
sembled and is shipped to you as a complete pumping
unit. The only assembly necessary is the connection of
the ram to the pump and the power cord to the proper
electrical outlet.
Power
The 940-M3 Special No. 55 pump is powered by a 1 hp,
end-mounted, totally enclosed, fan-cooled, ball bearing,
dual-voltage electric motor. For information on 230 Volt
operation, please contact factory.
For your protection, ground unit before using.
The electric motor is equipped with an approved
3-conductor cord and 3-blade grounding-type
plug to be used with a grounded receptacle, in
accordance with the National Electrical Code.
The green-colored conductor in the cord is the
grounding wire, which is attached to the metal
frame of the unit inside the housing and to the
longest blade of the plug.
A special grounding adapter is supplied (except
in Canada or for use above 150 volts) to permit
using two-wire receptacle until the correct recep-
tacle is installed. The green grounding wire
extending from the side of the adapter must be
connected to a permanent ground such as a
properly grounded outlet box, conduit or water
pipe, before plugging in the unit. If it is necessary
to use an extension cord, use a 3-wire cord (with
ground) that has sufficient capacity.
Fill unit with hydraulic oil before
operating pump.
Failure to fill unit with oil will result in
damage to the pump.

5
Hydraulic Power Pump
This pump is designed to operate at 10,000 psi inter-
mittently. For continuous service, as on production
work, the pressure should not exceed 6,000 psi.
(This limitation is for motor protection only).
Before operating pump check the following to assure
proper service:
1. Check for proper power connections and for tight-
ness of hose connections before starting pump.
2. Check hydraulic oil with dipstick (52). Oil should be
within 1/2" of reservoir top.
3. Start motor and allow pump to idle a few minutes.
This will allow the hydraulic oil to work into moving
parts and prime the pump.
Servicing
Eight quarts are required, of which 6-1/4 quarts are
usable. A minimum of 1-3/4 quarts must be at the
bottom of the reservoir at all times during operation.
Be sure that your complete operation does not require
more than the usable amount of oil.
To refill or add oil to the reservoir, proceed as follows:
1. Remove dipstick (52) from top of reservoir (53).
2. Add oil to within 1/2" of top of reservoir when ram is
retracted.
3. Install dipstick (52) securely in place.
Filling Oil Reservoir
The oil reservoir must be kept filled with a good grade of
light hydraulic oil—Greenlee 905 0806.8 hydraulic oil or
equal—in order for the pump to operate properly.
Do not use this pump in a hazard-
ous environment. Hazards include
flammable liquids, gases, or other
materials. Using this pump in a
hazardous environment can result in
a fire or explosion.
Failure to observe these warnings
will result in severe injury or death.
Wear eye protection when operating
or servicing this tool.
Failure to wear eye protection can
result in serious eye injury from
flying debris or hydraulic oil.
Operating Instructions
Procedure for depressurizing the hydraulic system:
1. Release pressure and allow the ram to retract
fully.
2. Disconnect the pump from the power source.
3. Disconnect the hose slowly to release any
trapped pressure.
Draining Oil Reservoir
Unscrew and remove 1/8" pipe plug (51) from side of
pump base. Turn pump on its side to drain all oil from
reservoir. Be sure to replace plug before refilling reser-
voir with oil.
Flushing System
As long as the pump is used as outlined in the operating
instructions, long, trouble-free performance can be
expected. To maintain this performance, it is absolutely
essential that dirt or other foreign matter be kept out
of the system as this is the most common cause of
hydraulic system failure. Therefore, when opening up
the pump for any reason, such as making pipe connec-
tions, adjusting pressure or any repair, be sure to
exercise extreme care in cleanliness and to use clean
tools and cloths. If, at any time, dirt is suspected to have
found its way into the system, the entire oil system
should be flushed as follows:
1. Drain oil from reservoir.
2. Fill reservoir with any recommended flushing oil or
clean kerosene and operate pump. Work the control
valve back and forth several times during flushing to
wash all foreign particles form the control valve unit.
Note: Do not operate pump for a very long time as
system is not designed to operate with flushing
oil or kerosene.
3. Drain flushing oil or kerosene from reservoir and refill
with new oil.
Never use synthetic fluids or fluids with poor lubri-
cating qualities (i.e., brake fluids, etc.) as permanent
injury to the pump will result.
Check to see that vent unit is not clogged before
attempting to operate pump.

6
Hydraulic Power Pump
Pump Specifications
Pump Model.......................................................................940-M3 Special No. 55
Control No.............................................................................................501 8452.0
Optional Control Valve........................................................ 502 2223.4 / 1767-M3
Power Source ............................................................................ AC, 115/230 volts
Power Source HP ................................................................................. 1 (15 min.)
Pumping Capacity @ 100 psi ....................................................... 150 cu. in./min.
@ 10,000 psi .................................................... 30 cu. in./min.
Base...................................................................................................10-1/2" x 12"
Reservoir Capacity ..........................................................................................8 qt.
Usable Oil Volume .................................................................................... 6-1/4 qt.
Weight.......................................................................................................... 77 lbs.
Motor Maintenance
If the pump motor is in need of repair, it should be done
by the manufacturer of the motor or a qualified service
center.
Correcting Minor Hydraulic Problems
The hydraulic unit should be observed constantly for
out-of-the-ordinary performance and unusual noises.
If any of these are present, shut off pump and take
corrective steps immediately to avoid possible expen-
sive repairs later on. See Troubleshooting chart for
some of the most common minor troubles and their
solutions.

7
Hydraulic Power Pump
Wiring Diagrams
Use the following wiring diagrams when replacing the contactor relay with a solid state relay (Greenlee Part No. 918 6403.8)
7 x #16 gauge stranded
1 x #12 gauge stranded
Motor Ground (green insulation)
Wire Nut, Greenlee Part No. 918 5190.4,
Supplied by Franklin
321
T1 T2
Insulate
Motor Ground
(green insulation)
31
2
T1 T2
230-Volt Motor, Clockwise Rotation
(View Motor from Lead End)
See page 4 for wire colors.
Supply Line
115-Volt Motor, Clockwise Rotation
(View Motor from Lead End)
See page 4 for wire colors.
Wire Gauge Wire Diameter
#10 .1160
#12 .0915
#14 .0726
#16 (3) .0997 by area
#16 (2) .0815 by area
3
L1
BLK
LINE (#12–3 2P with Ground)*
*15 Amp - Greenlee Part No. 918 5264.1
*20 Amp - Greenlee Part No. 918 6487.9
L2
WHT GRD
GRN
24
Terminals
1 - 918 6085.7
2 - 918 5420.2
3 - 918 6558.1
4 - 918 5757.0

8
Hydraulic Power Pump
Wiring Diagrams (cont’d)
UPC No. Greenlee
Key 78-3310- Part No. Description Qty.
1 20721 502 0721.0 Cord Unit, Pendant Switch, and Enclosure (115/230V, 50/60Hz).........1
24718 502 4718.2 Cord Unit, and Enclosure (115/230V, 50/60Hz)....................................1
21121 502 1121.8 Cord Unit, Pendant Switch, and Enclosure (230V, 50/60Hz)................1
27320 502 7320.5 Cord Unit, Pendant Switch, and Enclosure (230V, 50/60Hz)................1
2 53281 905 3281.3 Screw, self-tapping, #10 - 16 x .625 Phillips head ................................2
3 53194 905 3194.9 Screw, self-tapping, #10 - 16 x .250 Phillips head ................................1
4 85117 918 5117.3 Cord Connector .....................................................................................2
2A
R4
LINE
PENDANT
R3
R2
R1
12
3
L1 (black wire)
Cord Ground (green)
4
L2 (white wire)
Pendant
White Wire
Pendant
Black Wire Motor T2
Motor Ground (green)
Motor T1

9
Hydraulic Power Pump
PROBABLE CAUSE POSSIBLE REMEDY
Troubleshooting
PROBLEM
Pump motor will not start. Power cord is not sufficiently mated. Check for tight connections.
Power cord cut. Replace.
Defective motor or switch. Replace or repair.
Fuse in wall box blown. Replace fuse.
Will not pump oil. Not primed. Run pump for a few minutes, tipping
unit from side to side.
Sticking plunger. Replace (8 & 9).
Plugged-up screens. Clean or replace (24).
Defective control valve. Repair or replace.
Sticking vanes. Repair or replace (16 & 17).
Excessive noise in hydraulic Low in oil. Add oil.
system.
Air in system. Run pump to work out air.
Loose drive shaft adapter. Tighten set screw (67).
Necessary to add oil often. Oil leaks. Check for broken lines, loose fittings
or connections.
If the above corrective measures fail to make the pump function properly, it is recommended that you send the pump
back to the factory or to a qualified service center. Under no conditions, allow unqualified personnel to attempt to
repair the pump (particularly the pump block unit or control valve unit), as serious irreparable damage may result.

10
Hydraulic Power Pump
63
E
57
70
55
62
64, 64C
83C
59
60
50
61
SERIAL
NUMBER
LOCATION
10.718
10.781
.
593
.656
9.218
9.281
.593
.656
85B
83B
83A
85A
84
Franklin Motor
GE Motor
Handles Used on Older Models
Otros manuales para 940m3 SERIES
2
Tabla de contenidos
Otros manuales de Bomba de potencia de Greenlee

Greenlee
Greenlee 940m3 SERIES Guía

Greenlee
Greenlee 940-PS Guía

Greenlee
Greenlee 980 Manual de usuario

Greenlee
Greenlee Soiltest 1721-M4 Guía

Greenlee
Greenlee 976-22 Manual de usuario

Greenlee
Greenlee 940 Manual de usuario

Greenlee
Greenlee 975 Manual de usuario

Greenlee
Greenlee Soiltest 1721-M4 Guía

Greenlee
Greenlee 976-22 Manual de usuario

Greenlee
Greenlee 950-M3 Guía