Giani Digital Mipal GDMD7009 Manual de usuario
01
Instruction Manual
Model Reference: GDMD7009
IM-GDMD700901112
Mipal 4- 7” TOUCHSCREEN TABLET PC

1.0 Warnings & Important Information
1.1 Safety Precautions
Before You Start
2.0 Overview
2.1 Overview Explained
3.0 Package Contents
4.0 Charging the Battery
5.0 Power On/Off the Device
6.0 Transferring Content
6.1 From a Computer
6.2 From an SD Memory Card
6.3 Inserting an SD Card
7.0 Standby / Wake Up Mode
8.0 Home Screen
8.1 Menu Bar
8.2 Status Bar
9.0 Customising the Home Screen
9.1 Adding Icons to the Homescreen
9.2 Moving Icons
9.3 Removing Icons
9.4 Setting the Wallpaper
9.5 Additional Home screens
10.0 Main Menu
11.0 Using theTouch Screen
12.0 On-Screen Keyboard
13.0 Switching Screen Orientation
Getting Started
Connecting to The Internet
Browsing the Internet
Watching Videos
Playing Music
Viewing Photos
Using the Camera
Sound Recording
G-Mail
File Manager
Managing Third Party Applications
Contents Page no.
02
03
04
05
06
06
07
07
08
08
10
11
11
12
12
13
13
14
14
15

Settings
Wireless & Networks
Sound
Display
Storage
Battery
Apps
Accounts & Sync
Battery
Apps
Accounts & Sync
Location Services
Security
Language & Input
Backup & Reset
Date & Time
Accessibility
Developer Options
About Tablet
Troubleshooting
Maintenance
Product Specification
Clarification Information
Copyrights & Trademark Notices
Disposal & Recycling Information
Disclaimer
Contents Page no.
02
03
04
05
06
06
07
07
08
08
10
11
11
12
12
13
13
14
14
15

Introduction
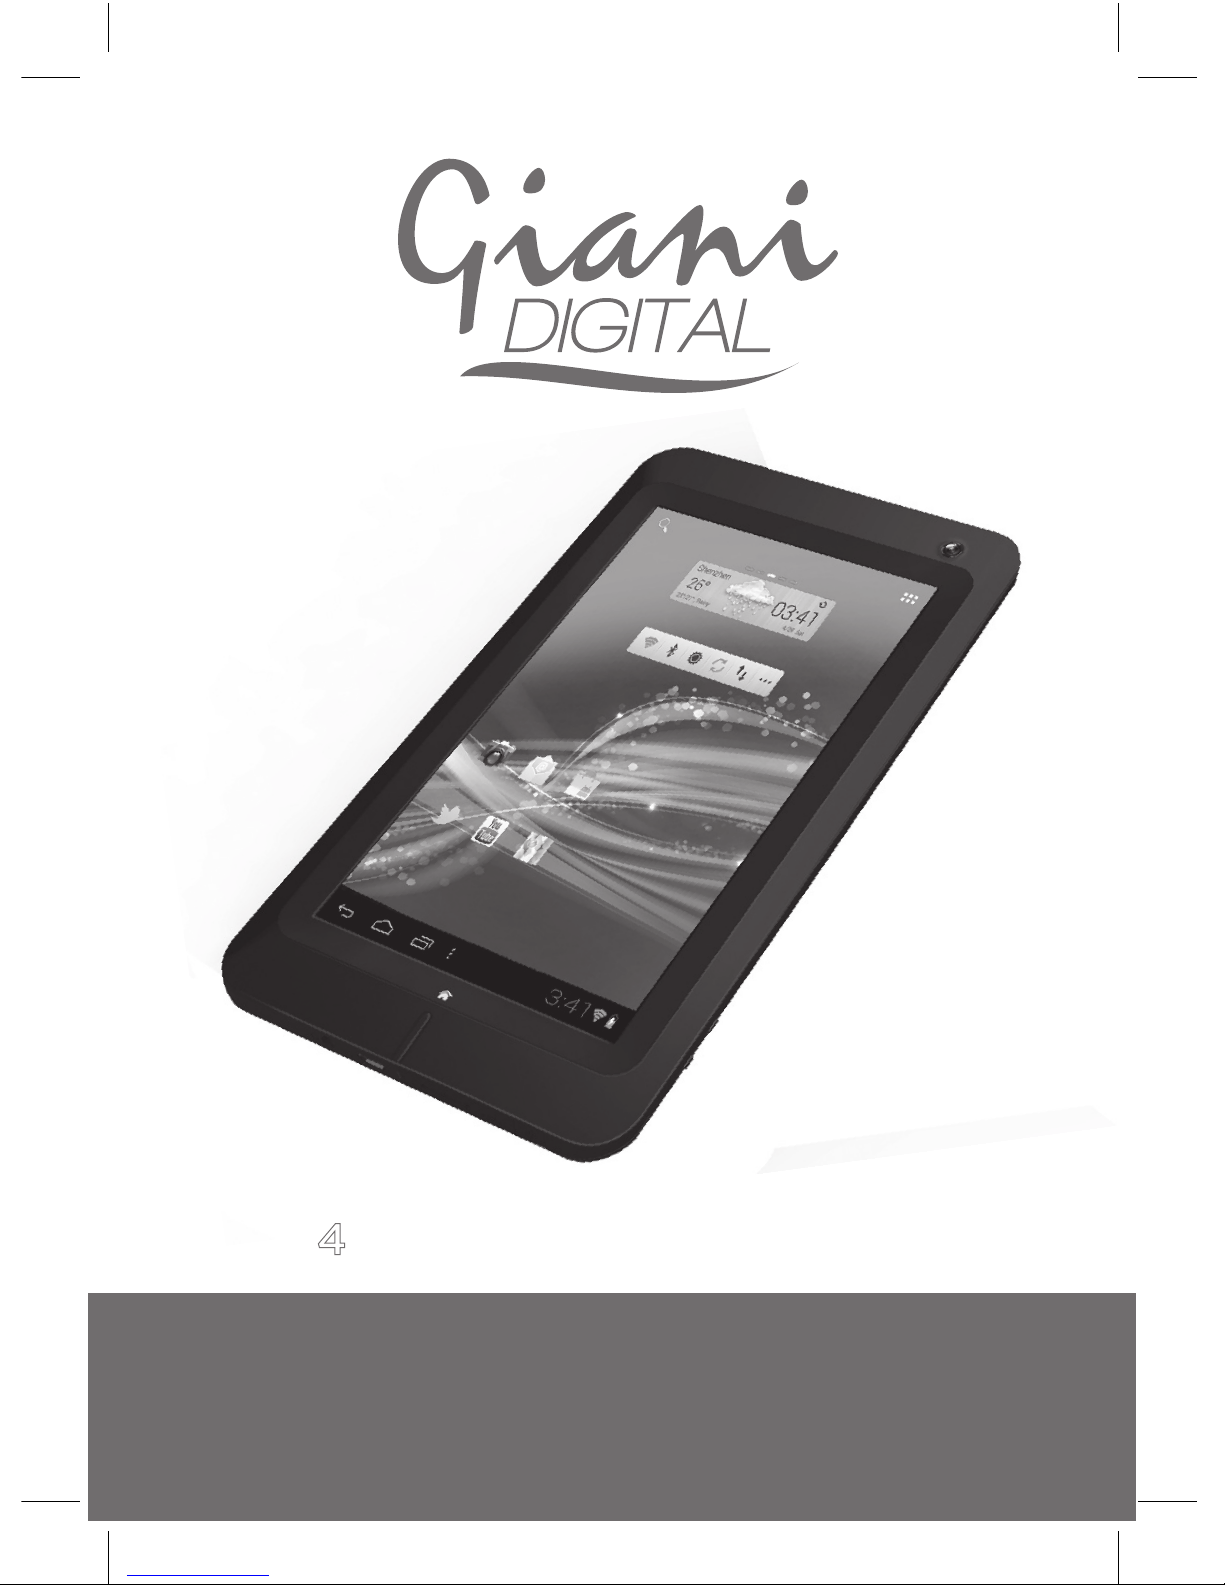
Congratulations on choosing to purchase the Giani Mipal 4 - 7” tablet PC.
This tablet is built on the Google Android Operating System with thousands of
apps available to download.
Notice
• This manual contains important safety and operation instructions, read this
manual carefully before using the tablet, and keep safe for future reference.
• Descriptions in this user guide is based on the default settings.
• Pictures and screen shots in this user guide may differ from the product.
• The content in this user guide may differ from the product and software
provided by the service provider. It is subject to change without prior notice.
• Available functions and additional services may vary according to the
device, software or service provider.
• The format and information of this user guide is based on the Google
Android Operating System, which may differ from the user operating system.
• Applications and their functions can vary according to country, region or
hardware specifications. Giani Ltd is not responsible for problems in
performance caused by third party applications.
• The audio, wallpapers and pictures provided in this device are only provided
for Giani Ltd and respective owners. It will violate copyright law if any data is
referenced and used for commercial or other purposes. Giani Ltd is not
responsible for such copyright infringement.
Declaration
Giani Ltd reserves the right to make changes to the product specifications
and design due to technical imrovements. The information provided is subject
to change without prior notice. Images in this manual are for reference only.
Please note that all downloaded material may be subject to copyright laws,
any material downloaded is at your own discretion and you will be soley
responsible for that material.

Warnings and Important Information
02
1.0 Warnings & Important Information
This device complies with part 15 of the FCC rules. Operation is subject to the
following condition:
(1) This device must accept any interference received, including interference
that will cause undesired operation.
Note:
This device has been tested and found to comply with the limits for a class B
digital device, pursuant to part 15 of the FCC Rules. These limits are
designed to provide reasonable protection against harmful interference in a
residential installation.
This device generates, uses and can radiate radio frequency energy and, if
not installed and used in accordance with the instructions, may cause harmful
interference to radio communications. However, there is no guarantee that
interference will not occur in a particular installation. If this device does cause
harmful interference to radio or television reception, which can be determined
by turning the device off and on, the user is encouraged to try to correct the
interference by one or more of the following measures:
● Adjust the receiving antenna of the radio or television.
● Increase the separation between the device and receiver.
● Connect the device into an outlet or on a different circuit from that to which
the receiver is connected.
● Call: 0161 480 6204 for technical help.
WARNING: THE MANUFACTURER IS NOT RESPONSIBLE FOR ANY RADIO OR TV INTERFERENCE CAUSED
BY UNAUTHORISED MODIFICATIONS TO THE DEVICE. ANY SUCH MODIFICATIONS COULD VOID THE
USER’S AUTHORITY TO OPERATE THE EQUIPMENT.

Safety and Important Information
03
1.1 Safety Precautions
This handbook contains basic safety precautions and instructions for use.
Please read the manual carefully before using the device to reduce the risk of
product damage and personal injury.
● Do not expose the device to high temperatures, direct sunlight, moisture,
rain or a highly dusty environment.
● Never apply any heavy impact on the device such as dropping or shaking.
● Keep away from magnetic sources.
● It is not recomended to use the headphones at a high volume for an
extended period of time as this may cause damage to your hearing.
● Charge the device when:
a) The battery power icon indicates power is low
b) The system automatically shuts off.
c) Operation buttons do not respond
d) Red icons are displayed at the top right of the screen.
● Do not disconnect when the device is in the process of uploading or
downloading files, this could cause an application error.
● Do not desassemble, repair or modify the device by yourself. Refer
servicing to qualified personnel only. Once the casing has been tampered
with the company shall not be liable for any resulting damages or faults.
● Route the USB so that people and pets are not likely to accidentally trip or
pull the cable whilst moving around the area.
● Clean with a dry cloth only. Make sure the device is turned off before
cleaning. Do not use liquid or abrasive cleansers.
● Do not use the device in prohibited areas ( ie; airplanes)
● Do not use the device whilst driving or walking.
● Do not dispose of the device in a fire to avoid explosion.
Before You Start
04
2.0 Overview

Before You Start
05
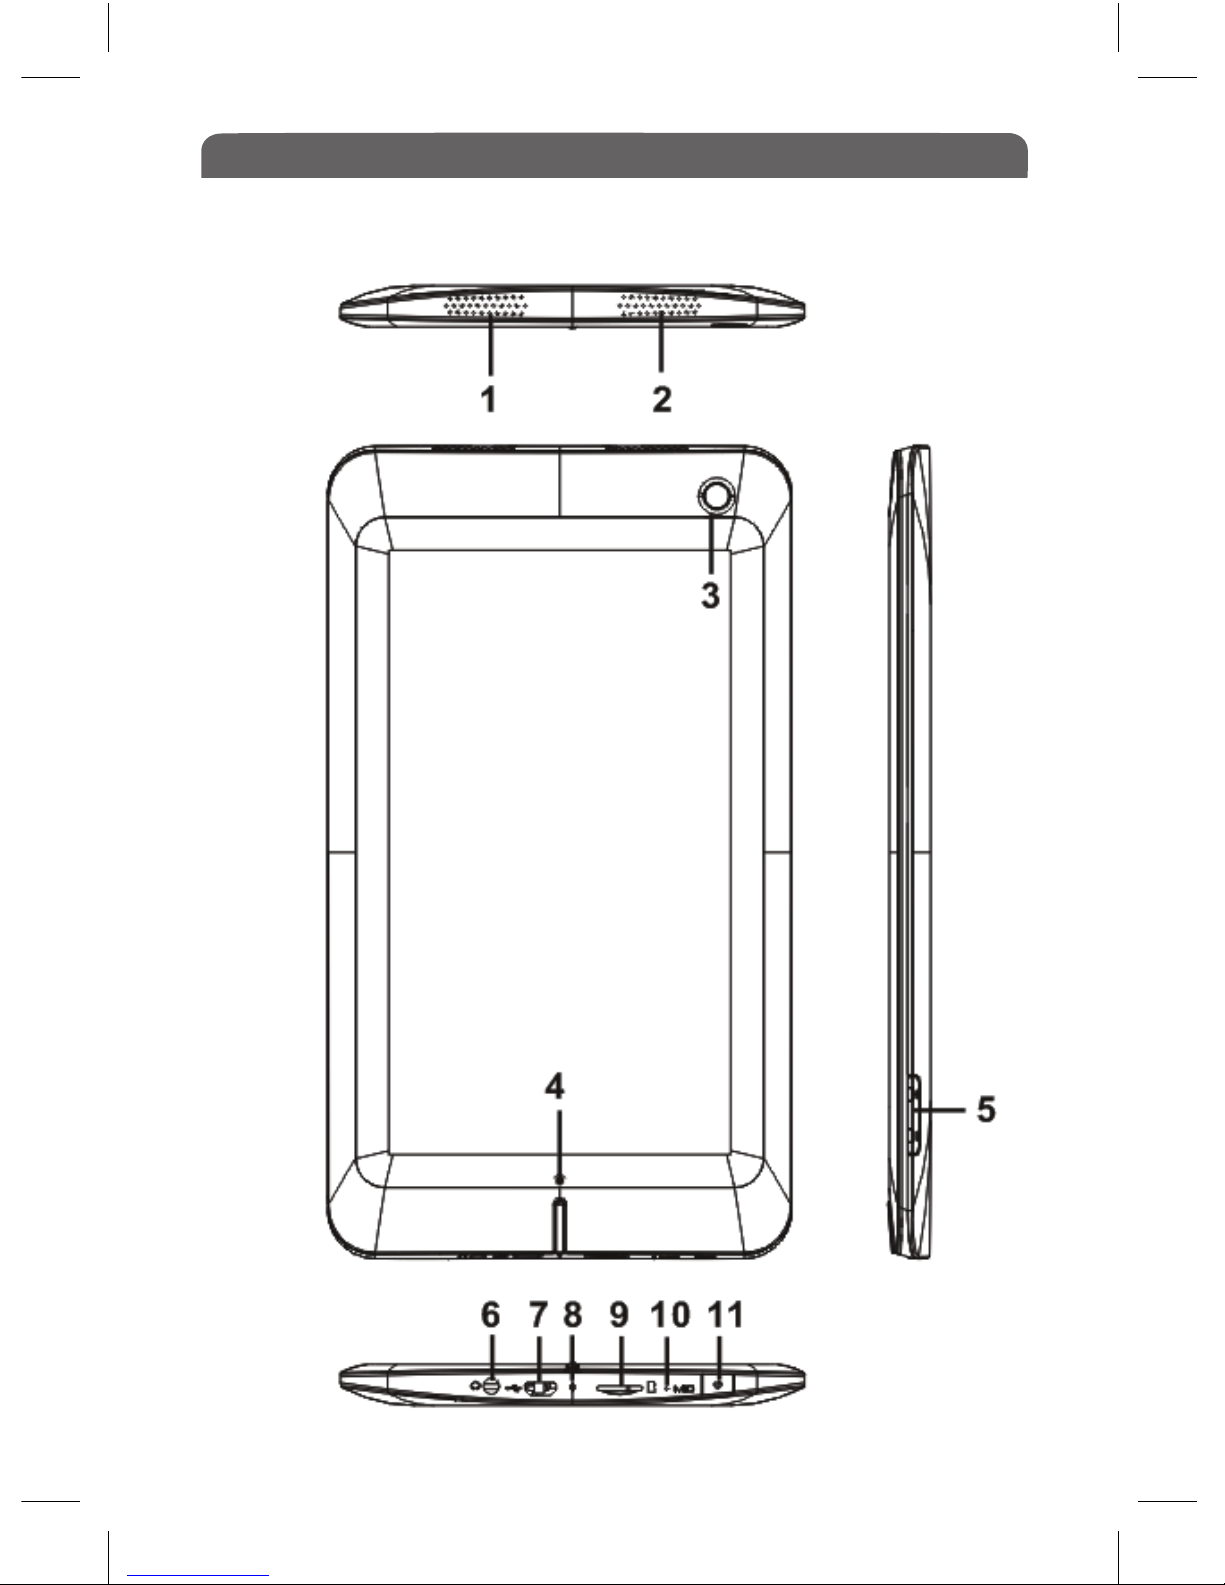
2.1 Overview Explained
1&2 Speakers
3Front Camera
4 Home button - press to return to the Home Page
5 Volume +/- button, press to adjust volume level.
6 3.5mm Earphone jack
7 Mini USB port, for charging or data transfer.
8 Charging indicator LED light.
9 Micro SD Memory card slot
10 Built in Microphone
11 Power button, press and hold for 3 seconds to turn ON/OFF. Press
quickly to put the device into sleep mode and to wake the device up.
Press for 6 seconds to restart.
3.0 Charging the Battery
• Charge the device prior to first use and when battery power is low.
• Charge the device using the DC adapter with output 5V, 1.5A.
• Charging through a PC may not fully charge the device due to the low
output current from the PC USB port.
• Charge the device in standby mode to shorten the charging process.
• Charge time is approx 4 hours to fully charge the device in standby mode
• When the device is being charged, red light is on, when fully charged the
light will turn blue.
• When the device is connected to the power cable for charging, it will go
into standby mode after it has remained idle for 60 seconds. Press the
power button quickly to wake up the device.
• The battery status is displayed in the bottom right corner of the screen:
Full Battery Low Battery Battery Charging
Before You Start
05
4.0 Power On & Off The Device
• Press and hold the Power button for 3 seconds to turn the device on.
• It may take a moment for the device to power up.
• Press and hold the Power button for 3 seconds to select power off, a
window will pop up asking for confirmation, tap ‘OK’ to turn off the device.
5.0 Standby / Wake Up Mode
Press the Power button quickly to enter Stand by mode, the device locks
automatically.
Locking the device turns off the display to conserve your battery and to
prevent unintended operation of the device.
To wake up the device, press the Power button again, then press the Lock
icon and drag the slider.
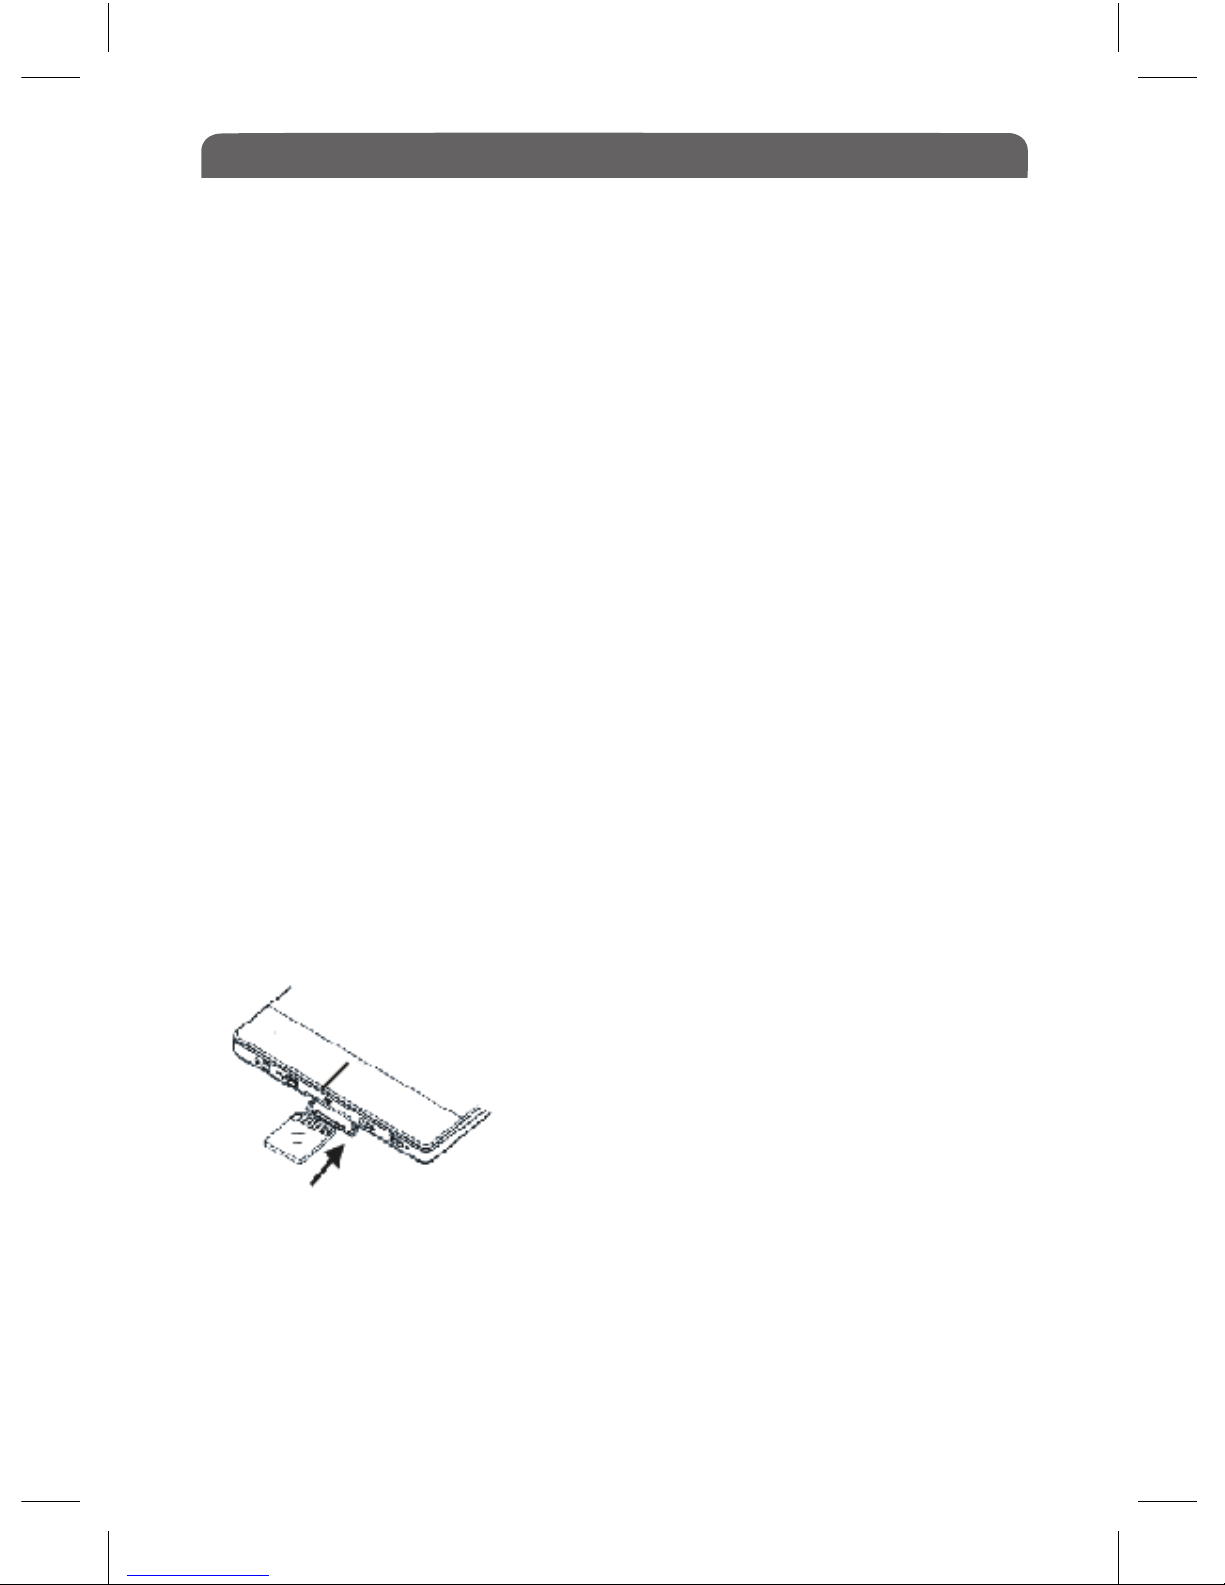
6.0 To insert a Memory card
• Insert the card correctly with the contact pins facing downwards as
illustrated below.
• Gently push the card in, you will hear a click when the card is fitted
correctly. Note: You may damage the card and
the device if the Micro SD card is not inserted
correctly.
• To remove the Micro SD card, push the card in
once again until it clicks, it will then pop out.
• When a Micro SD card is inserted or ejected
from the device, it may take few seconds for the
device to update the content. Please avoid inserting or ejecting a Micro SD
card when an operation is running as this may cause the system to freeze.
• Do not remove the card if the content inside the card is in use. This will
halt the operation of the device and cause the device to restart.
• If the system is not responding, press Power button for 6 seconds to reset.

Before You Start
05
7.0 Home Screen
When the device is turned on, it will enter the Home Screen.
7.1 Menu bar
1. Search tool to search web/tablet & launch apps.
2. App Interface - Tap to access the application list
3. Widget & Shortcut button
4. Return button - tap to return to previous interface
5. Home button - tap to return to the Home Page
6. Running application - opens a list of running applications
7. Volume decrease
8. Volume increase
9. Option Menu - set wallpaper, manage applications and system settings
7.2 Status bar
10. USB connection - indicates that the device is connected to a PC
11. USB debugging - indicates that device is in debug mode
12. Memory card indication - shows that a memory card is inserted
13. Time Display - shows the current local time
14. Wi-Fi connection - indicates that WiFi is connected
15. Battery indicator - displays the status of the battery.
Tabla de contenidos


