Freecom Beatman Mini CD I Manual de usuario

maximum music
maximum power
maximum fun

2
GB
1 Stop/Off (<)
2 Previous (9)
3 Play/On/Pause (4;)
4 Next (:)
5 Equalizer
6 Repeat
7 Intro
8 Program
5
1
6
2
3
7
8
4
FREECOM Beatman Mini CD I

3
GB
9
10
11
14
LCD display
12
13
12 Hold
13 Bass boost
9 Power supply in
10 Headphone in +
Line out
11 Open player
cover
14 Volume control

4
GB
1. General
Thank you for buying the FREECOM Beatman MiniCD
I, the new standard in portable compressed audio
players! Please read the operating instructions care-
fully before starting to use your FREECOM Beatman.
Please note that the FREECOM Beatman plays MiniCDs
only (MiniCDs have a diameter of 8cm, in comparison
with the regular CDs which have a diameter of 12cm).
We recommend that you use FREECOM MiniCD-R discs
with your Beatman.
FREECOM CDR-discs are 100% compliant with
the Orange Book Part II volume 2 standard.
Before using your FREECOM Beatman, please check
the box for the contents:
FREECOM Beatman MiniCD I MiniCD/MP3 player
AC power adapter (please check if the voltage
complies with your country)
2x Duracell UltraM3 AA-size alkaline batteries
User manual
1x FREECOM Mini CD-R (blank)
1x FREECOM pre-recorded Mini CD
1x FREECOM/Sennheiser headphones
1x Warranty card

5
GB
Contact your local FREECOM dealer / retailer or the
FREECOM Support Centre for your country (see
page17) if one of the above items is missing from your
retail-package. Dont forget to register your Beatman
by visiting www.freecom.com or by filling out the
warranty card.
Visit www.freecom.com for free music down-
loads, cool Beatman accessories, CD-R(W) me-
dia, free tools and players!
Win a CD-RW Recorder on www.freecom.com.
No purchase necessary to play!!
2. Operating Instructions
Please note that the numbers in brackets refer to the
pictures of the player on page 2and 3.
Power
The FREECOM Beatman
can be powered either by
2 AA-size alkaline batter-
ies or by the AC adapter.
Inserting batteries
Remove the battery cover
on the back of the player
by sliding it in the direction indicated by the arrows on
the battery-cover.
Insert 2AA-size alkaline batteries according to the
drawing. Please make sure that the batteries are
properly inserted, with + and side according to the
Picture.

6
GB
Batteries contain chemical substances, when
empty, they should be properly disposed of.
Connecting the power supply
Insert the AC adapter into the appropriate socket (9).
Insert the power plug into the mains outlet. When
using the power supply, remove the batteries.
Getting started
Open the cover by sliding the "Open" switch (11).
Insert a MiniCD into the Beatman, with the label
facing up. Never touch the lens of the player.
Close the cover.
Press "Play" (3) to turn on the power.
The player will start initializing the
CD. When initializing, the LCD dis-
play shows "READ".
If a MP3 CD is inserted, the display
will show the total number of titles
and tracks.
If a Audio CD is inserted, the display
will show the total tracks and playing
time.
If no CD is inserted or the disc cannot
be initialized, the LCD display will
show "NO DISC".

7
GB
Only when power comes from the batteries, will the
battery-status indicator appear on the display.
When the batteries are running low, the battery-
indicator will start flashing.
Play/Pause/Resume
Press Play "4;" (3) to start playing music. If this
button is pressed during playing, the player will go
into "Pause" mode. To resume play, press "4;" (3)
once again.
Please note that when playing a MP3 CD, the songs
will be played in the filenames alphabetical order,
unless the user has changed the playing-order by
adding a "tag" to the filename.
Stop/Off
Press Stop "<" (1) to stop the player and enter idle
status (the motor does not run but the power is on).
When the player is in idle status, pressing the "<" (1)
button will turn off the player.
battery full battery empty
play mode pause mode

8
GB
Next
Press Next ":" (4) to skip to the beginning of the next
track. Continuous pressing of Next ":" (4) during play
will fast-search forward through the track.
Previous
Press Previous "9" (2) to skip to the beginning of the
previous track. Continuous pressing of Previous dur-
ing play will fast-search backwards through the track.
Program
The FREECOM Beatman has a memory for program-
ming up to 20 songs.
To start the "program" function, press the Program
button (8). The memory-ID starts from "01". The song
ID starts from title 1 and track 00 if the memory is
empty. If the memory is not empty, the last memorized
song will be displayed.
Press Next or Previous to select the song you want to
program. Press Program to store the selected song in
the memory. Repeat this process until you have pro-
grammed the songs that you want. Press play "4;"
(3) to start playing the programmed songs.
The program-memory will be erased when the power
is switched off.
9
GB
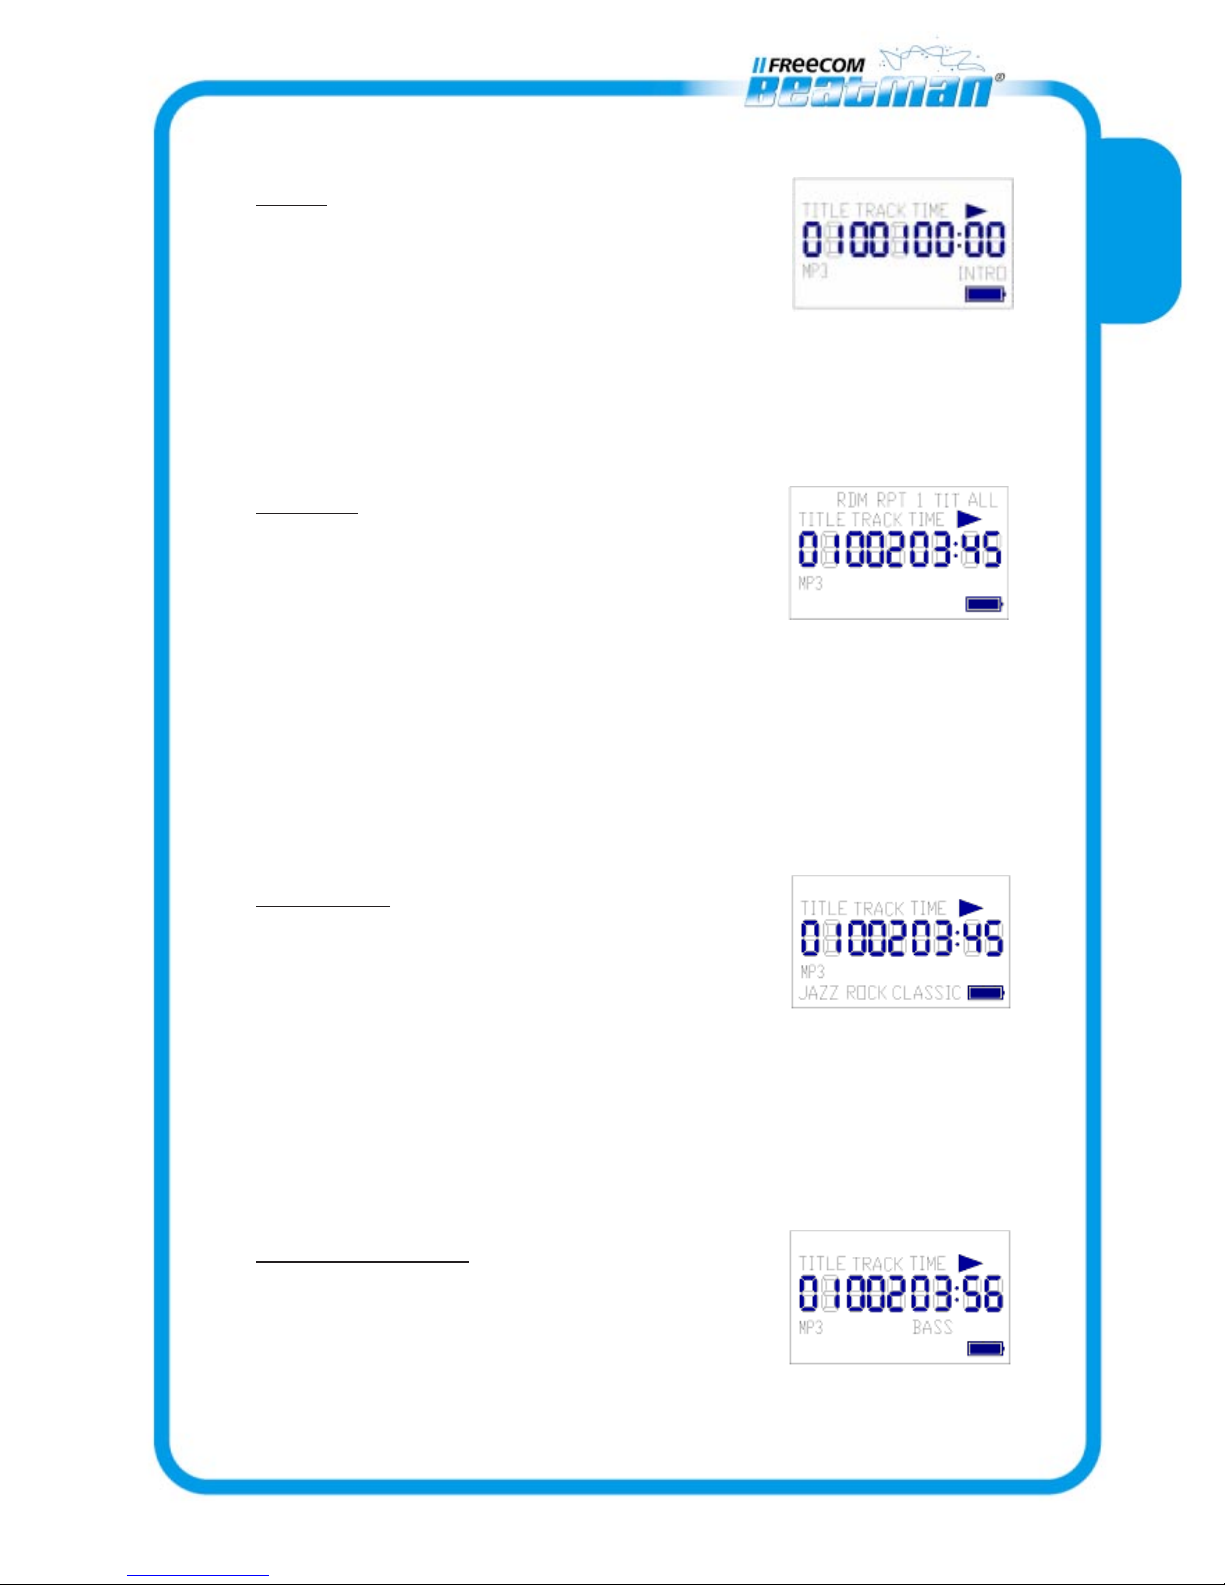
Intro
Press Intro (7) to start playing the
intro (the first 10 seconds) of every
song. If the player is in Program mode,
only the intro of the memorized songs will be played.
To stop the intro function, press the Intro button(7)
once again or press the Play button (3).
Repeat
The repeat function has 5 modes:
Off/Repeat song/repeat title/repeat
all/random play.
Press Repeat button (6) to change the repeat mode;
the default setting is "repeat off". Repeat Off is not
displayed on the LCD-display.
If the player is in Program mode, the Repeat function
will only repeat the memorized songs.
Equalizer
The Beatman has 4 equalizer modes:
Normal/Jazz/Rock/Classic. Press the
EQ button (5) to change the EQ mode;
default setting by power on is "normal".
Normal mode is not displayed on the LCD-display.
Please note that the EQ function only works when
playing MP3 CDs.
Bass Boost (13)
Turn on the switch to enable the
Bass Boost function.

10
GB
Hold (12)
Turn on the switch to hold all panel
buttons.
Open (11)
Slide the switch to open the player
cover.
Opening the cover will stop any ac-
tion, but the power will remain on. The LCD-display
shows "OPEN".
Volume (14)
The FREECOM Beatman has a rotary volume control-
ler; turning the volume-wheel clockwise will increase
the volume; turning the wheel anti-clockwise will
decrease the volume.
Earphone and AC Power Adapter connections
DC jack (9), for connecting the AC power adapter
Stereo earphone jack (10), for connecting the
headphone or the optional cable to connect the
Beatman to your HiFi-system.
ESP and mechanical anti-shock
The FREECOM Beatman is equipped with a Electronic
Shock Protection feature for MP3 CD, and with a
mechanical anti shock feature, which ensures continu-
ous play whilst playing AudioCDs. Both ESP and Anti-
Shock features are always enabled.


