Everest EBR1 Manual de usuario
Owner’s Manual
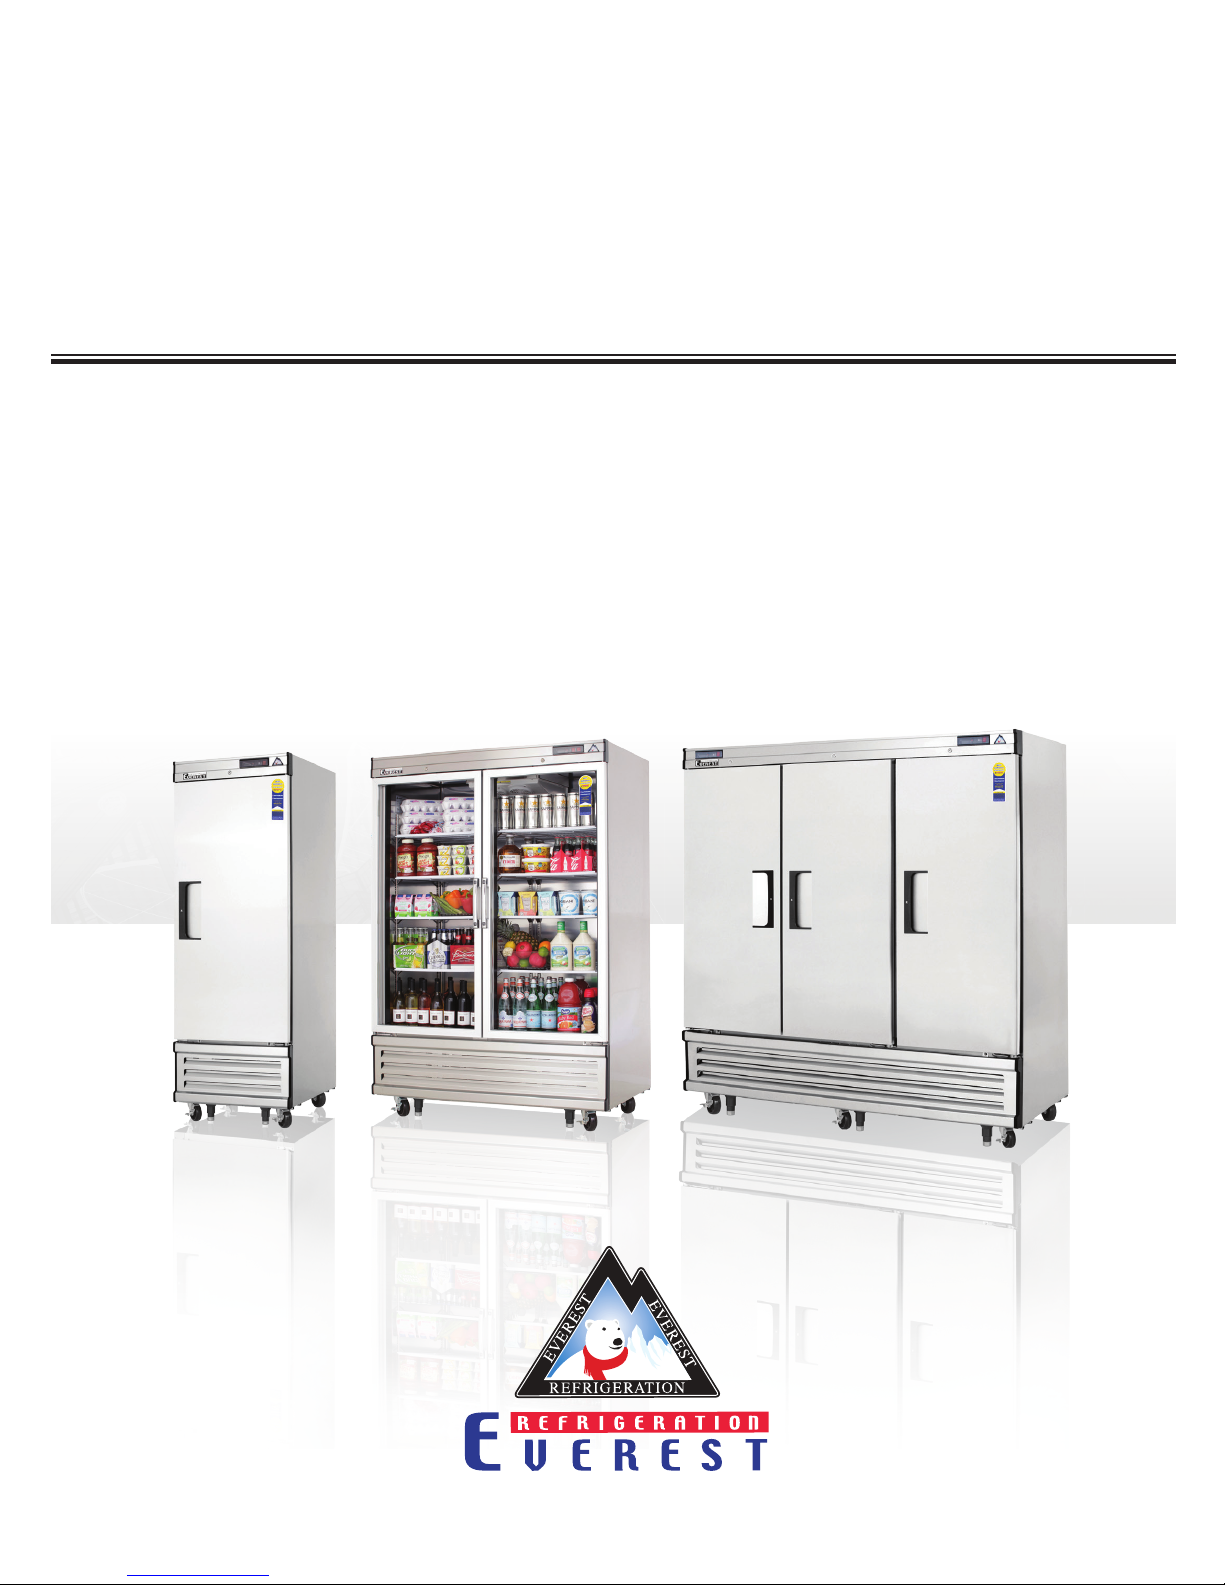
Upright Reach-Ins
Bottom Mounted Condensing Unit
EBR1 EBWR1 EBWRH2 EBNR2
EBSR2 EBR2 EBR3 EBR1D
EBNR2D EBR2D EBF1 EBWF1
EBWFH2 EBNF2 EBSF2 EBF2
EBF3 EBF1D EBF2D EBWRFH2
EBSRF2 EBRF2 EBRF2D EBRF3
EBGR1 EBGNR2 EBGR2
www.everestref.com


Upright Reach-Ins
Bottom Mount Condensing Unit
EBR1 EBWR1 EBWRH2 EBNR2 EBSR2 EBR2 EBR3 EBR1D EBNR2D
EBR2D EBF1 EBWF1 EBWFH2 EBNF2 EBSF2 EBF2 EBF3 EBF1D
EBF2D EBWRFH2 EBSRF2 EBRF2 EBRF2D EBRF3 EBGR1 EBGNR2 EBGR2
Contents
1. Hydrocarbon Guidelines 1
2. Installation Instructions 3
3. General Safety 8
4. Electrical Safety 9
5. Operation 10
6. Care and Maintenance 15
7. Door Reversal Instructions 18
8. Troubleshooting Guide 20
9. Warranty Information 22
Everest Owner’s Manual

Hydrocarbon Guidelines
1
1. Hydrocarbon Guidelines
This section applies to R290 Hydrocarbon units only. To identify the refrigerant type, see the
data plate in the cabinet interior.
DANGER - Risk of fire or explosion. Flammable refrigerant used. Do not use mechanical devices or
other means to accelerate the defrosting process. Do not puncture refrigerant tubing.
DANGER - Risk of fire or explosion. Flammable refrigerant used. To be repaired only by trained service
personnel. Do not puncture refrigerant tubing.
CAUTION - Risk of fire or explosion. Flammable refrigerant used. Consult Service Manual or Owner’s
Manual before attempting to install or service this product. All safety precautions must be followed.
DANGER - Risk of fire or explosion. Dispose of properly in accordance with federal or local regulations.
Flammable refrigerant used.
DANGER - Risk of fire or explosion due to puncture of refrigerant tubing; follow handling instructions
carefully. Flammable refrigerant used.
WARNING - THIS UNIT USES R290, A HYDROCARBON, PROPANE REFRIGERANT THAT IS
ENVIRONMENTALLY FRIENDLY BUT IS ALSO HIGHLY FLAMMABLE AND EXPLOSIVE. PLEASE READ
THIS MANUAL CAREFULLY AND FOLLOW ALL SAFETY PRECAUTIONS CONTAINED HEREIN TO
AVOID THE RISK OF FIRE OR EXPLOSION. FAILURE TO FOLLOW THE SAFETY PRECAUTIONS MAY
RESULT IN SERIOUS INJURY OR DEATH, AND/OR PROPERTY DAMAGE.

Hydrocarbon Guidelines
2
Propane (R290) is highly approved for use as a refrigerant in commercial, self-contained units in the US under limited
use conditions. It can only be used in new equipment. Backfitting or modifications of old equipment are not allowed. It
must be charged in a strictly limited volume of up to 150 grams (5.3 oz) per refrigeration circuit. Even though this is a
small amount, it still presents a fire or explosion hazard if it leaks out of parts that hold refrigerant. When it comes in
contact with air, a flammable propane-air mixture can be created and easily ignited by electrical sparks, open flames
or hot surfaces. The risk is higher in small, confined, poorly ventilated spaces. Propane will settle at lower zones
because it is heavier than air. To reduce these risks, observe the following precautions
• Avoid installation of unit in areas with open flames or in general vicinity of open flames or high surface
temperatures.
• Avoid unit installation in small, confined spaces. Ensure ample ventilation at all times. Keep all exhaust vents
free of any blockage or obstruction.
• Do not rely on smell to detect potential leaks of propane refrigerant. Propane refrigerant is a high purity
propane gas and does not contain odourants or stenching agents. These additives are typically used in fuel-
grade propane and natural gas in order to give them a distinctive smell which makes it easier to detect leaks.
• General service and repairs must be performed in well-ventilated areas. General service and repairs must be
performed only by professionals authorized by Everest Refrigeration.
• Component shall be replaced with Everest-issued, like components to minimize the risk of possible ignition
resulting from incompatible parts or improper repairs.
• Do not modify, re-appropriate or remove any functional part(s) from the unit.
• Handle the unit with care to avoid any damage.
• Practice safety guidelines when transporting the unit. Consult with your local Department of Transportation for
requirements in moving flammable gasses.

Installation Instructions
3
2. Installation Instructions
This section applies to all Everest products. Correct installation ensures proper performance and
longevity of your appliance. Professional installation by a trained refrigeration technician and
electrician is recommended. Warranty is void if the following guidelines are not met.
1. Inspect for any freight damage upon
delivery of the unit. If damage is detected,
immediately report it to an Everest
representative. Everest is not responsible for
damage that occurs during shipment.
2. Keep the unit upright at all times. The
compressor contains oil, refrigerant,
lubricants and various chemicals. When tilted,
these fluids may shift and travel to sections
where they don’t naturally occur. This will
lead to system contamination and compressor
failure.
3. Some units require caster installation
for proper performance. Visit our website at
www.everestref.com and enter your product’s
model number in the search field to determine
its caster requirements.
4. Do not place your hands under the unit
when moving it to avoid injury from sharp
edges, protruding parts or weight impact.
5. Select a location with good air ventilation.
Poor ventilation rapidly increases ambient
temperature. High ambient temperatures
exceeding 86°F (30°C) promote excessive
compressor activity in order to maintain
the desired cabinet temperature. This will
result in decreased performance, advanced
component failure and the risk of fire.
6. Select a location away from heat-generating
equipment such as stoves, ovens, etc. Heat
sources rapidly increase the temperature
of theimmediate vicinity. High temperatures
exceeding 86°F (30°C) promote excessive
compressor activity in order to maintain the
desired cabinet temperature. This will result in
decreased performance, advanced component
failure and the risk of fire.
7. A distance of 6” is required for backside
clearance. This ensures proper ventilation and
prevents overheating which can lead to advanced
component failure and the risk of fire.
8. Select a location with a hard, leveled surface.
Use a leveling tool on the unit to ensure a proper
alignment. Proper door function and condensate
removal is dependent on accurate balance.
9. Select a location close to an electrical wall
outlet to ensure direct connection without the use
of extension cords.
10. Select a location away from severe moisture
conditions. This may compromise the unit’s
electrical components and lead to electrical
shocks or the risk of fire.
11. Select a location that will not expose the
unit to extremely dusty conditions. Environments
with high dust and debris content will significantly
hasten condenser coil blockage and will result in
decreased performance, advanced component
failure and the risk of fire.
12. Do not build an enclosure or cabinet around
the unit. This will restrict air ventilation resulting
in elevated compressor activity, decreased
performance, advanced component failure and the
risk of fire.
13. The unit is not intended for use in food trucks.
Limited space, lack of ventilation and ambient
temperatures exceeding 86°F (30°C) typical to this
setting will result in elevated compressor activity,
decreased performance, advanced component failure
and the risk of fire.
14. The unit is intended for indoor use only.
Outdoor use will cause a decrease in performance,
advanced component failure and the risk of fire.

Installation Instructions
4
Some units come standard with shelves, shelf clips
and notched pilasters. Each shelf requires four clips.
Attach the shelf clips onto the pilasters by inserting its top
hook into a pilaster notch followed by the bottom hook. Do
not use pliers or other crimping tools to modify the shape of
the shelf clips. This will result in shelf mounting instability.
Shelf Installation

Installation Instructions
5
When removing a shelf, unmount the shelf from the shelf
clips. To detach the shelf clip from the pilaster, tilt up the
shelf clip until the bottom hook clears followed by the top
hook.
Place shelves on the shelf clips making sure all corners are
mounted securely and evenly with identical distance from
the unit’s floor and up. Always lay the back of each shelf
down on the rear clips before the front.

Installation Instructions
6

Installation Instructions
7
EB Series
Product Load Level & Shelf Placement
Airflow Guard
Solid Door
Load Level 12”
Load Level 12”
Load Level 12”
Load Level 12”
Shelf
Front Rear
Side View
Air Vent
Fan
Airflow
Product Load Level & Shelf Placement
Este manual sirve para los siguientes modelos
26
Tabla de contenidos
Otros manuales de Refrigerador de Everest

Everest
Everest ETR1 Manual de usuario

Everest
Everest ESR1 Manual de usuario

Everest
Everest ESPT-1G-1S Manual de usuario

Everest
Everest EMGR24 Manual de usuario

Everest
Everest ECB36D2 Manual de usuario

Everest
Everest ESR1 Manual de usuario

Everest
Everest EBB23 Manual de usuario

Everest
Everest EGC37 Manual de usuario

Everest
Everest ebd1 Manual de usuario


