Epson PowerLite 1720 Manual del sistema

INSTALLATION HANDBOOK
Remote Control Information
Epson PowerLite 1720 / 1730W
Using the Remote Control
Follow these tips for using the remote control:
Point the remote control at the front of the projector or at the
screen.
Stand within 20 feet of the projector.
direct sunlight, or the projector may not respond properly.
Replacing the Batteries
Replace the batteries as described below:
1. Turn the remote control over.
2. Press the tab on the battery cover
to open it.
3. Install two AA batteries,
inserting the +and –ends
as shown.
4. Close the cover, pressing it down
until it snaps into place.
note
If a button is pressed longer
than 30 seconds, the remote
control stops operating to
conserve power. When you
release the button, normal
operation resumes.
caution
When replacing batteries,
take the following
precautions:
Replace the batteries as
soon as they run out. If the
batteries leak, wipe away
hands, wash immediately.
Do not expose batteries to
Dispose of used batteries
according to local
regulations.
Remove the batteries if
you won’t be using the
projector for a long period of
time.
1

INSTALLATION HANDBOOK
Remote Control Information
Epson PowerLite 1720 / 1730W
2
Controlling the Picture and Sound
You can use the remote control to preview and select your picture
sources, temporarily turn o the picture and sound, freeze the action,
zoom in on the picture, and adjust the volume.
Switching Between Picture Sources
If your projector is connected to more than one computer and/or
video source, you can switch between the dierent sources:
The easiest way to select your source is to press the Search button
on the remote control (or the Source Search button on the
projector) repeatedly until you see the image you want on the
screen.
On the remote control, there are four Source buttons. Use them
to switch between equipment connected to the port identied on
each button (The EasyMP button does not work with the
PowerLite 1720/1730W.)
After you select a source, the screen goes dark for a moment before the
image appears.

INSTALLATIONHANDBOOK
Remote Control Information
Epson PowerLite 1720 / 1730W
3
Turning Off the Picture and Sound
You can use the A/V Mute
the image and sound. This does the same thing as the A/V Mute slide
(shown on page 16) and is useful if you want to temporarily redirect
your audience’s attention.
A/V Mutebutton.
The screen turns black.
To turn the image and sound back on, press the button again.
You can have the screen turn blue when you press the A/V Mute
button. You can also have an image, such as a company logo, display
on the screen (see page 60).
Stopping Action
You can use the remote control to stop the action in your video or
computer image.
To stop the action and keep the current image on the screen, press
the
Freezebutton. The sound continues.
To restart it, press the Freeze button again.
note
This function pauses the
image, but not the sound.
Also, because the source
continues to transmit
signals, you won’t resume
the action from the point
you stopped it.
INSTALLATION HANDBOOK
Remote Control Information
Epson PowerLite 1720 / 1730W
4
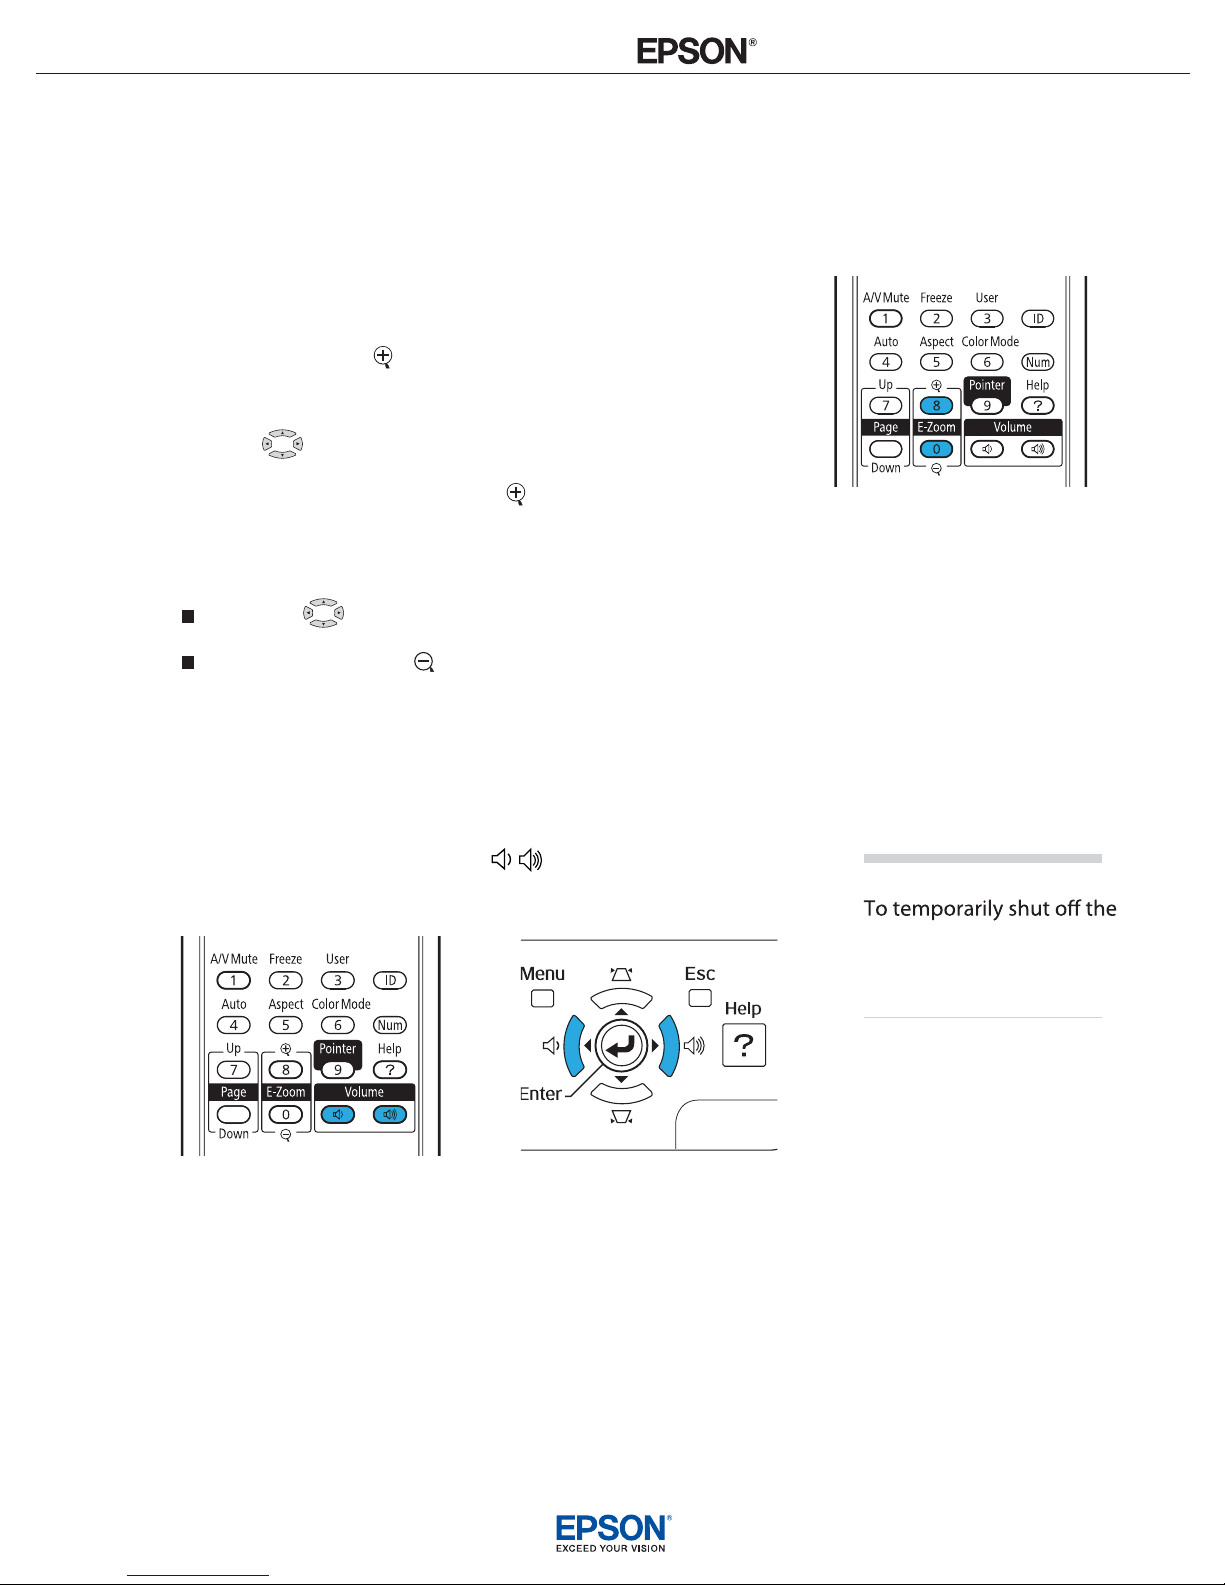
Zooming Part of Your Image
You can zoom in on a portion of the image using the E-Zoom
buttons on the remote control.
1. Press the E-Zoom button on the remote control.
You see a crosshair indicating the center of the zoom-in area.
2. Use the pointer button to position the crosshair.
3. Continue pressing the E-Zoom button to enlarge the
4. While the image is enlarged, you can:
Use the pointer button to move around the screen.
Press the E-Zoom button to zoom out.
5. When done, press the ESC button to return the image to its
original size.
Controlling the Volume
To change the volume, press the or button on the remote
control or projector.
You can also adjust the volume using the projector’s menu system.
selected area up to 4x magnication.
note
sound and picture, press the
A/V Mute button or close
the A/V Mute slide.

INSTALLATION HANDBOOK
Remote Control Information
Epson PowerLite 1720 / 1730W
5
Adjusting the Aspect Ratio
You can use theAspect button on the remote control to adjust how
an image ts into the display area. Each time you press the button, the
projector changes to the next setting.
When Connected to Video Equipment
If you’re projecting from video equipment such as a DVD player, set
the projector’s Aspect setting to match that of the player. For
example, if the video player is set to output images at a 16:9 aspect
ratio, set the projector’s
Aspect setting to16:9 so they match. If the
player outputs images at a 4:3 aspect ratio, select 4:3 (PowerLite 1720)
or Normal (PowerLite 1730W).
Note that the projector’s native aspect ratio (XGA or WXGA,
depending on the model) is narrower than 16:9. Therefore,
widescreen movies and HDTV broadcasts will display with black bars
at the top and bottom when 16:9 is selected as the Aspect setting. For
the PowerLite 1730W, you can select Full to stretch the image
vertically to ll the whole projection area.
PowerLite 1730W
PowerLite 1720
gnittes9:61gnitteslamroNgnittes9:61gnittes3:4

INSTALLATION HANDBOOK
Remote Control Information
Epson PowerLite 1720 / 1730W
6
When Connected to a Computer
For computer images, Normal is usually the best setting to select.
This displays the image at the largest possible size without stretching
it. For computers with wide-panel WXGA displays, the PowerLite
1730W displays the image at WXGA resolution, making full use of
the display area; likewise, the PowerLite 1720 displays XGA images to
their best advantage.
Depending on your computer display and projector model, you may
see black bars at the edges. In that case, try selecting 4:3 (PowerLite
1720 only) or 16:9. The PowerLite 1730W also lets you select:
Full to stretch the image to ll the whole projection area
Zoom to t the image in one dimension only, with the other
dimension cut o
Through to display the image without stretching or scaling it
If the resolution of the image is the same as the projector’s, changing
the
Aspect setting has no eect.
Adjusting the Color Mode
You can use the Color Mode button on the remote control to adjust
the color, brightness, and other aspects of your image. This lets you
quickly adjust the image for various uses.
Press the button repeatedly to select from the following settings:
Game: For increased brightness and contrast when playing video
games or watching TV in a bright room. If you notice video delays
during high-speed gaming, turn o the Progressive setting
Presentation: For computer presentations in a bright room with
color graphics.
Text: For computer presentations in a bright room with
black-and-white text and graphics.
Theatre: For watching movies in a dark room.
Photo: For vivid, high-contrast still images in a bright room
(computer images only).
note
If part of the image remains
cut o, check the projector’s
Resolution setting
Select Normal or Wide,
depending on the size
of your computer’s display
panel.

INSTALLATION HANDBOOK
Remote Control Information
Epson PowerLite 1720 / 1730W
7
Sports: For vivid TV images projected in a bright room (video,
S-video, or composite video only).
sRGB: For matching the color palette of standard sRGB computer
displays
Blackboard: For projecting accurate colors on a green chalkboard
(adjusts the white point).
Customized: For manual color adjustment.

INSTALLATION HANDBOOK
Remote Control Information
Epson PowerLite 1720 / 1730W
8
Operating Your Computer with the
Remote Control
If you connect a computer to the projector with a USB cable, as
described on page 41, you can use the remote control in place of your
computer’s mouse. This gives you more exibility when delivering
slideshow-style presentations, since you won’t have to stand next to
the computer to change slides.
Use thePage Up and Down buttons to move through a
slideshow.
Use the pointer button to move the cursor on the screen.
Press theEnter button once to left-click, or press it twice to
double-click. Press the Esc button to right-click.
To drag-and-drop, hold down the Enter button. Then use the
pointer button to drag the object. When it’s where you want
it, press
Enter to release it.
Page up or down
to change slides
in PowerPoint
Right-click
Left-click
Move cursor

INSTALLATION HANDBOOK
Remote Control Information
Epson PowerLite 1720 / 1730W
9
Highlighting Your Presentation
You can display a pointer to call out important information on the
screen. If you want to customize the pointer tool, you can choose from
three alternative shapes.
Using the Pointer Tool
1. To activate the pointer tool, press the Pointer button on the
remote control. A pointer appears on the screen.
If you prefer to use a dierent style of pointer, see the instructions
in the next section.
2. Use the pointer button on the remote control to position the
pointer on the screen.
3. When you’re done using the pointer, press the Pointeror Esc
button to clear the screen.
Customizing the Pointer Tool
You can change the appearance of the pointer by choosing from three
alternative shapes.
1. Press the
Menu button on the remote control, highlight the
Settings menu, highlight Pointer Shape, and press Enter. You
can select one of the pointer shapes shown at the left.
2. Select the shape you want and press Enter.
3. Highlight Return and press Enter.
4. Press Menu to exit from the menu system.
Pointer

INSTALLATION HANDBOOK
Remote Control Information
Epson PowerLite 1720 / 1730W
10
Operating Two or More Projectors with
the Remote Control
If you’re using more than one projector, you can control all the
projectors—or just selected ones—by using the projector and remote
control ID system. First assign a unique ID number to each projector.
Then set the remote control to match the ID of the projector you
want to operate. This lets you control it without aecting the others.
Setting the Projector ID
The projector’s default ID is set to O. This lets it respond to
commands from any remote control. To change the ID, follow these
steps:
1. Press the Menu button on the remote control. You see the
projector’s menu screen.
2. Select Extended > Projector ID.
3. Use the pointer button to highlight the new ID, and press
Enter to select it.
4. When done, press Menu to exit the menu system.
Checking the Projector ID
To check the ID of a specic projector:
1. Point the remote control at the projector you want to check.
Otros manuales para PowerLite 1720
4
Este manual sirve para los siguientes modelos
1
Tabla de contenidos
Otros manuales de Mando a distancia de Epson

Epson
Epson WH-5674 Manual de usuario

Epson
Epson PowerLite Home Cinema 8350 Manual del sistema

Epson
Epson PowerLite 570 Manual del sistema

Epson
Epson HA90 Manual de usuario

Epson
Epson EF-100BATV Guía de instalación

Epson
Epson PowerLite Pro G5450WUNL Manual del sistema

Epson
Epson PowerLite Pro G5150NL Manual del sistema

Epson
Epson G5000 - PowerLite XGA LCD Projector Manual del sistema


