Install fan using countersink screws and
place fan in housing (Fig. 4). Connect fan
and speaker wiring to M/B as instructed in
M/B user manual (After M/B is installed!).
Install 3.5" HDD and FDD (floppy)
A.Squeeze tab on top and remove 3.5in.
drive cassette (Fig.5). Slide HDD
into bottom of cassette and fasten
with coarse thread flat head screws.
Slide floppy into the top of the same
cassette and fasten with fine thread
flat head screws.
B.Then slide cassette back in to drive
bay and snap in to place.
Install CD-ROM, (DVD or 5.25" FDD
A.Fasten slide guides to the side of CD-
ROM (DVD or 5.25" FDD) Using
fine thread flat head screws (Fig. 6).
B.Slide CD-ROM in to 5.25" bay and
snap in to place (Fig 7).
Fig:4
Fig:5
Fig:6
Fig:7
Series EN-7180
***Important-First please check your model number before proceeding. The
user manual is set up to correspond to the model number and installation will
vary depending on the model.
Required tools: Phillips head screwdriver, pliers
***(Photos shown may vary according to different model number)
Place case on edge of table (Fig.1).
With 1 hand holding top of chassis,
pull quickly from the bottom of the
bezel to remove it (Fig. 2).
**Note-It might require some force
to remove due to the snug fit to the
chassis.
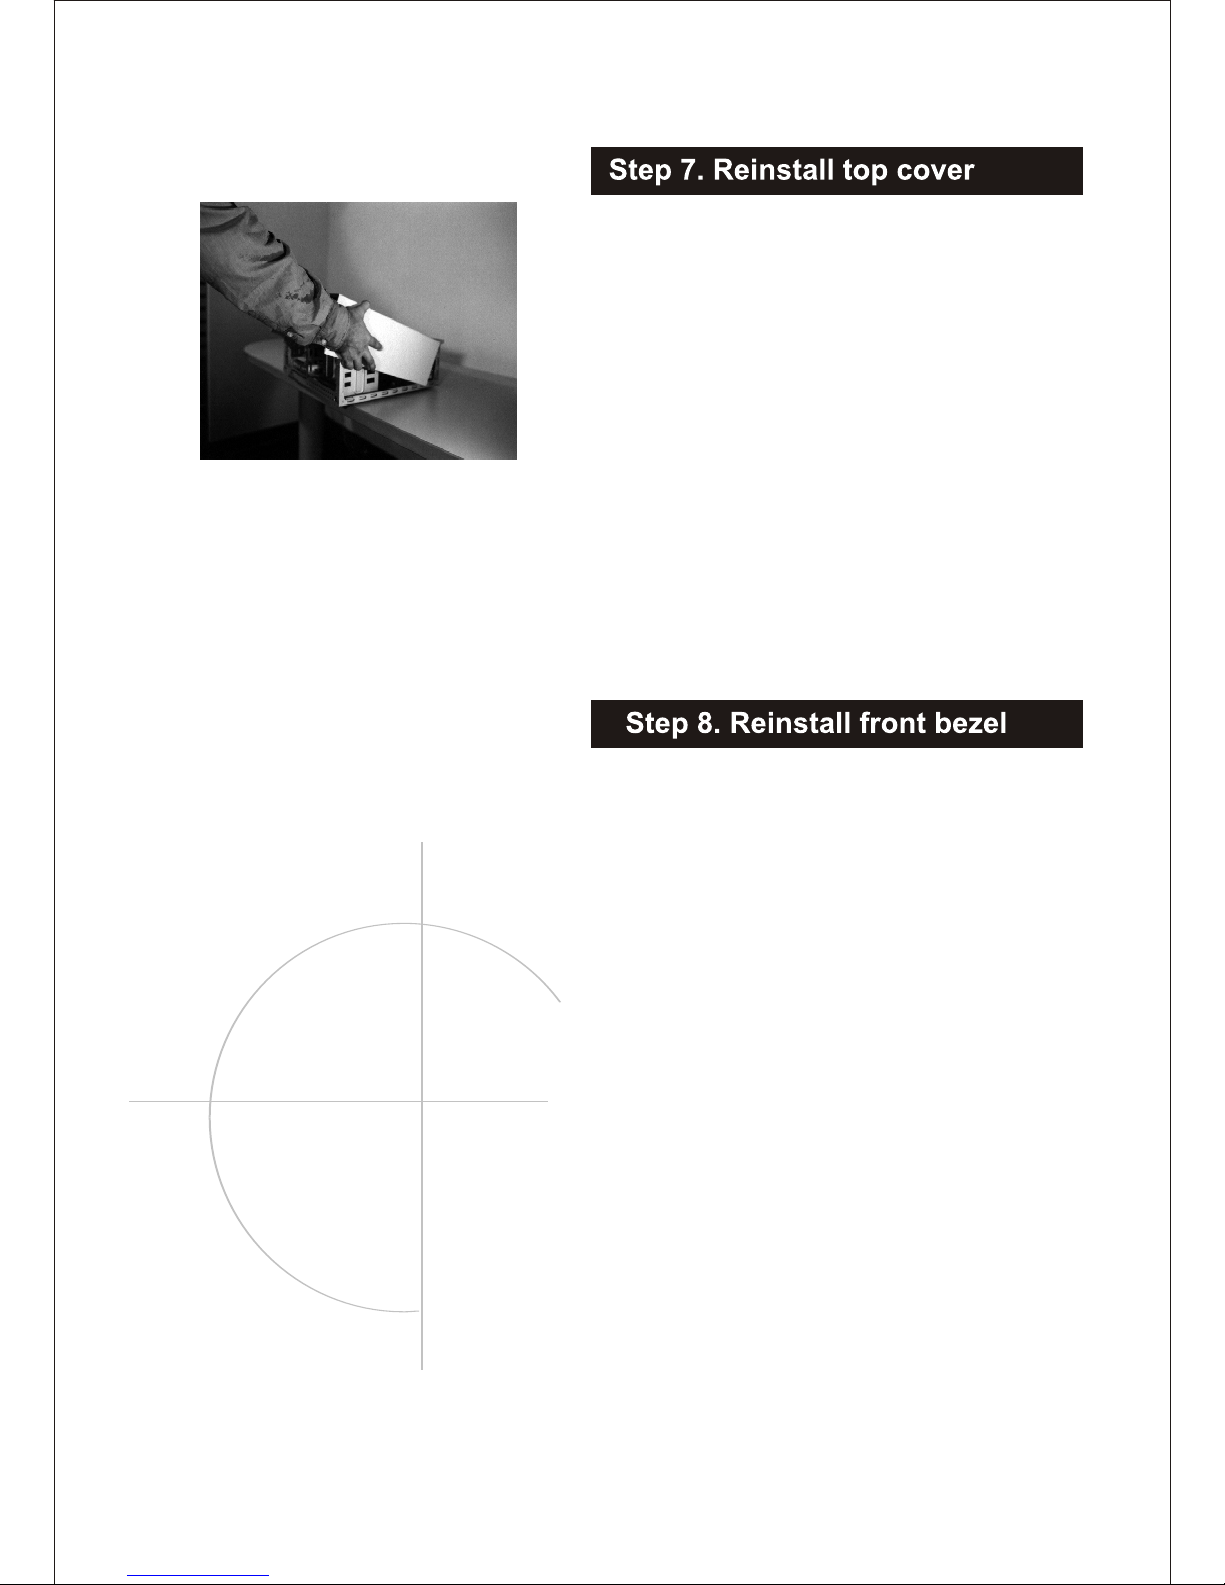
Remove screws. Place hands on sides
of top cover, and thumbs firmly on
chassis. Slide top cover towards you 1".
Spread sides and lift straight up to
remove (Fig. 3).
Fig:3
Fig:1
Fig:2