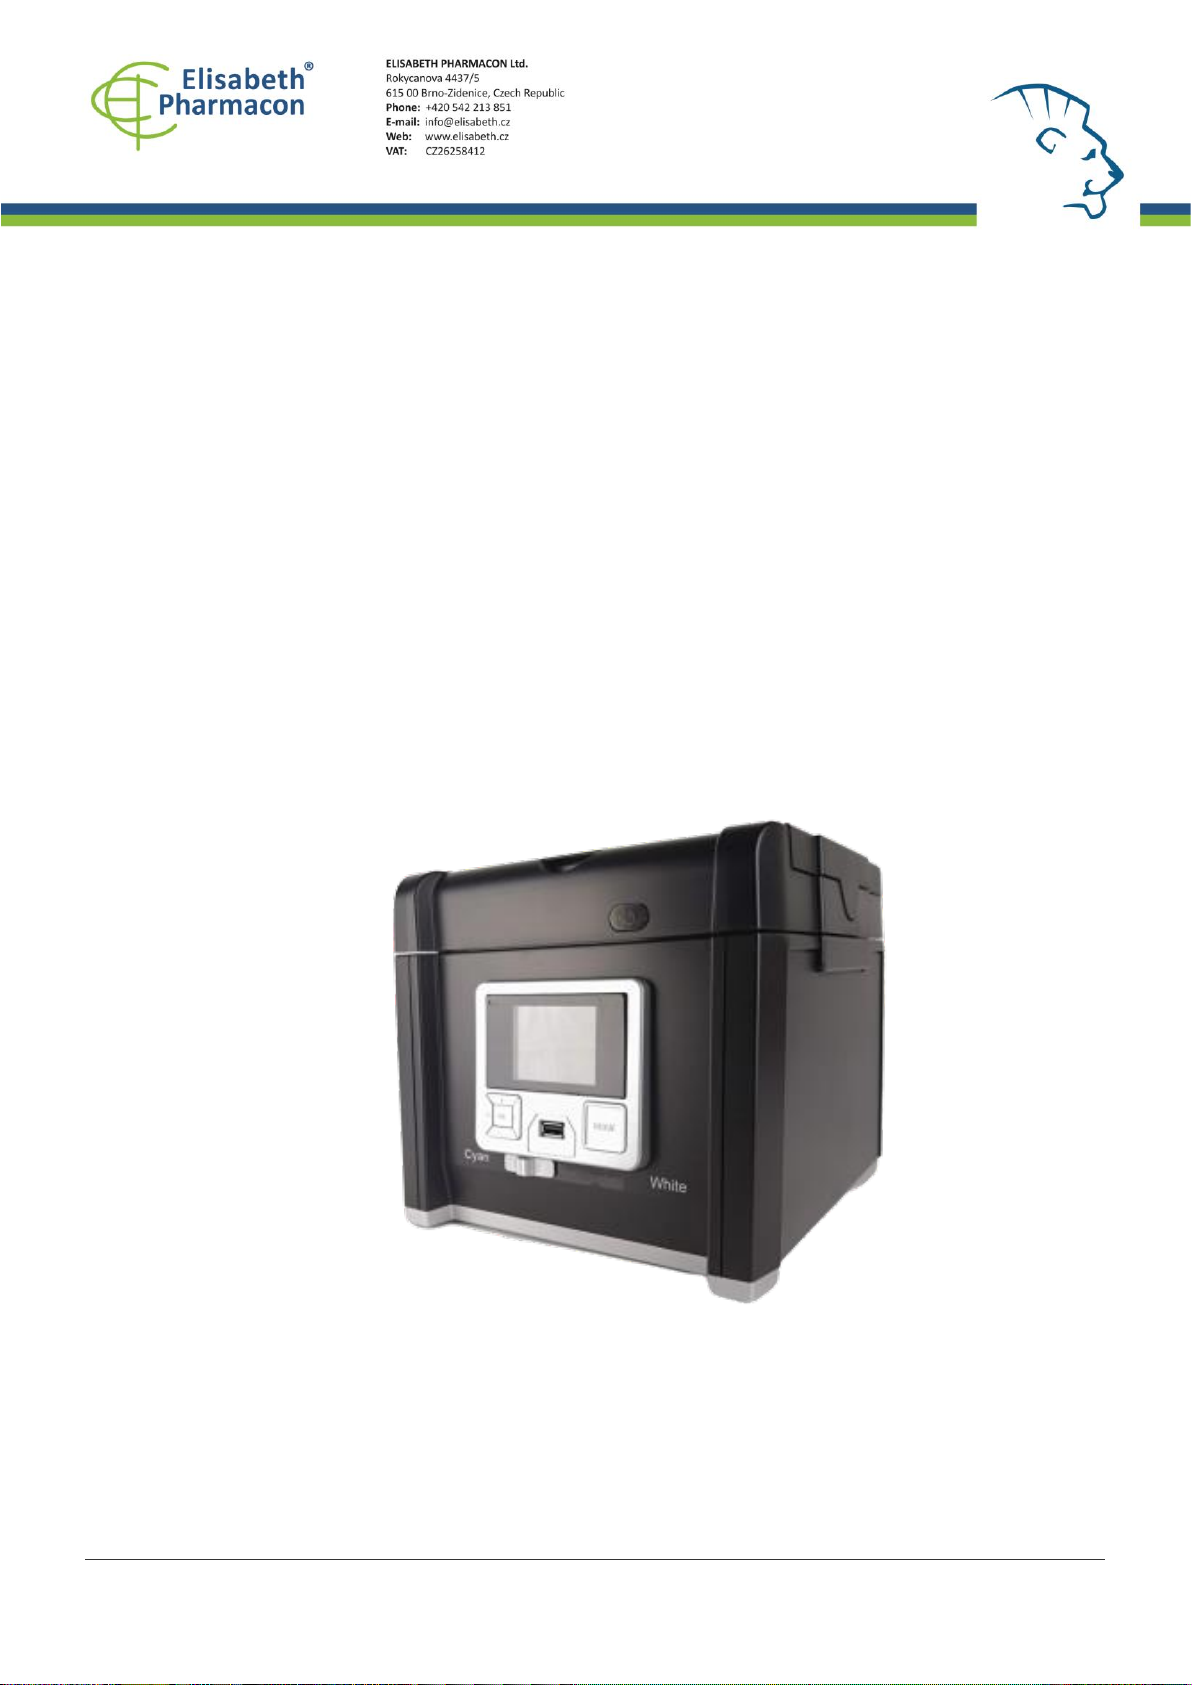
1. Slide the Light Selection Switch on the
front side of the scanner to select the
white light source for stained gel scanning.
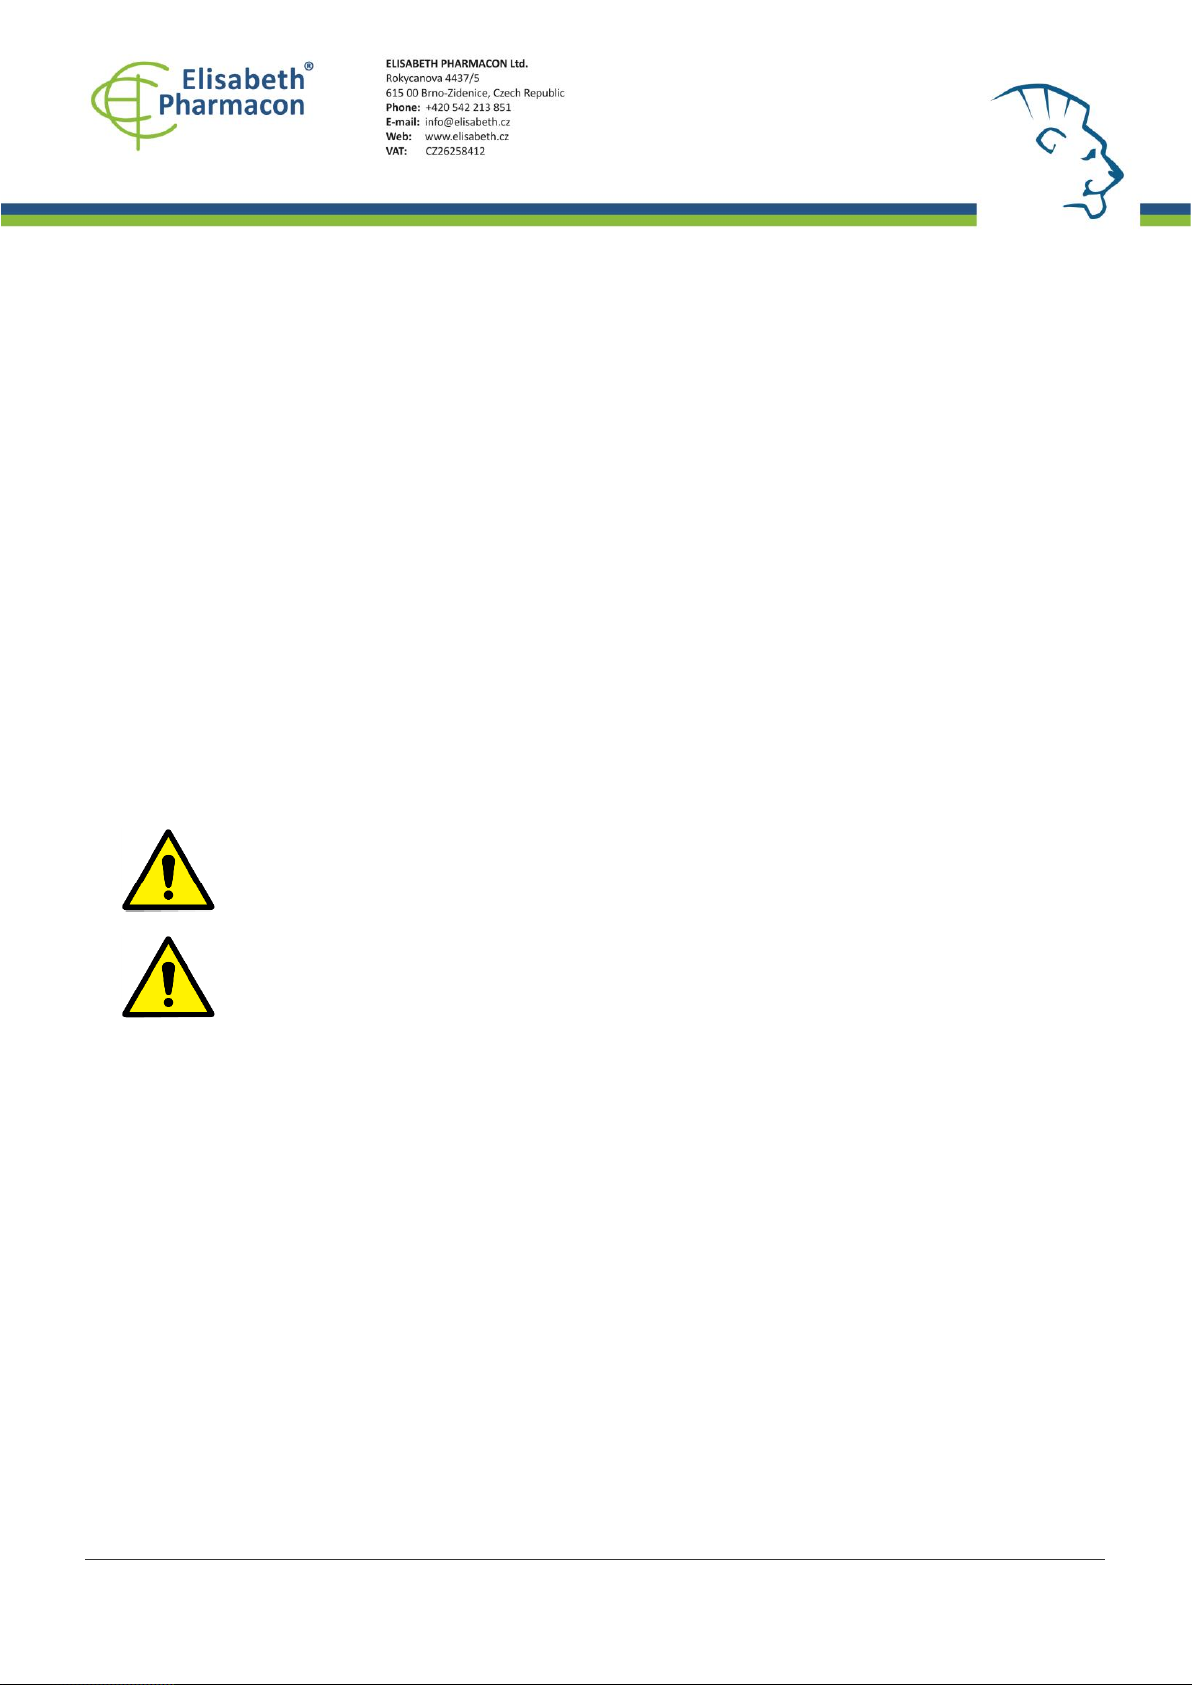
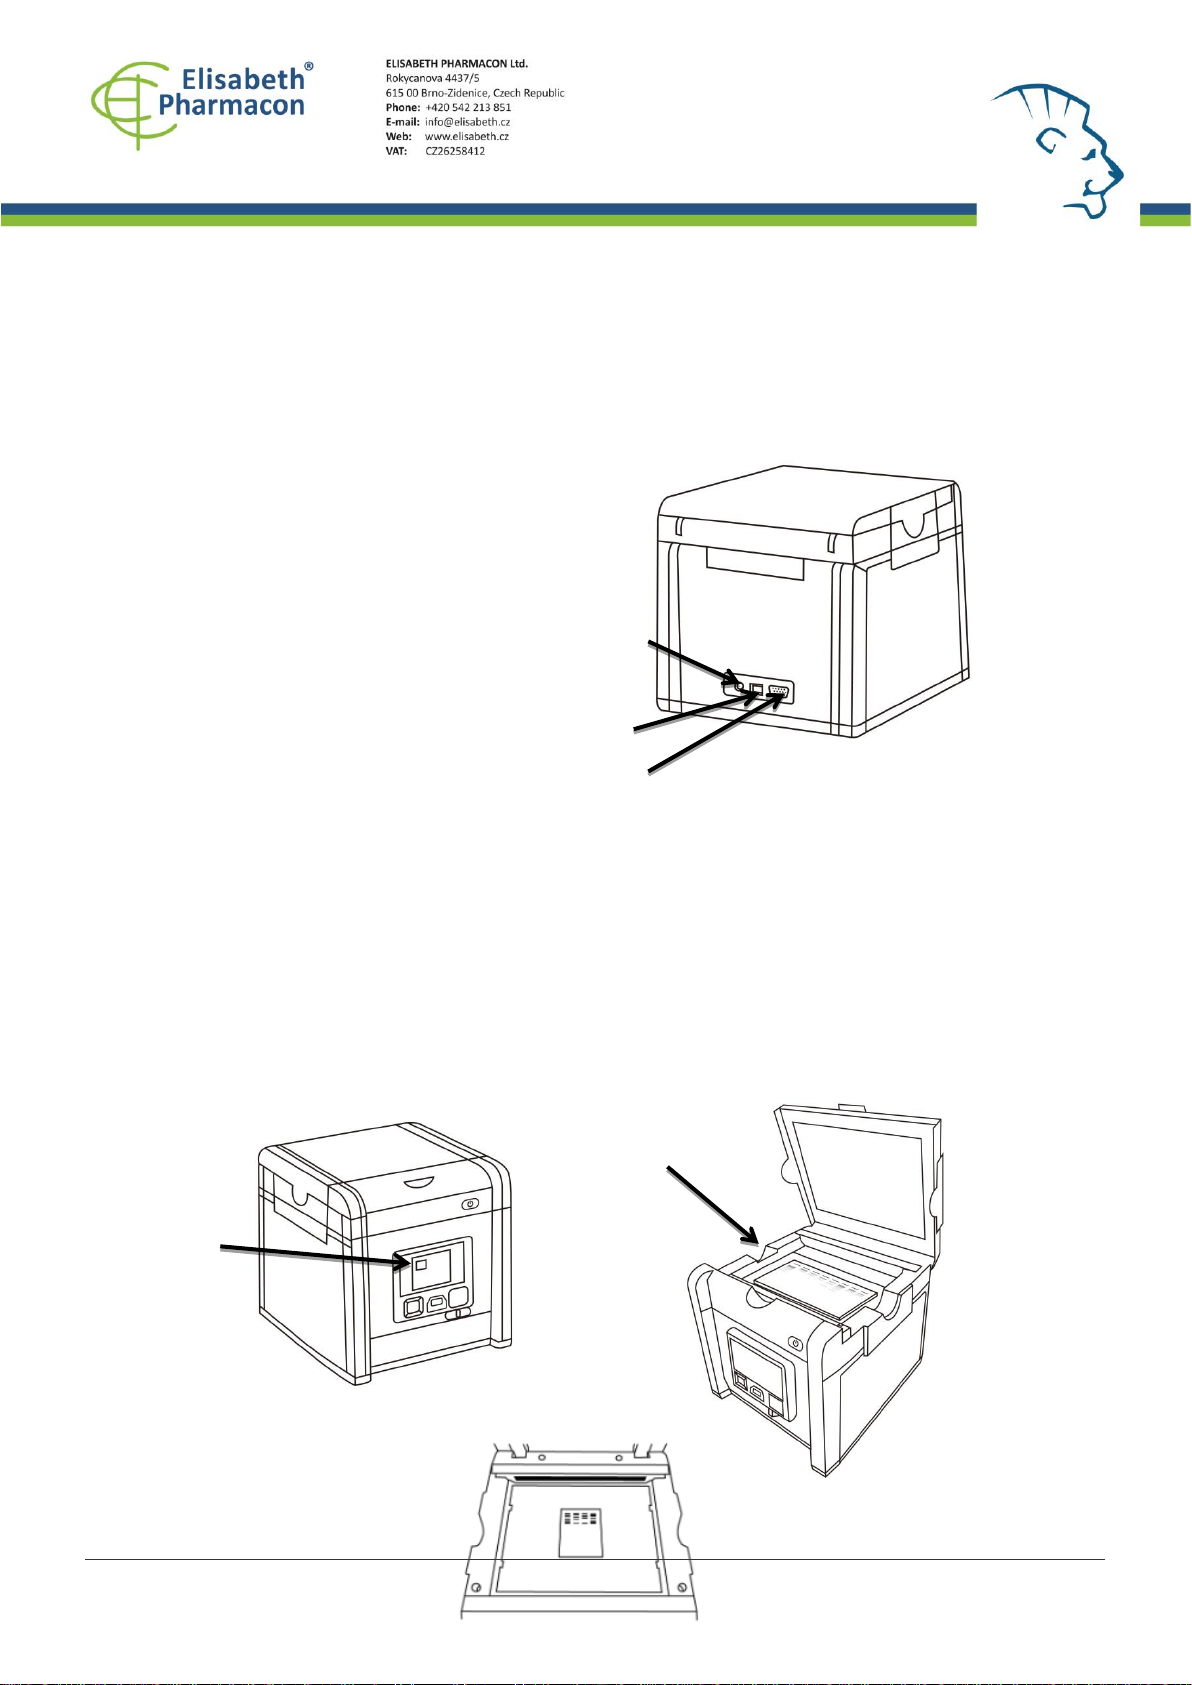
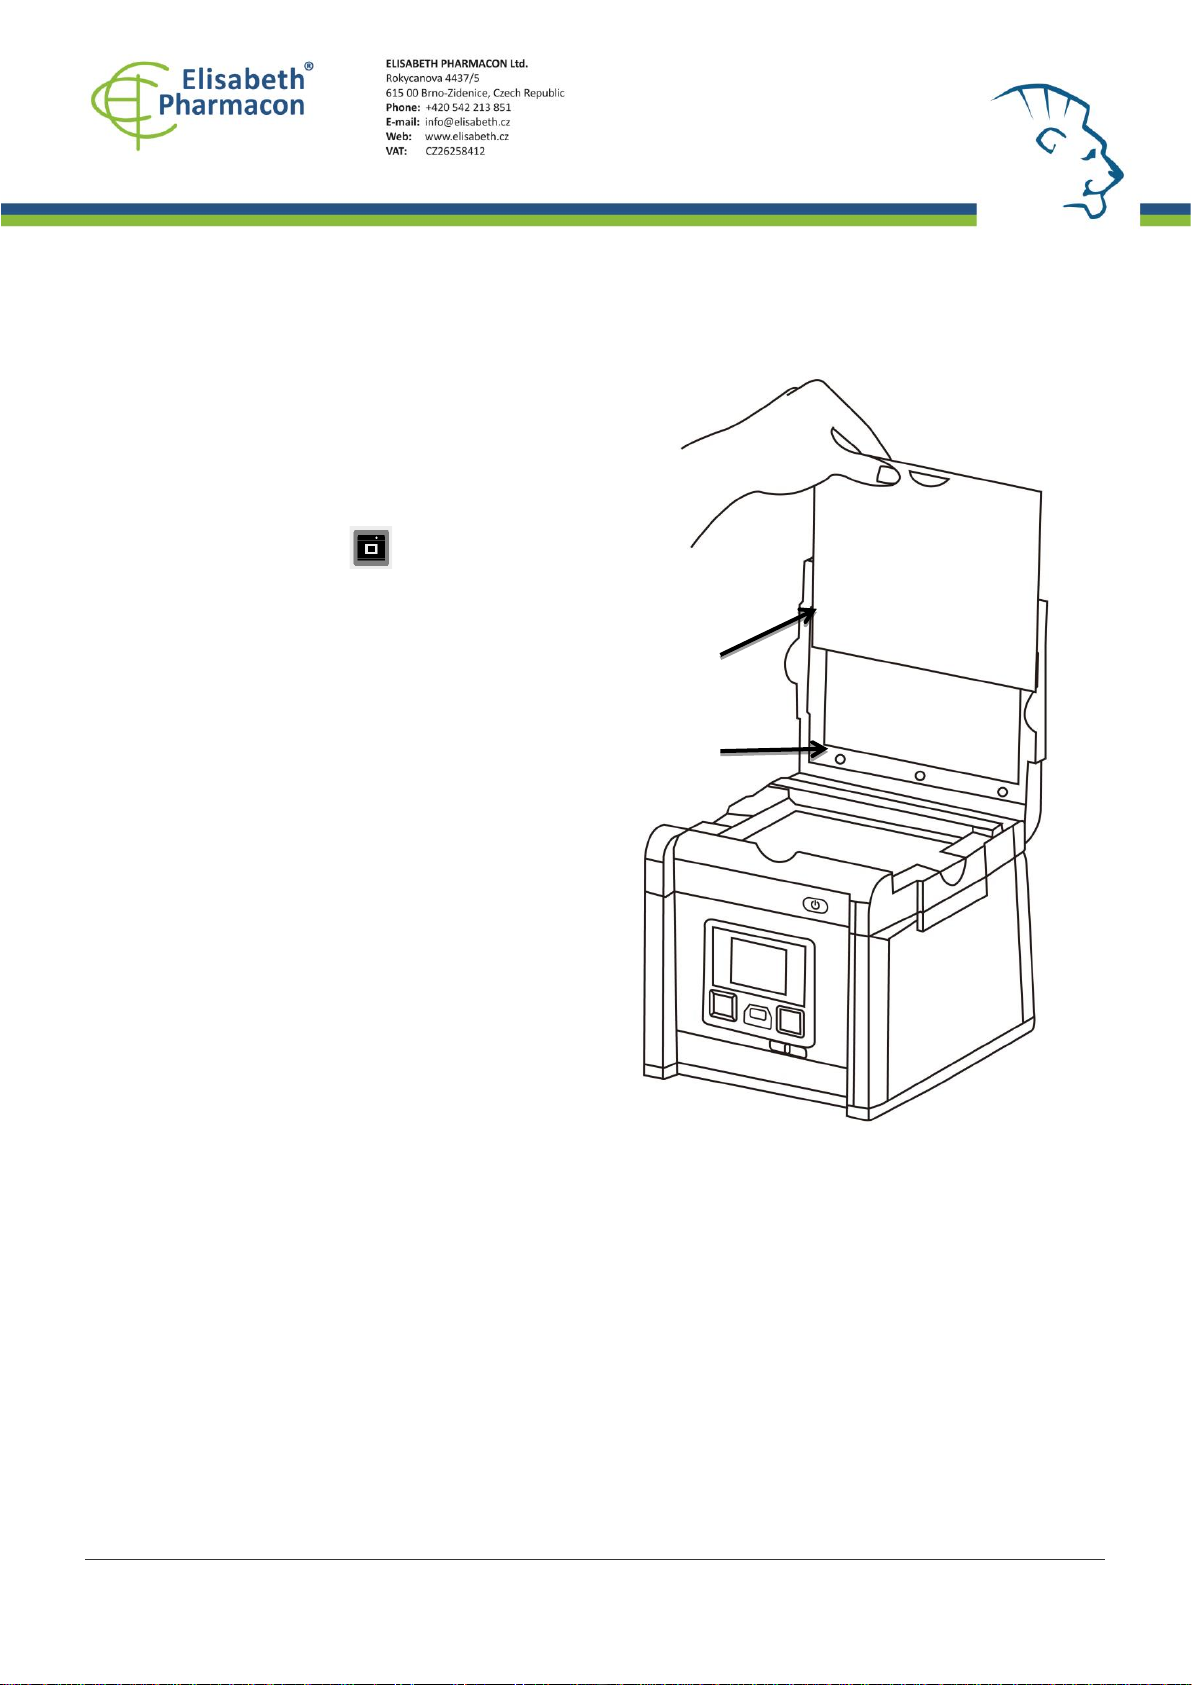
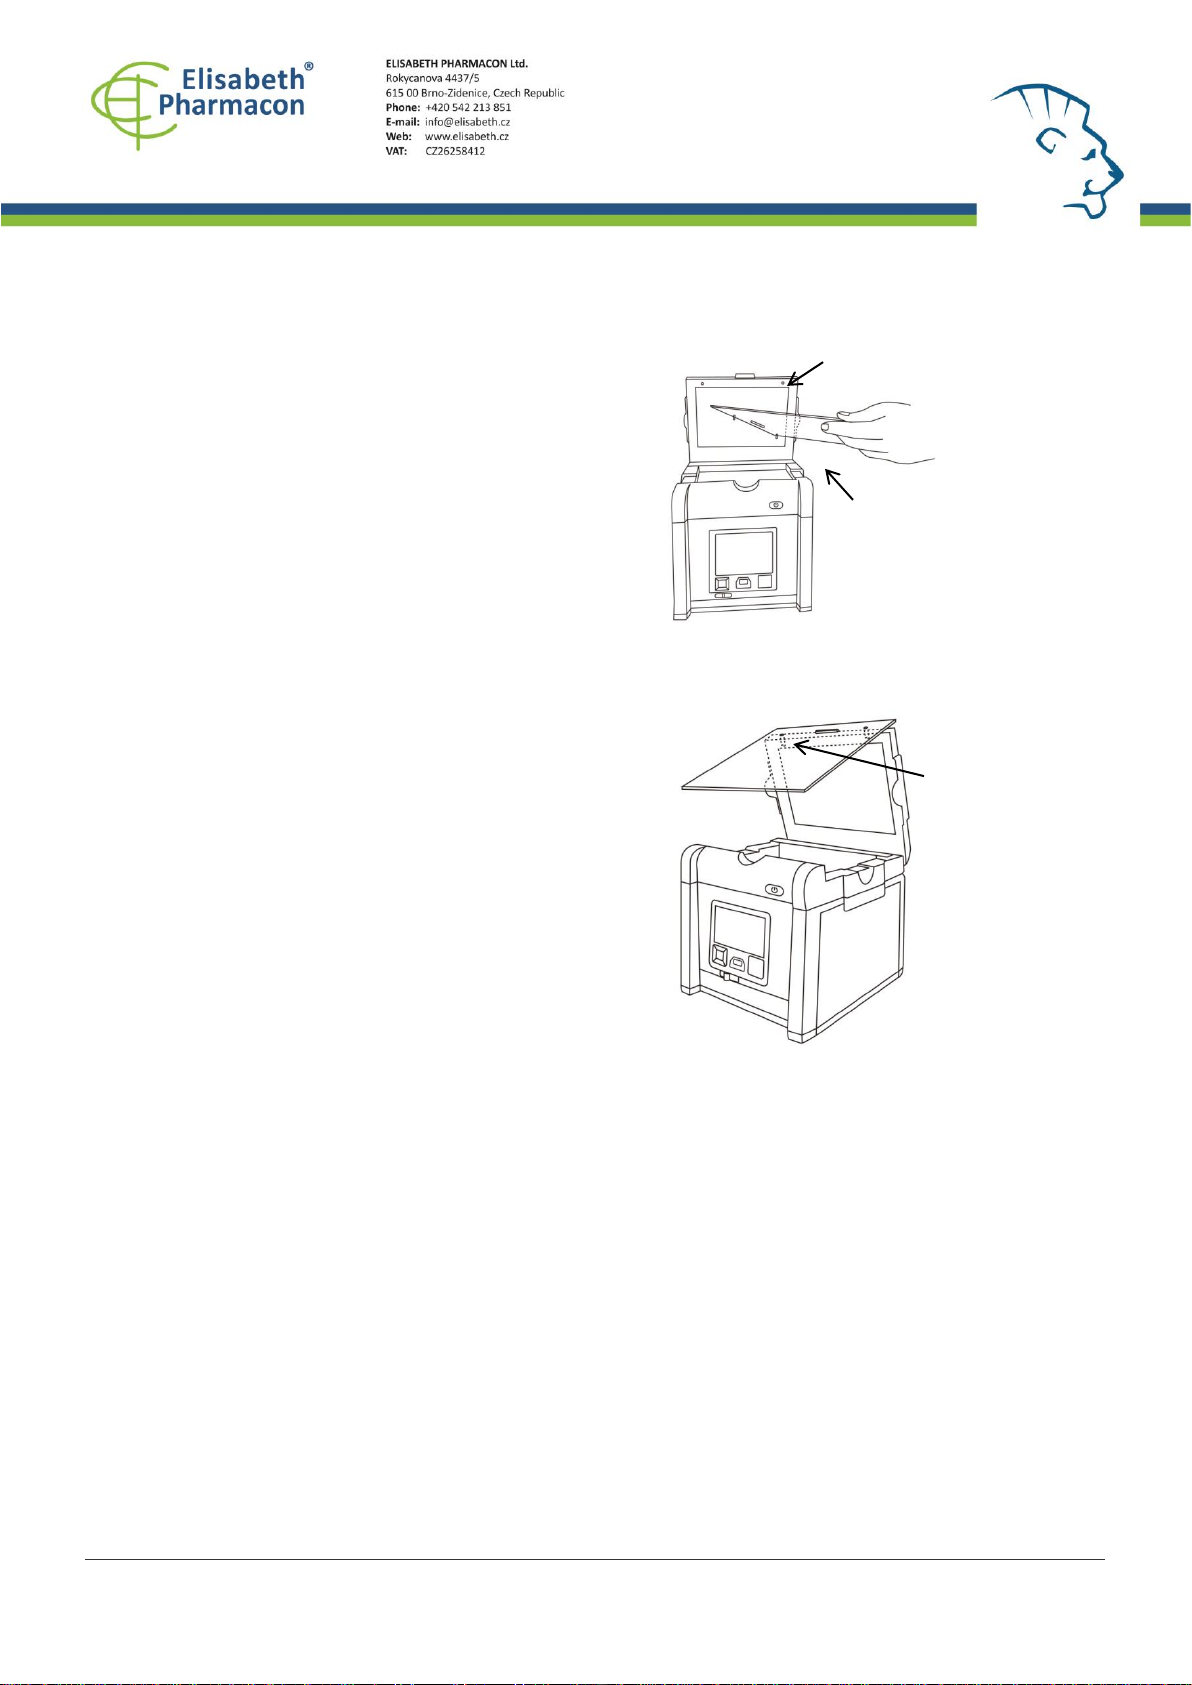
2. In “Scanning Mode”, lift the lid to
open the scanner.
3. Slide the black plastic board into the
groove of the white backlight to block the
white light on the lid* (Figure 7).
4. Place the imaging subject to the center of
the lighting area.
5. Close the scanner lid.
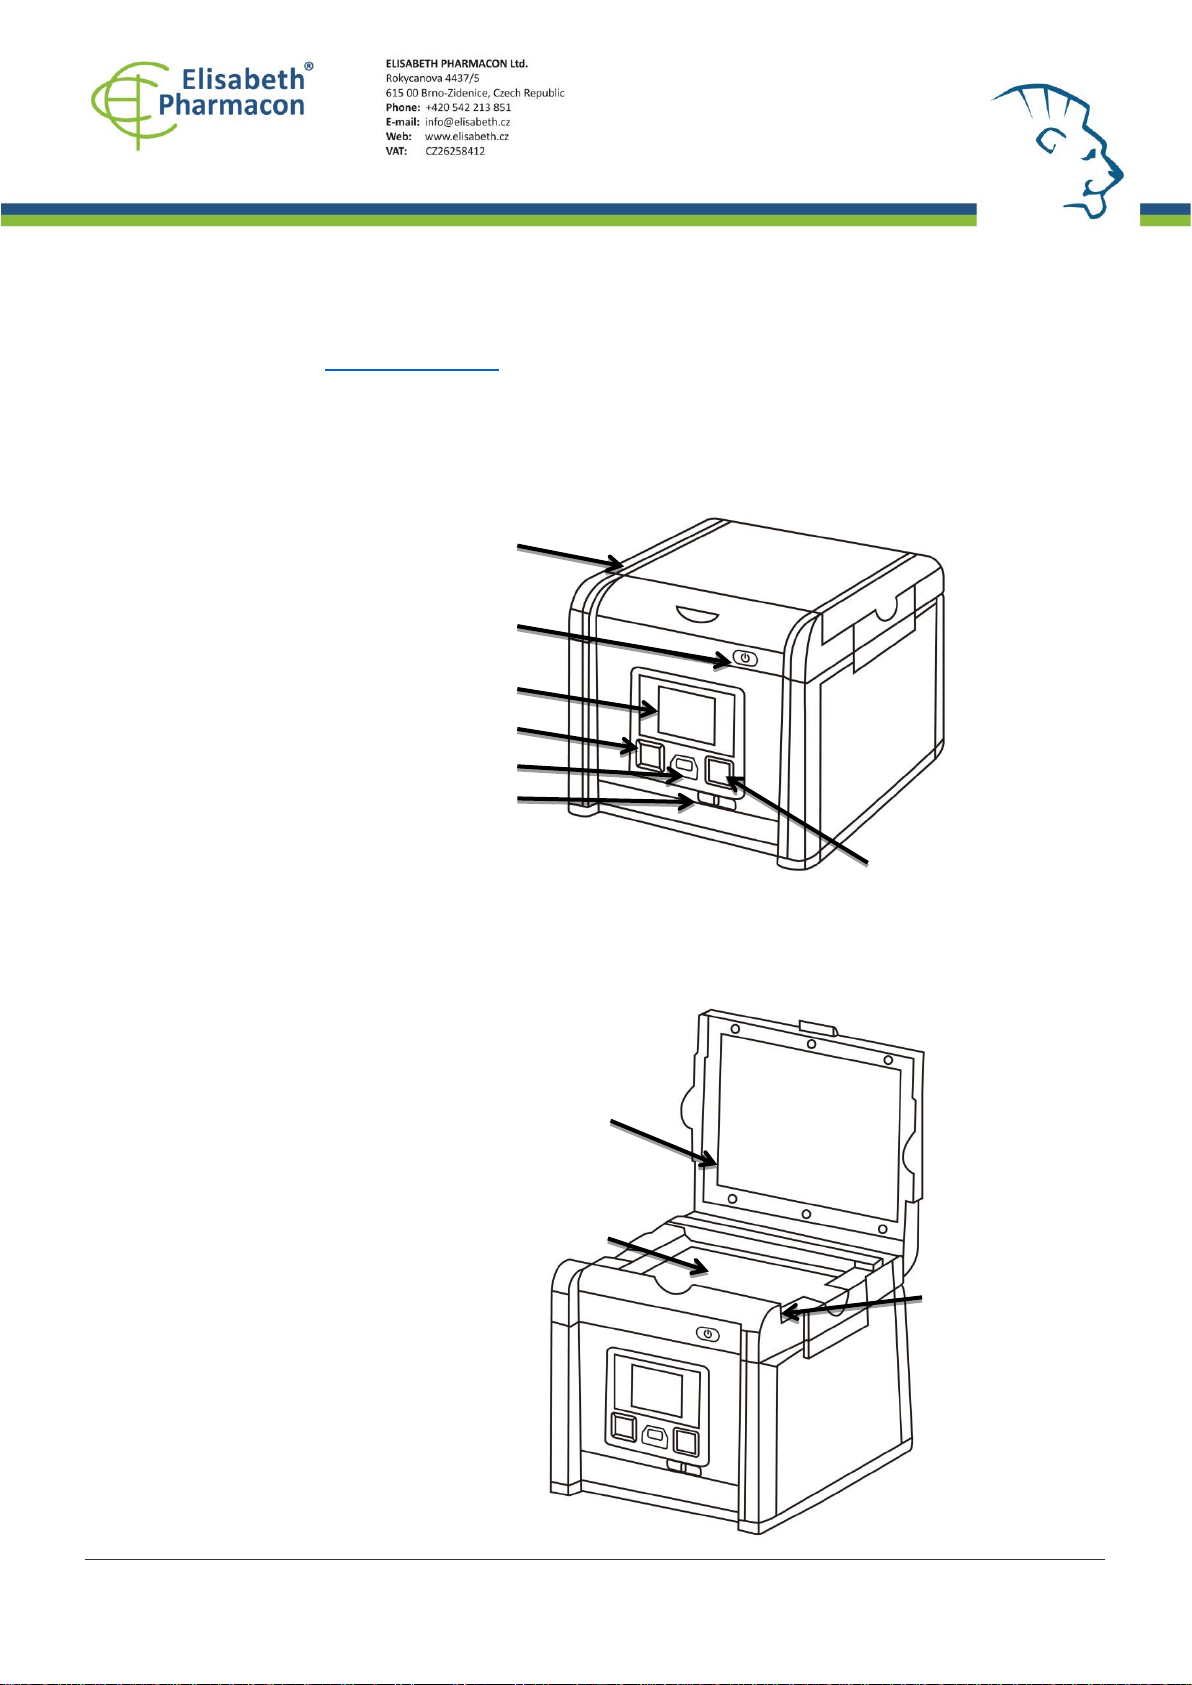
6. Slide the Light Selection Switch on the
front side of the scanner to choose green
light source for scanning stained gel.
7. Set and adjust the desired image quality
through the Functional Menu if necessary
(Please check “Functional Descriptions”
section for the details of all functions).
8. Press SCAN button, green LED will flash
and “CAPTURING”will be displayed on the
screen. If thermal printer had been
connected with ZEPHYRUS®GelCube LED
Imager, “Printing Yes/No”will be displayed
on the screen. The scanned image will
automatically save to USB flash drive.
Scanning of the gel sample is now complete.
This file is owned by ELISABETH PHARMACON, spol. s r. o., It is issued for publication. Version: 180220-01