90 MV-2556-2557-08-2022 eeese-aircare.com © All rights eeese air care aps
UK
4. Prior to Operation
• Check the dehumidier for any transport damage. In case of damage, you should
contact our eeese service line immediately.
• Place the dehumidier in an upright position on a stable, at surface.
• Make sure that the mains lead is easily accessible and is not damaged by sharp
edges or is crushed in any way during use.
• Ensure the dehumidier is at a safe distance at least 50 cm away from a wall
or furniture and has air space on all sides.
• The machine must stand upright for at least 1 hour before it is used for the rst time
• If any part of your house suers from severe humidity, the dehumidier can be
placed there rst and then moved to another part of the house later.
• Ensure the supply power is in correspondence with the value on the nameplate
and power outlet needs to be grounded.
• Ensure the water tank is correctly tted before the dehumidier can be switched on.
• If the dehumidier is turned o and then turned back on again immediately, it will
take approximately 3 minutes to reach full power (compressor back to work).
• If the dehumidier is switched o by a power cut, it will automatically switch back
on once the power is restored.
• The dehumidier works best at normal room temperature, its eiciency is reduced
if the ambient temperature falls to below 15°C.
• Turn on the power and run the machine as per instructions below.
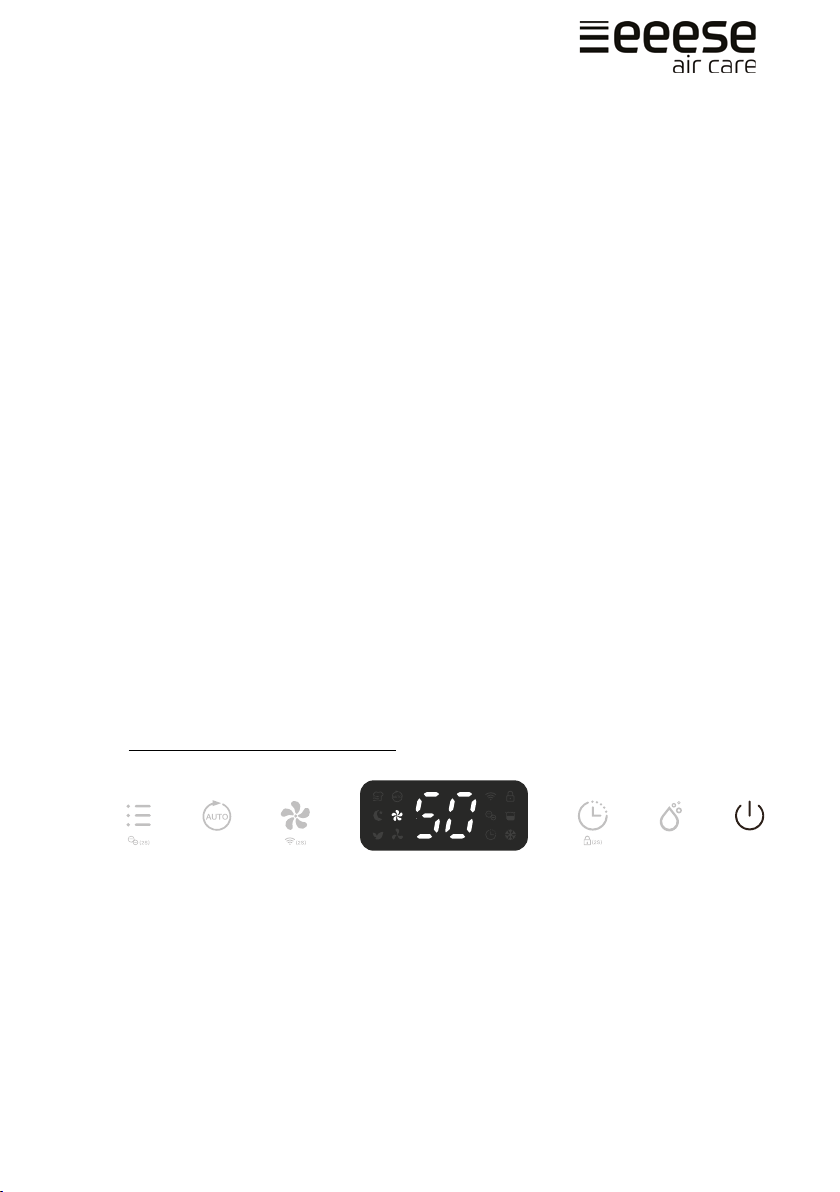
5. Operation Instructions
Switch On / Switch O The Unit
1. Connect the mains lead to socket.
2. Press Power button (A) once to turn on the unit. By default, it runs
on Manual Dehumidifying Mode.
3. Press Power button once again to turn o the unit.
A