EBA 721-06LT Guillotine Manual de usuario


EBA 721-05 LT GB Operating Instructions

EBA 721-05
Paper clips or hard material will damage the cutting blade!
Children must not operate the machine!
Never leave the blade unattended. Do not extract or
transport the blade without protection!
Danger! Risk of injur !
Do not reach beneath the blade!
Do not cut hard materials or materials which ma splinter!
3
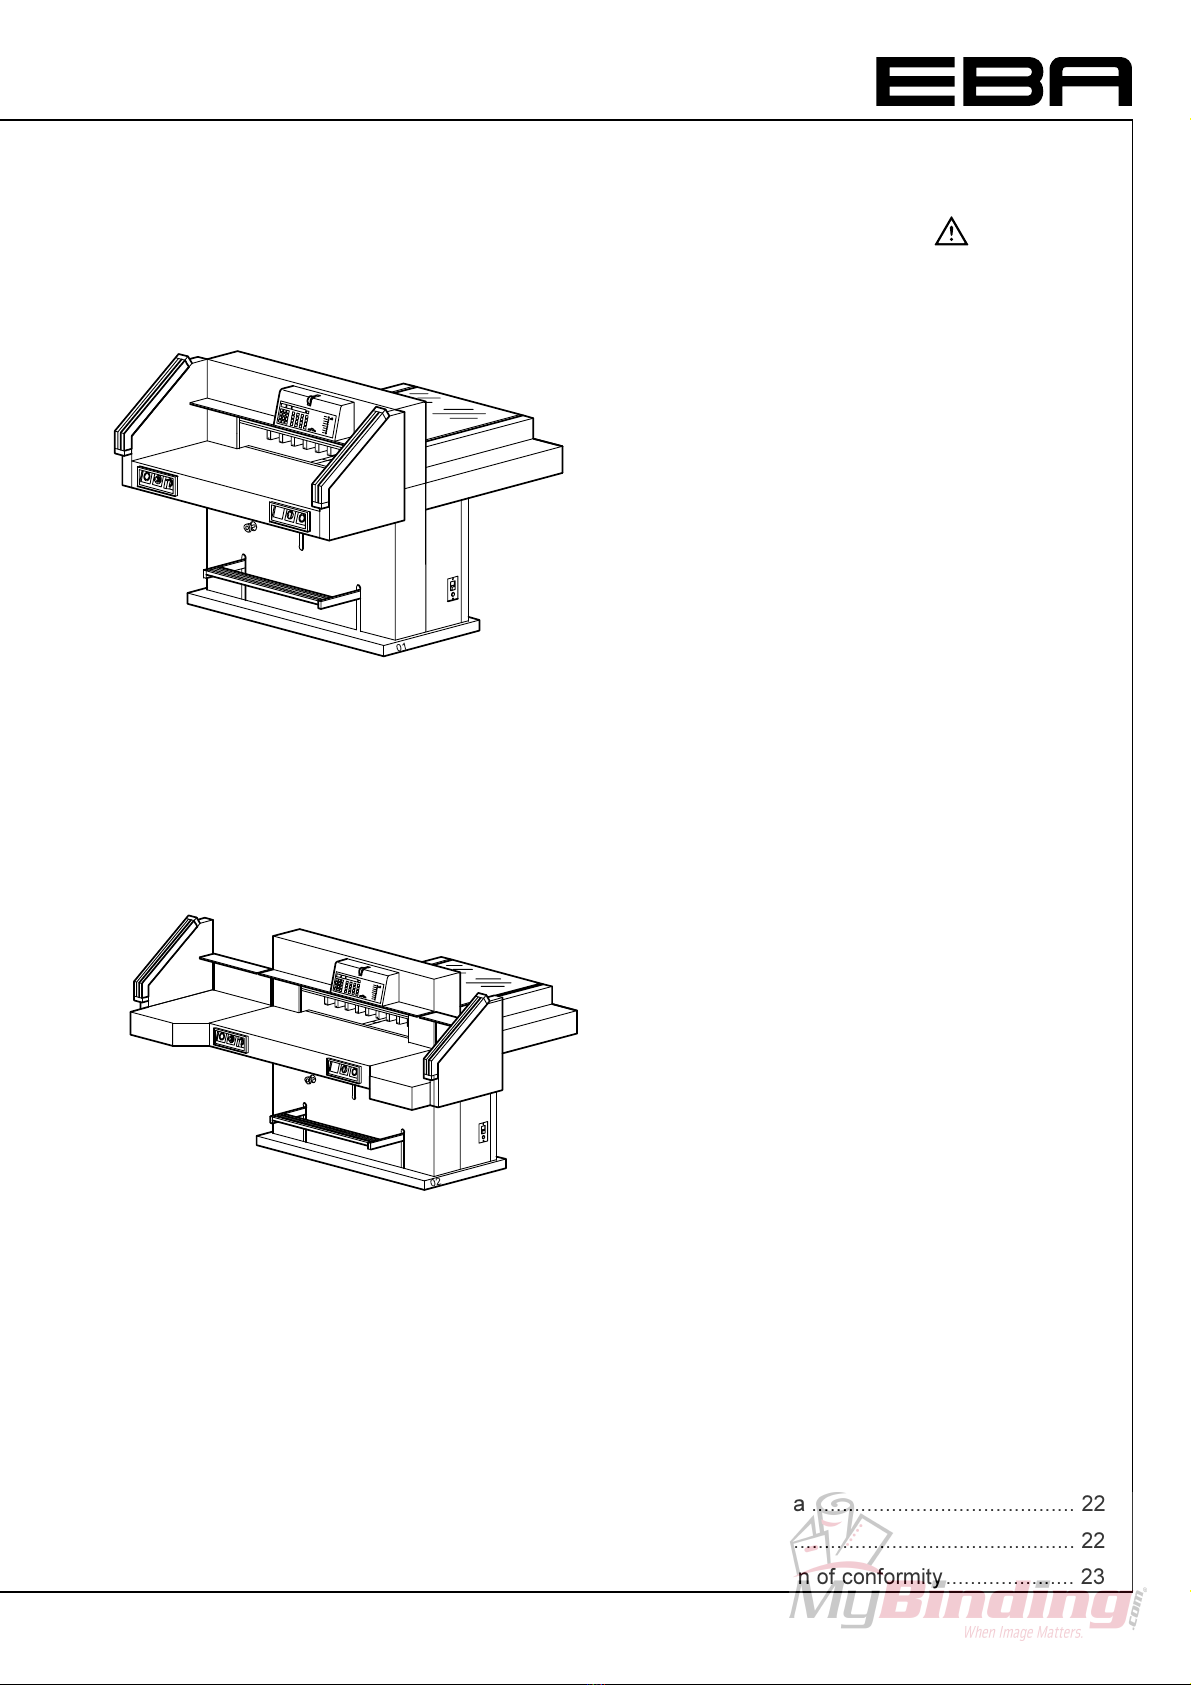
with side tables
without side tables
Table of contents
1. General .......................................................... 4
1.1 Safet Precautions .................. 4
1.2 Application ................................................... 4
2. Installation ................................................... 5
2.1 Preparing for installation ............................. 5
2.2 Power suppl ............................................... 6
3. Operation .................................................... 7
Checklist...................................................... 7
3.1 Operating elements ..................................... 8
3.2 Start-up........................................................ 8
Manual foot pedal ........................................ 8
Cutting to a specified dimension ................. 8
Calculating: ................................................. 9
Cut according to markings .......................... 9
Optical cutting line indicator ........................ 9
Mechanical cutting line indicator ................. 9
Eject function ............................................. 9
Multiple cuts function start......................... 10
Exiting program-mode ............................... 10
3.3 Cutting activation....................................... 10
Cutting stop or interruption: ....................... 10
3.4 False clamp plate ...................................... 11
3.5 Programming ............................................ 12
Entering a program ................................... 12
Eject function program .............................. 12
Changing select program .......................... 13
Insert a step .............................................. 13
Delete a step ............................................. 13
Delete a program ...................................... 13
Example of a program ............................... 13
How the example works ............................ 13
Changing the basic settings ...................... 13
Working with programs ............................. 14
Exiting program-mode. .............................. 14
3.6 Basic Settings ........................................... 14
4. Maintenance .............................................. 15
Safet check ............................................. 15
4.1 Setting the cutting depth ........................... 15
4.2 Turning or replacing the cutting stick ........ 16
Cutting test ................................................ 16
4.3 Blade replacement .................................... 17
Removing the blade .................................. 17
Mounting the blade .................................... 18
4.4 Maintenance ever 7 da s ........................ 19
4.5 Maintenance ever 6 months .................... 19
T pe of grease .......................................... 19
5. Malfunctions .............................................. 20
6. Technical data ........................................... 22
7. Accessories ............................................... 22
EC-declaration of conformit ..................... 23

4
EBA 721-05
1. General
This instruction manual will help ou to learn the
safe and comfortable operation of this machine.
Please read these operating instructions before
putting the machine into operation and observe the
safet regulations.
1.1 Safety Precautions
Danger!
Non-compliance with the instructions ma
endanger persons.
Warning!
Non-compliance with the instructions ma
cause damage to the machine.
The operating instructions must always be
available for the operator.
All components which could endanger the operator
are covered b a guard. The side panels are
screwed to the machine.
This machine is constructed for "one-man
operation" only!
The dangerous cutting movement is safeguarded b
a cover (3), a two-handed control s stem (2) and a
safet beam guard (1).
1.2 Application
The machine is designed for cutting stacks of paper
to a specified size. Setting the measurement is
done via buttons or hand wheel. Cutting is released
b a "two-handed control s stem".
Danger!
Onl instructed persons are allowed to operate
the machine.
Children must not operate the machine!
Danger!
Do not cut hard materials or materials which
ma splinter.
Warning!
The machine ma onl be used for cutting
paper or similar materials. Paper clips or hard
material will damage the cutting blade.

5
68
3x
1. 3.
2.
3x
5.
3x
4.
3x
3x
1.
2.
3x
3.
4.
3x
5.
3x
6.
3x
6.
3x
2. Installation
- Transport the machine on the pallet to its
destination using a pallet truck.
- 6 strong people are required to lift the machine
from the pallet.
- The machine must be installed on a sturd , dr
and level floor.
Danger!
- The machine must not be located outside.
- Do not use in the vicinit of inflammable
liquids or gases.
- Do not use in humid environments.
- Protect mains cable against heat, oil and
sharp edges.
2.1 Preparing for installation
The machine is delivered read for operation. As
an option, side tables, left and right, are available.
These should be mounted so that the surfaces are
level with the main table.
Danger!
The machine must not be put into operation
without the safet light beam.

6
EBA 721-05
01-03
01-04
2.2 Power supply
The name plate (23) is located at the rear of the
machine.
- Data stated on the name plate
- Voltage "V",
- Frequenc "Hz",
- Power consumption "A"
must correspond to the values of the power suppl
unit.
- Connect the machine to the mains.
- Earth wire must be available.
Standard machines are factor -set as follows:
- Voltage 400V (220V) 3 phase
- Frequenc 50Hz (60Hz).
Machine does not function
- Machine (5) is switched on?
- Ke -switch (4) on?
- Green overload switch (36) is pressed?
- Black overload switch (37) is pressed?
- Check on-site fuse.
If the machine still does not function then the
rotation must be reversed.
The machine is wired according to the IEC
standards. We recommend that alterations to the
rotar direction be made in the socket. It is also
possible to make alterations in the plug b
exchanging "L1" and "L2".
Danger!
Incorrect exchanging of the connections will
endanger the operator. This work must be
carried out b an electrician.

7
03-01
04-01
3. Operation
Danger!
It is forbidden to operate the machine if the
operating and safet instructions have not
been understood.
Danger!
Please check the safet devices are
functioning and complete before use and after
replacing the blade.
Checklist
- Machine panels:
All panels have to be mounted
- Cutting activation:
The release for cutting is allowed onl if the
"two-hand safet device" (1) is operated at the
same time.
- Safet light beam
Do not reach into the cutting area (38) when in
motion.
We recommend ou keep a record of our test
results.
Cutting sequence (1) with automatic clamping:
+
Airtable (9) optional
The airtable allows paper to be easil positioned.
Setting clamping pressure (7)
The clamp pressure can be adjusted using the
adjustment knob (7).
© The clamping pressure can be read on the light
panel (19).

8
EBA 721-05
01-01
88
88
67 01
3.1 Operating elements
(1) Safet two-handed control s stem
(2) Backgauge control
(3) Backgauge
(4) Ke switch
(5) Main switch
(6) Paper knock-up block
(7) Clamp pressure adjustment
(8) Foot pedal
(9) Airtable switch
(10) Program number
(11) Program step
(12) LED "M" displa memor
(13) LED "E" displa eject
(14) LED "S" dspla error indication
(15) Displa cutting size
(16) Backgauge, backwards fast
(17) Electronical hand-wheel for fine adjustment
(18) Backgauge, forwards fast
(19) Clamp pressure
(20) Program ke s
(21) Basic setting F1, F2, F3, eject
(22) Displa false clamp plate
(23) Ke pad with calculator
(24) Displa impuls of backgauge movement
(25) Displa in cm or inch
(26) Changeover cm-inch.
3.2 Start-up
- Position the main switch (5) to "I".
- Insert the ke (4) for the control panel and turn to
the right.
- Press button © backgauge (3) moves to the
rear and searches for the reference position, wait
until a measurement is shown on the displa .
Manual foot pedal
Pre-clamping can be performed using the foot pedal
(8) (e.g. folded stacks).
Cutting to a specified dimension
- Enter dimension on the numerical ke © LED "S"
(14) appears.
- Press button © dimension is approached,
LED "S" disappears.
- Insert paper and move b means of the paper
knock-up block to the backgauge (6).
- Release the cut (see 3.3 "Cutting activation").

9
88
88
67 02
Calculating:
e.g. 2 0 - 2 © Backgauge advances to
the calculated measurement of 18.
Cut according to markings
- Adjust the backgauge (16) to the back.
- Insert paper and move b means of the paper
knock-up block to the backgauge.
- Turn the hand-wheel (17) to the front until the
marking on the paper to be cut is below the
cutting line indicator. The more the hand-wheel is
turned the faster the backgauge will move. For
quick motion use ke (18).
- Release the cut.
Optical cutting line indicator
An optical cutting line (45) indicates the exact
position of the cut. The light beam indicates where
the cut will be made.
Mechanical cutting line indicator
The clamp (24) can be used as cutting line
indicator for exact cutting. Pre-clamping can be
performed using the foot pedal (8).
Eject function
If button E is pressed, the backgauge will advance
to the preset measurement, ejecting the material to
be cut, then automaticall return to the position
shown on the displa .
Otros manuales para 721-06LT Guillotine
1
Este manual sirve para los siguientes modelos
1
Tabla de contenidos
Otros manuales de Máquina encuadernadora de EBA


