DeLuxe Stitcher DB75V Manual de usuario
1
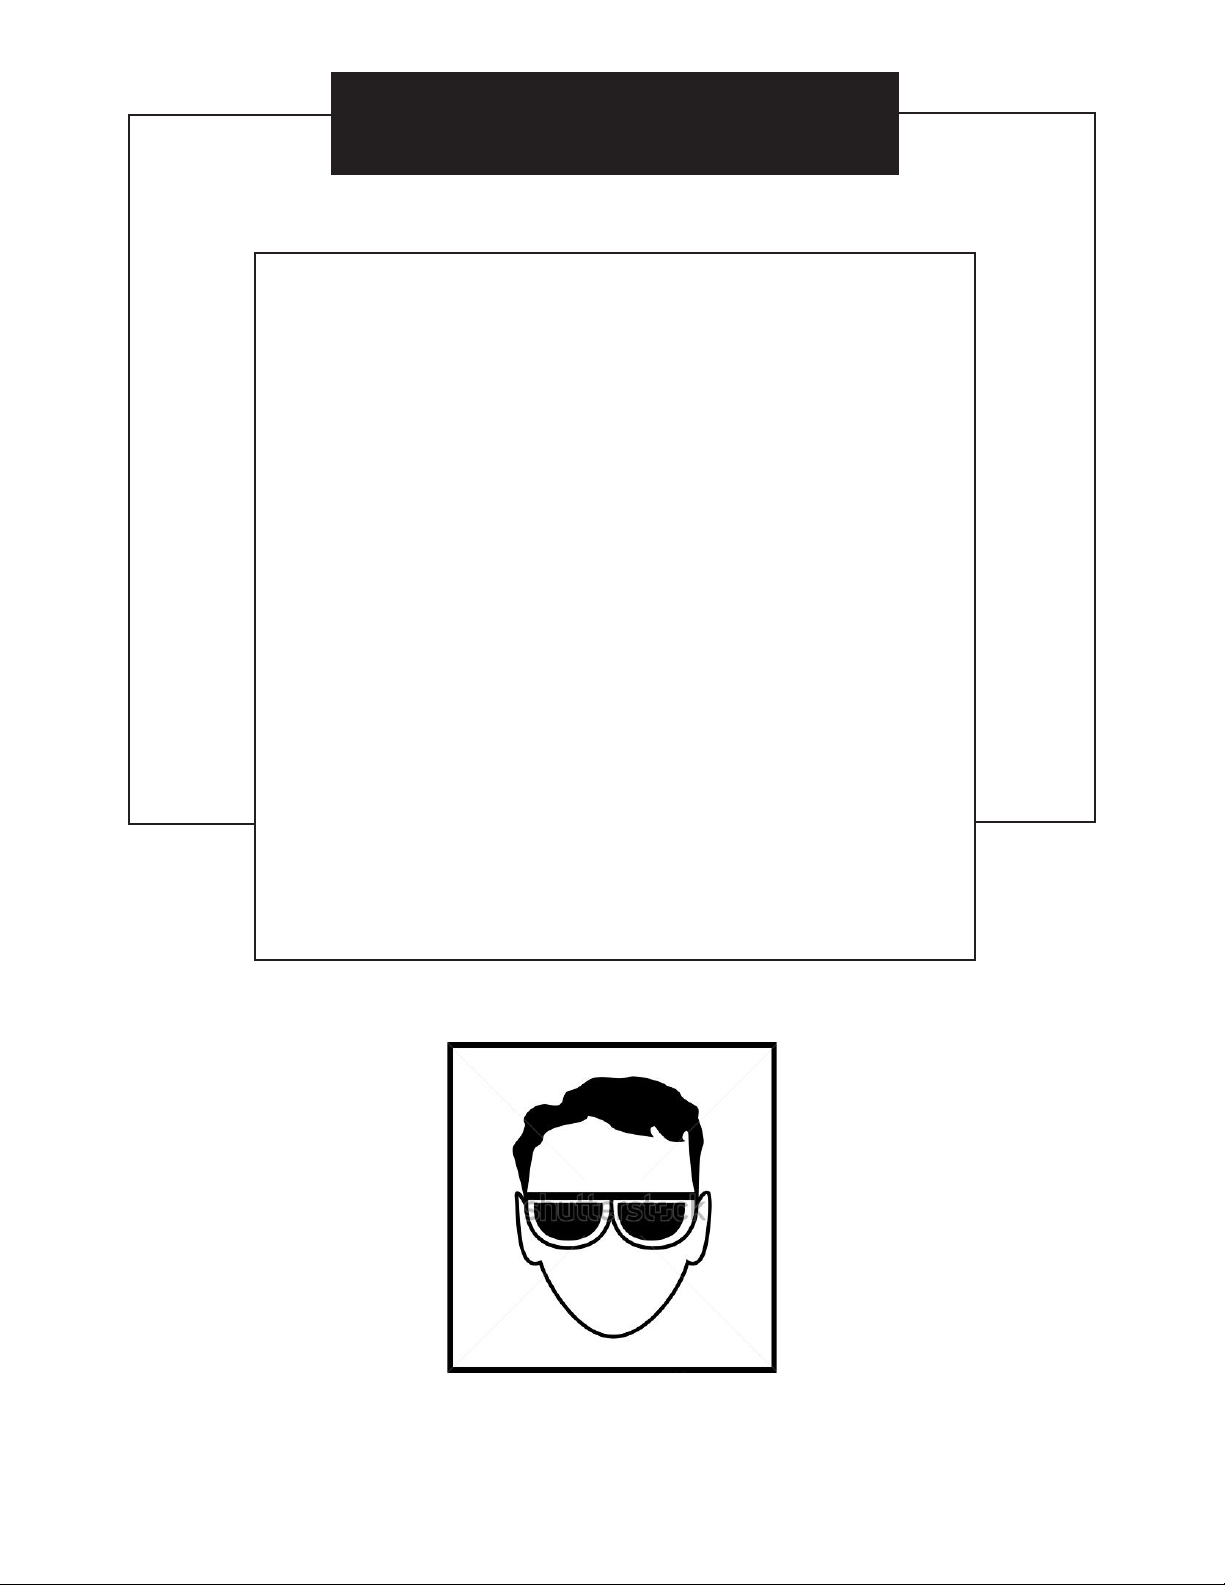
WARNING!
DB75V Loop
Stitching Heads
Machine operators and others in the work area should always wear
safety glasses to prevent serious eye injury from
fasteners and flying debris when loading, operating,
or unloading the stitcher machine.
Do not operate this stitcher head without all stitcher machine
guards in place. Do not modify the guards in any way.
Always disconnect the power supply before removing
any guards for servicing.
Never operate the machine with wire feeding through
the head unless there is stock above the clinchers,
otherwise serious damage may result.
Always turn power off when making adjustments. Always
disconnect the power cord before any disassembly work.
EYEWEAR
REQUIRED

2

Introduction ........................................................................................................4
Specifications .....................................................................................................5
Installation .......................................................................................................6
Pre-Inspection ................................................................................6
Inspection ......................................................................................6
Mounting ...................................................................................... 6-8
Assembly .......................................................................................9
Operation ........................................................................................................9
Wire Threading ........................................................................... 9-10
Wire Straightening ........................................................................11
Adjustments and Settings .......................................................... 12-14
Maintenance ......................................................................................................14
Lubrication ....................................................................................14
How to Order Spare Parts .............................................................16
Troubleshooting ................................................................................................17
Formed Staple Chart .....................................................................18
Appendices ......................................................................................................19
Exploded Drawings ..................................................................... 19-28
Notes .............................................................................................29
Part Number/ Description Cross Reference Index...................... 30-31
Registration Card .............................................................................................32
Wear/Replacement Parts ..............................................................................33
Warranty Information ......................................................................................34
Table of Contents
3

The DeLuxe Stitcher Müller-Martini Replacement Heads, along with a complete
line of fully interchangeable replacement parts are available for current Müller-Martini
users. Anywhere the HK75V is utilized the DeLuxe Stitcher DB75VHDL can be used.
The DB75VHDL has a stitching capacity from 2 sheets up to 3mm (.118”) and will
accommodate 25 gauge round wire. The perfect replacement head for Müller-Martini
Stitchers 221, 235, 321, 335, Prima, Bravo and more, the DB75VHDL is completely
interchangeable.
The DB75VHD & DB75VSHD have a stitching capacity from 2 sheets up to 6mm
(.236) and will accommodate wire sizes from 20-28 gauge round as well as 21 x 25 and
20 x 24 flat. This replacement head for Müller-Martini Stitchers 301, Tempo, Optima,
Supra and the like, is also completely interchangeable.
Each of these heads weighs 7 lbs (3.2 kgs.) independently. The packaged shipping
weight including the wire guide spring, clincher plate assembly and user manuals is
10 lbs. (4.5 kgs.).
Always use a high quality galvanized wire so the plating does not peel. Excessive
peeling will cause clogging and the premature wear of many components. Use only
specified wire gauge for .
2 sheets - 1/8” (3mm) .......................... 25 gauge
NOTE: ALL PRODUCTS ARE MANUFACTURED BY DELUXE STITCHER.
Introduction
4

Weight
Shipping Weight ..............10 lbs (4.5 kg)
Box Dimensions . . . . . . . . . . . . . . 21" x 10" x 7" (53 x 25 x 18 cm)
Stitcher Head
DB75VHDL ........7 lbs (3.2 kg)
Physical Dimensions
Height ...................8.5” (22 cm)
Width ...................3.5” (9 cm)
Depth ...................4.25” (11 cm)
Stitching Capacity
DB75VHDL ........Two Sheets to 1/8” (3 mm)*
Wire Types ...................25 round
Stitcher Machine Compatibility
...................Valore
...................Minuteman
...................Fox, 221, 235
...................Bravo
...................Presto, 300
...................Prima, 331, 335
*Actual stitching thickness capacity depends on the type of stock being stitched and the capacity of the
saddle stitcher being used.
Specifications
5

Attaching the Feed Release Handle (Figure 2)
From out of the box, secure the Feed Release Handle
[070119] to the stitcher head by slipping the handle over the
Feed Release Cam Assembly [070118] and securing it with
the provided screw, inserting it through the spring. Make sure
the handle is angled toward the outside of the head when the
screw is tightened.
Carefully inspect the condition of the shipping container before unpacking your replacement Head
for Müller-Martini Stitchers. If the container is broken or damaged and there is evidence that the
stitcher head may be damaged, immediately
notify the carrier who delivered the head and the
DeLuxe Stitcher Graphic Arts Representative
from whom the head was purchased.
Installation
6
Pre-Inspection
As you carefully unpack the replacement
head, check to make sure all components
were delivered and are in good working
order. Use Figure 1 in this manual for refer-
ence to the following pieces:
• Replacement head for Müller Martini
Stitchers: DB75HD, DB75VHD or
DB75VSHD
• Wire guide spring [070286]
• Clincher plate assembly [077030 or
077030C]
• Feed release handle [070119]
• 2.5, 3, 4 and 5 mm hex key wrenches
[G20361, G20360, G20373 and G20362]
• Stitch samples
Inspection (Figure 1)
Figure 1 - Inspection
070286
077030 (DB75) or
077030C (DB75V/VS)
070119
G20360
(3 mm)
G20362
(5 mm)
G20361
(2.5 mm)
G20373
(4 mm)
Mounting & Assembly (Figure 2-6)
Figure 2- Feed Release Handle
Screw
Spring
Handle

7
Wire Guide
Spring
070286
Feed
Release
Handle
070119
Mounting Strap
077027B Mounting
Screw
072013
Lock Washer
G20520
Bender Slide
070162A or
070562A
Driver Slide
070151A or
070551A
Feed Release
Cam
070118
Washer
071006 (2)
Screw
072017 (2)
Figure 4 - Attaching the
Wire Guide Spring
Bonnet Rail
Bonnet Key
Figure 3a - Mounting the Head
Figure 3b - Mounting
Variation for DB75VS
Mounting the Head ( See Figure 3)
Attaching the Wire Guide Spring (Figure 4)

8
Figure 6 - Aligning
Clincher Plate Assembly
Clincher Mounting
Bar
077016
Clincher Plate Assembly
Mounting
Screws
072012 (2)
Clincher Slide
077014 or
077029C
Figure 5 - Mounting Clincher Plate Assembly
Always disconnect the power before assembling
or making adjustments to your stitcher machine.
!
CAUTION
!
Clincher Front
Plate
077018 Clincher Front
Plate
077019
Lock Washers
G20520 (2)
Mounting the Clincher Plate (Figure 5 & 6)
Clincher Points
077015 (2)

Operation
Wire Threading (Figure 7-8)
9
Feed Release
Handle
070119
Wire Holder
Retaining Spring
070183 or 070583
Wire Oiler
Felts
G20293
Small Feed
Gear
070112
Large Feed
Gear
070510A
Retaining Spring
Screw
072004
Figure 7 - Wire Threading
DISENGAGE
GEARS
ENGAGE
GEARS
Wire Guide
Spring
070286
Wire
Wire Nozzle
070181
WIRE TUBE
070544

Before the Stitcher Machine is turned on, release the Wire Holder Assembly [070135A] (Not
shown-See Fig. 7) secured by the Wire Holder Retaining Spring [070183 or 070583] by loosening
the Screw [072004] on the front of the head. Thread the wire from the Spool under the studs on the
Wire Guide Spring (070286), between the Wire Oiler Felts [G20293] on the Spring and into the
Wire Nozzle [070181]. Turn the Feed Release Handle [070119)] clockwise so that the Small Feed
Gear [070112] is disengaged from the Large Feed Gear [070510A].
Continue to push wire through the Replacement Head until the end of the wire passes the Small and
Large Feed Gears, enters the Wire Tube [070544] and begins to come out the bottom of the wire tube.
Then using a small screw driver, wedge the wire up until it enters the Fixed Wire Cutter [070600C].
Engage the Small and Large Feed Gears by turning the Adjustable Lever counter-clockwise.
Note: It will take two full cycles for the proper length staple to come out of the head.
10
Fixed Cutter
070600C
Wire Tube
070544
Bottom View
Figure 8 - Wire Threading
Tabla de contenidos
Otros manuales de Accesorios para máquinas de coser de DeLuxe Stitcher


