Place the two rubber washers into the holes on either side of the lower shaft.
Slide the bottom of the lower shaft into the bracket on top of the coil. Make sure that the
sprin loaded pin in the lower shaft is pointed downwards.
Insert the plastic bolt throu h the hole in the coil and the lower shaft.
Fasten the bolt with the plastic win nut. Be careful not to dama e the thread of the bolt by
over-ti htenin . The plastic win nut may need to be loosened to adjust the coil.
1.2 Shaft assembly
Make sure that the camlocks of the middle shaft are loosened by rotatin them counter-
clockwise.
Push in the sprin loaded pin on the lower shaft and slide it into the middle shaft until the
pin reaches the desired adjustment hole. Ti hten the camlock by rotatin it clockwise until
ti ht. Remember not to over ti hten.
Attach the upper shaft assembly to the middle shaft by pushin the sprin loaded pin in the
upper shaft assembly and slide it into the middle shaft until the pin reaches the adjustment
hole. Ti hten the camlock by rotatin it clockwise until ti ht. Remember not to over
ti hten.
- Remember, the detector should be set to len th so that it is strai ht with your forearm
and feels comfortable and li ht when you pick it up.
1.3 Coil cable
Wind the coil cable around the complete shaft assembly enou h times to take up any slack.
Use the Velcro straps to keep the coil cable in place. We recommend that you use one strap
on the lower shaft close to the coil and the other strap on the upper shaft assembly close to
the control box.
Carefully push the coil plu into the socket on the back of the control box. Firmly ti hten
the retainin rin by hand to hold it in place (do not over ti hten).
WARNING! The cable comin from the coil should not be wrapped to ti htly in the coil area.
Leave enou h slack in the cable so you can adjust the coil when you detect on uneven round.
Failin to do this may result in dama e to the coil cable or the coil itself.
5
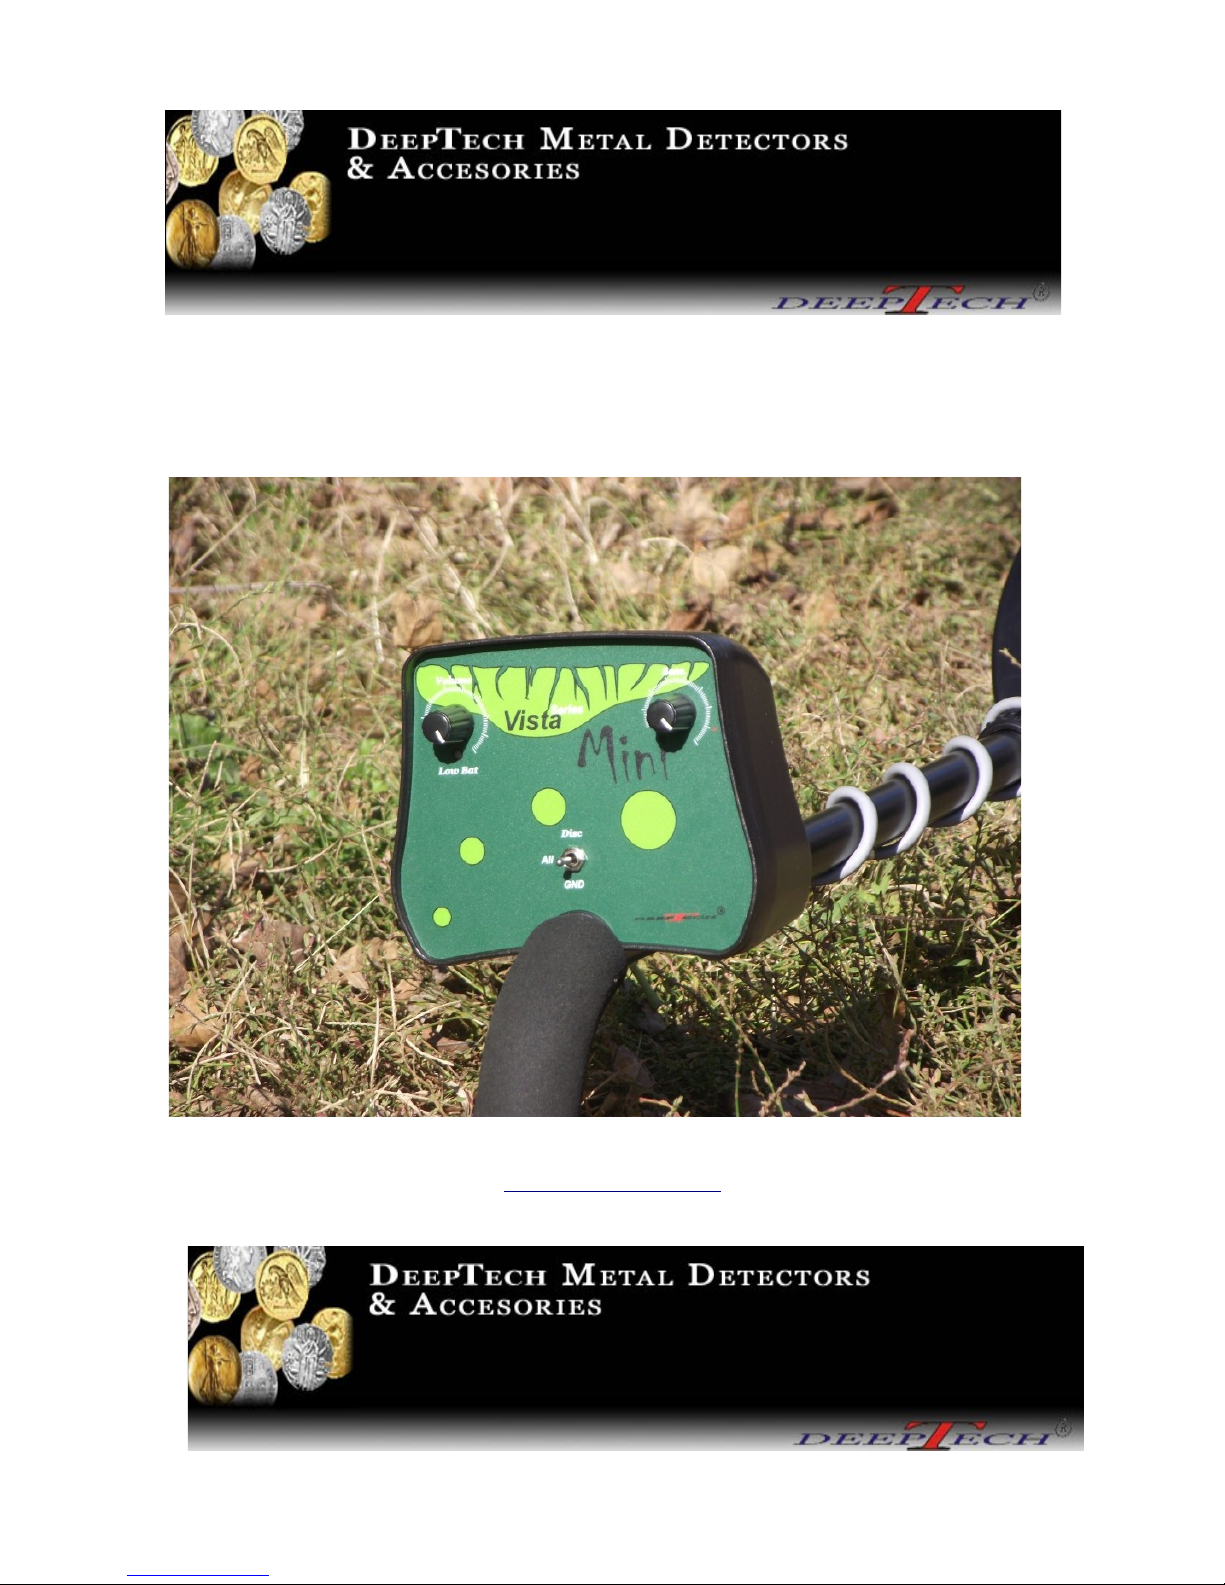
Controls