Afvoeren van het product (WEEE)
Dit symbool op het toestel of de verpakking geeft aan dat, als het na zijn
levenscyclus wordt weggeworpen, dit toestel schade kan toebrengen aan
het milieu. Gooi dit toestel (en eventuele batterijen) niet bij het gewone
huishoudelijke afval; het moet bij een gespecialiseerd bedrijf terechtkomen
voor recyclage. U moet dit toestel naar uw verdeler of naar een lokaal
recyclagepunt brengen. Respecteer de plaatselijke milieuwetgeving.
Disposal of the product (WEEE)
This symbol on the device or the package indicates that disposal of the
device after its lifecycle could harm the environment. Do not dispose of
the unit (or batteries) as unsorted municipal waste; it should be taken to a
specialized company for recycling. This device should be returned to your
distributor or to a local recycling service. Respect the local environmental
rules.
Algemeen gebruik
Het DecaLED®Opbouw Hang Noodverlichtingsarmatuur 3W kan worden ingezet als
vluchtwegindicatie / vluchtroute aanduiding. Dit LED armatuur wordt geleverd inclusief
een ingebouwde LED driver en een accu-pack waarmee de noodverlichting bij een
stroomonderbreking circa 3 uur autonoom blijft branden.
• Bescherm dit product tegen extreme temperaturen.
• Bescherm het product tegen schokken. Vermijd brute kracht tijdens de bediening.
• Bestudeer eerst de functies van het product voordat u het gaat gebruiken.
• Om veiligheidsredenen mag u geen wijzigingen aanbrengen aan het product.
Schade door wijzigingen die de gebruiker heeft aangebracht aan het product, valt
niet onder de garantie.
• Gebruik het product enkel waarvoor het gemaakt is. Andere toepassingen kunnen
leiden tot kortsluitingen, brandwonden, elektrische schokken, enz.
• De garantie vervalt automatisch bij ongeoorloofd gebruik.
• De garantie geldt niet voor schade door het negeren van bepaalde richtlijnen in
deze handleiding. Uw dealer zal de verantwoordelijkheid afwijzen voor defecten of
problemen die hier rechtstreeks verband mee houden.
• Gebruik de oorspronkelijke verpakking wanneer u het product vervoert.
• Bewaar deze handleiding voor verdere raadpleging.
Testen
Het wordt aanbevolen om het armatuur periodiek te testen / inspecteren. Hiervoor
dienen de batterijen minimaal 24 uur ononderbroken geladen te zijn. Door het indrukken
van de testknop gaat de noodverlichting branden. Voor een brandduurtest (1 of 3 uur)
dient u de netspanning van de armatuur af te schakelen. De groene indicatie-LED geeft
aan dat er netspanning aanwezig is en dat de batterij wordt geladen.
Accu
Wanneer de brandduur niet langer voldoet aan de opgegeven autonomie dient de
batterij te worden vervangen. Voor specificaties zie de sticker op de batterij. Gezien de
technische levensduur van de batterij wordt het aanbevolen deze na 4 jaar te
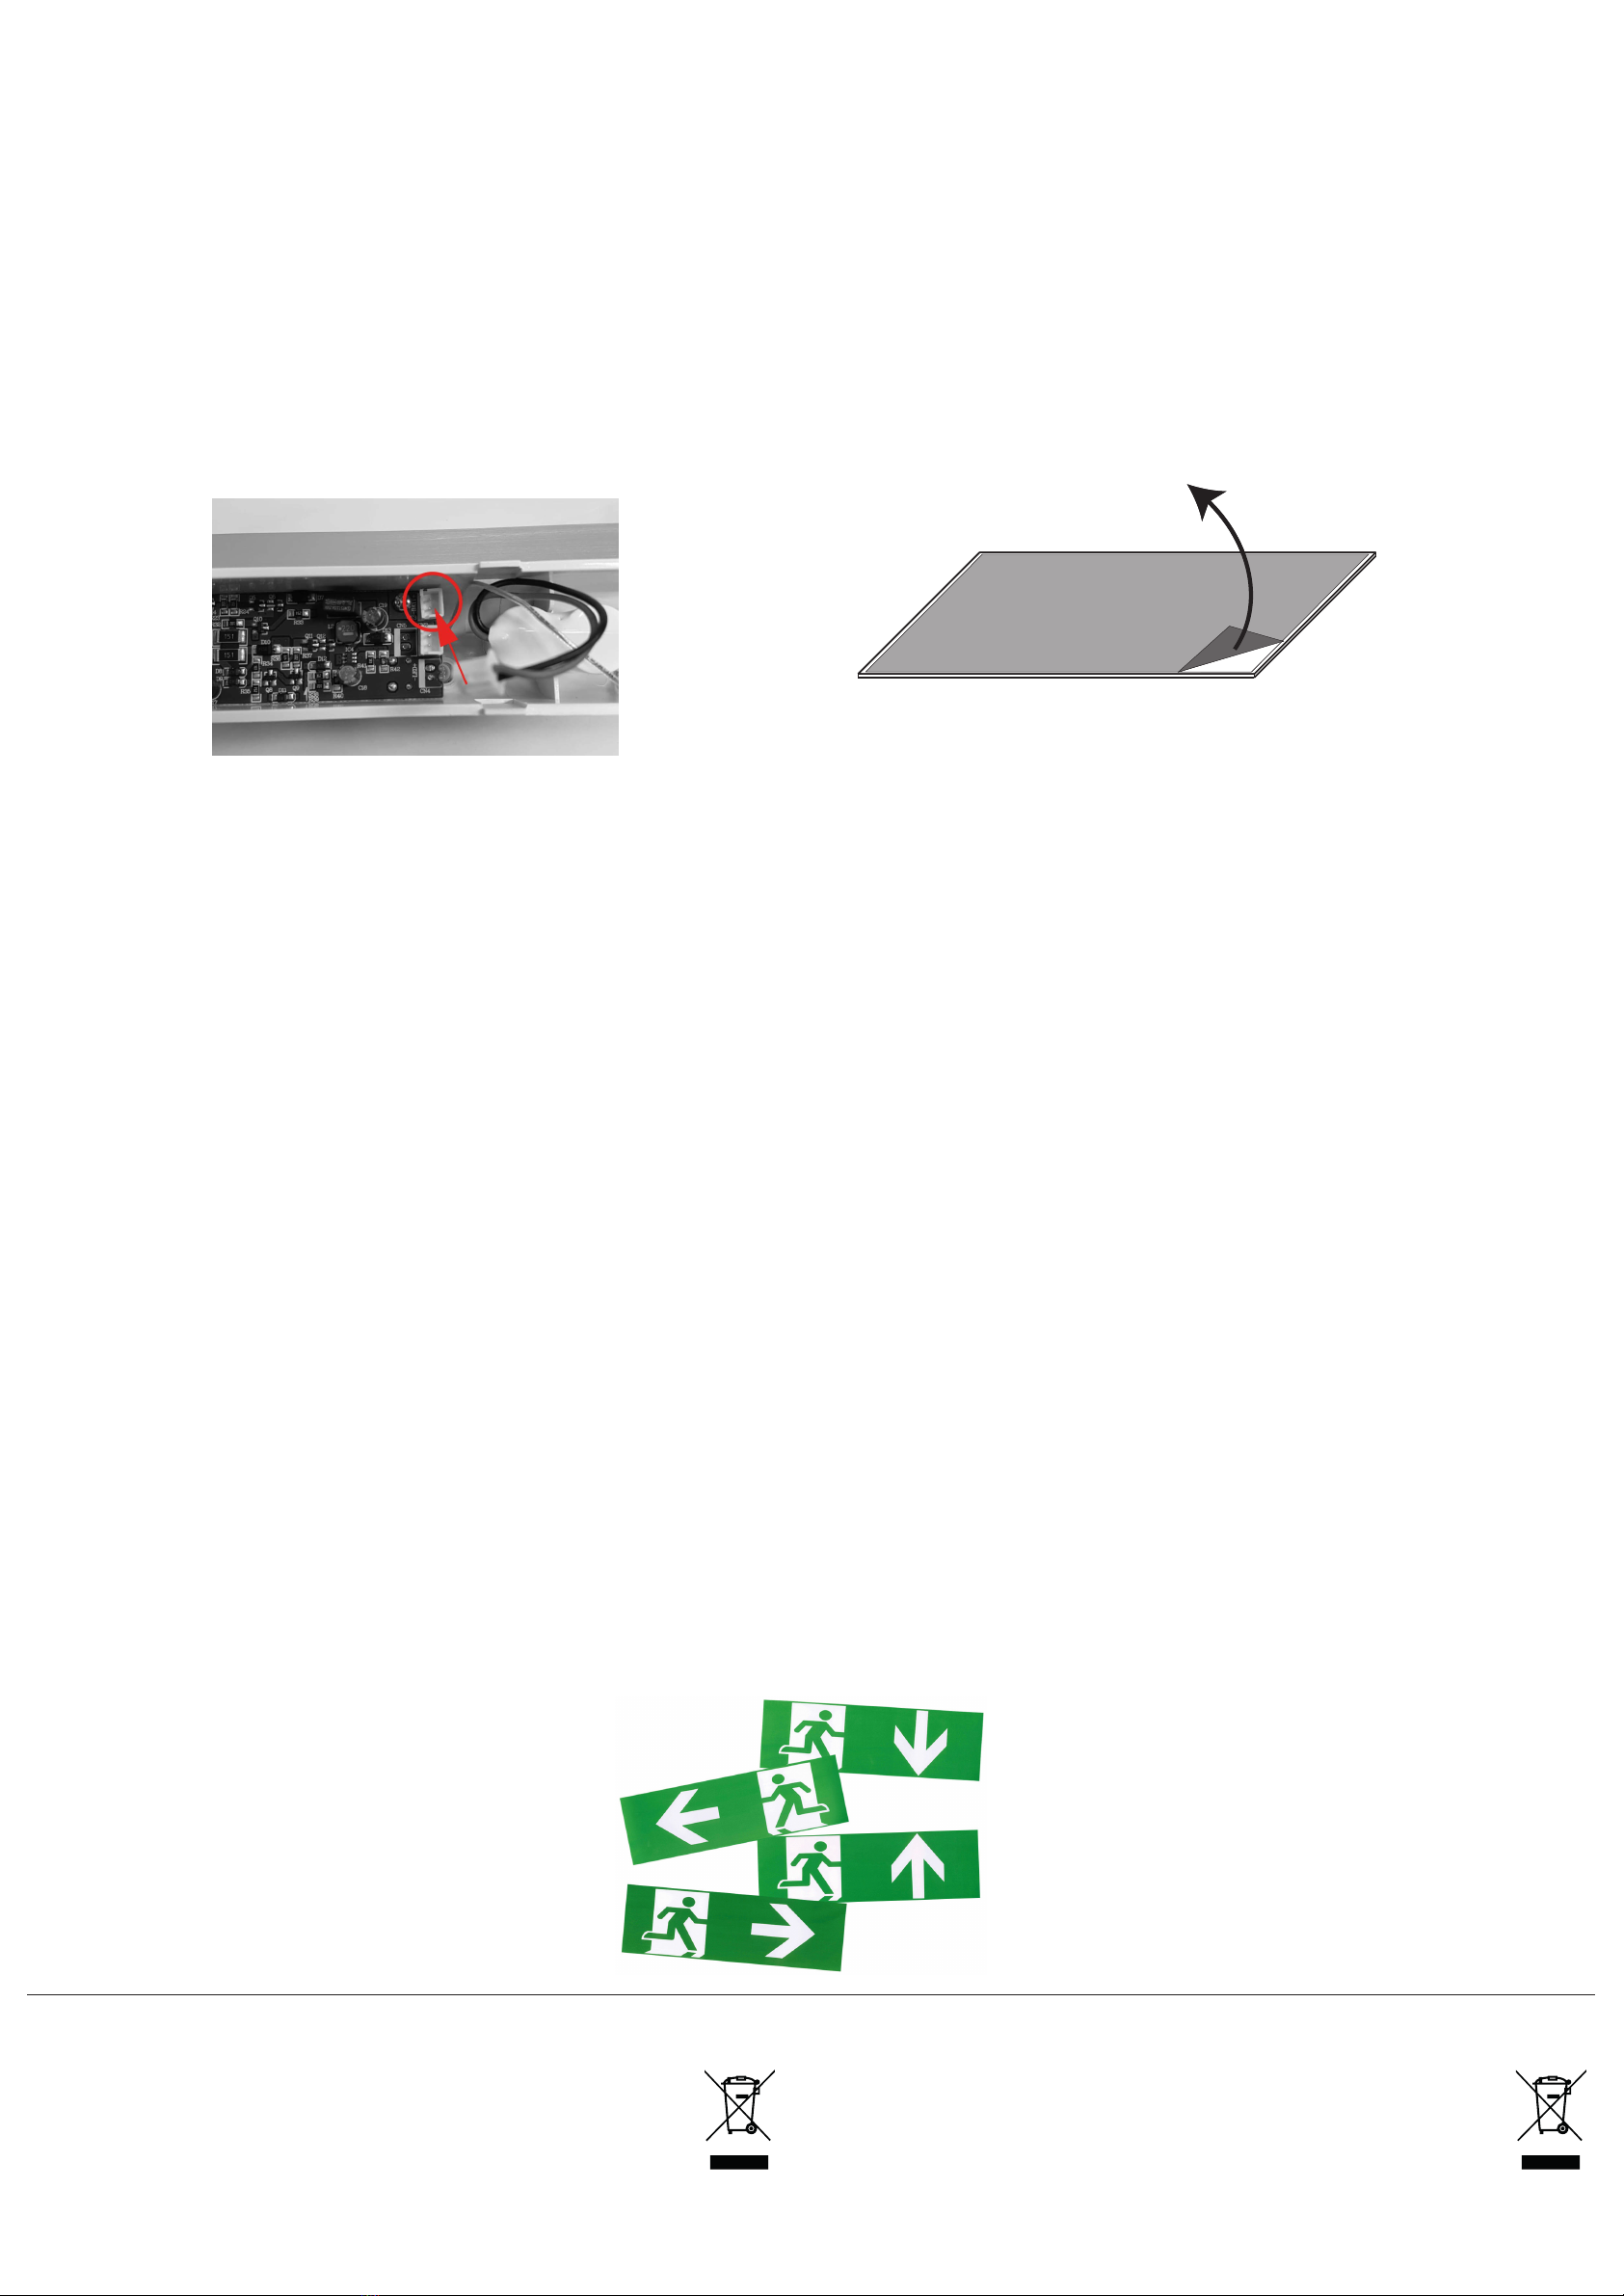
vervangen. Voor aansluiting van de batterij zie onderstaande afbeelding.
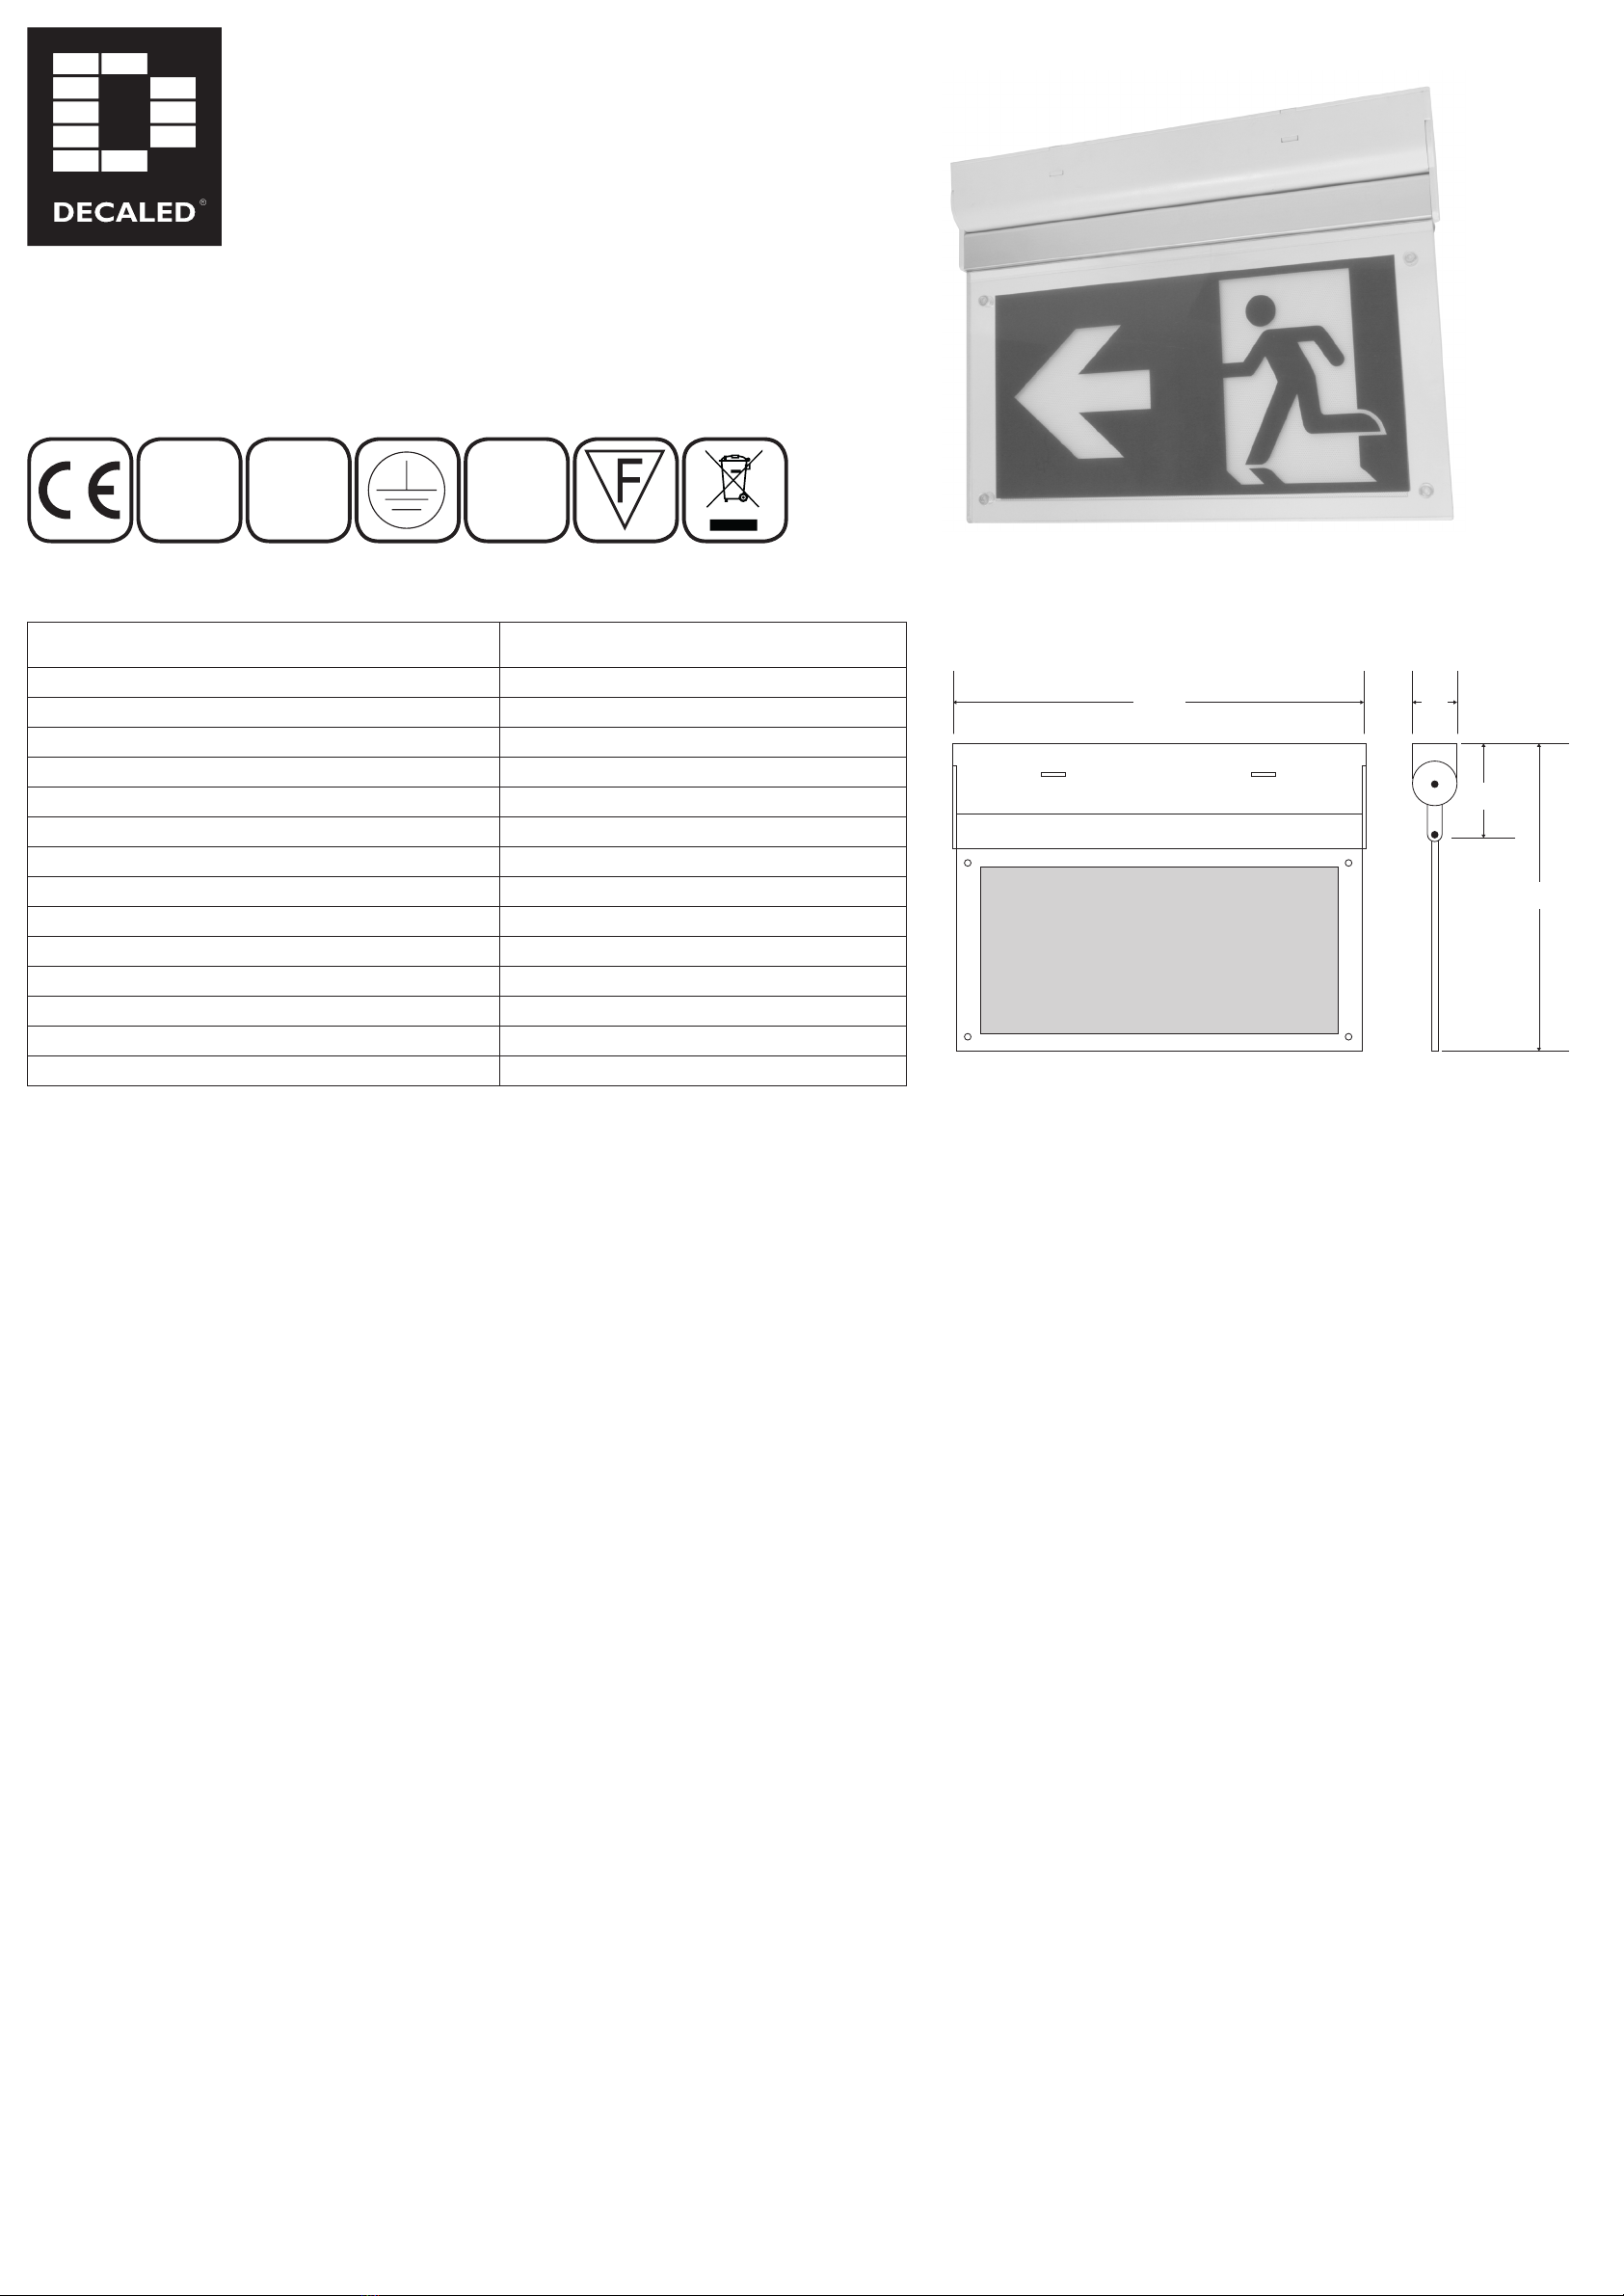
ISO 7010 pictogrammen
Let op de correcte oriëntatie en positionering van de pictogrammen.
General usage
The DecaLED®Hanging Escape Route luminaire 3W can be used as escape route
indication. This LED luminaire comes with a built-in LED driver and battery pack with which
the emergency lighting remains lit independently during a power outage about 3 hours.
• Keep this device away from extreme temperatures.
• Protect this device from shocks and abuse. Avoid brute force when operating the
device.
• Familiarise yourself with the functions of the device before actually using it.
•All modications of the device are forbidden for safety reasons. Damage caused by
user modications to the device is not covered by the warranty.
• Only use the device for its intended purpose. All other uses may lead to short circuits,
burns, electroshocks, luminaire explosion, crash, etc.
• Using the device in an unauthorised way will void the warranty.
• Damage caused by disregard of certain guidelines in this manual is not covered by
the warranty and the dealer will not accept responsibility for any ensuing defects or
problems.
• Use the original packaging if the device is to be transported.
• Keep this manual for future reference.
Testing
It is recommended to test the luminaire periodically. For this purpose, the batteries must
be charged for 24 hours prior to any test. By means of the test switch, isolate the un-
switched live supply and the emergency luminaire will be lit. For a 1 or 3 hour duration
test, the supply is switched off to ensure the rated duration is achieved. The green LED
indicates that power is on and the battery is charged.
Batteries
When the test results no longer meet the requirements for duration indicated for the
luminaire the batteries must be replaced. Please see the label on the batteries for the
type required. Given the technical life cyle of the battery, it is recommended to replace it
every 4 years. For connecting the battery see image below.
ISO 7010 pictograms
Pay attention to the correct orientation and position of the pictograms
Installatie
• Respecteer altijd de veiligheidsinstructies! Neem deze door voordat u met de
installatie begint.
• Schakel de spanning af, voordat u begint aan de installatie of de bedrading.
• Open de behuizing door met een schroevendraaier in de twee horizontale sleufjes in
de behuizing te drukken. De bovenkant van de behuizing komt los.
• Monteer het armatuur met geschikte schroeven en pluggen op de gewenste locatie.
Het armatuur is geschikt voor montage tegen plafonds en wanden. Bij wandmontage
kan het pictogram 90° naar beneden gekanteld worden.
• Zorg ervoor dat de secundaire zijde van de driver is aangesloten aan het armatuur,
voordat u de primaire zijde van stroom voorziet.
•Leg de bedrading aan conform IEE regelgeving. Gebruik hiervoor de vrije contacten
op de kroonsteen in het armatuur.
•Voor gebruik dient u te controlleren dat de accu connector is aangesloten op het vrije
contact “BATT” van de LED driver.
•Na het aansluiten van de accu en de bedrading drukt u de behuizing met het
pictogram voorzichtig op het gemonteerde gedeelte, totdat de sluiting vastklikt.
• Verwijder de beschermfolie van het pictorgrammen.
•Let op dat de bedrukte zijde van het pictogram tegen de hangende plaat aan
gekeerd gemonteerd is.
Installation
• Always respect the safety instructions! Check them out before you begin the
installation.
• Turn the power off, before starting the installation or wiring.
• Open the housing by pushing a screwdriver into the two horizontal slots in the housing.
The top of the housing pops out.
• Mount the luminaire with suitable screws and dowels at the desired location. The
luminaire is suited for surface mounting to ceilings and walls. When mounted to a wall,
the sign can be tilted 90° downwards.
• Make sure the secondary side of the driver is connected to the luminaire before
connecting the primary side with power.
•Wire up the luminaire in accordance to IEE wiring regulations. Use the contacts on the
terminal block in the luminaire.
•Before use check that the plug battery lead connector is inserted into the empty
terminal “BATT” on the LED driver.
•After connecting the battery and the wiring press the case with the sign onto the
mounted part, until the closure locks in with a click.
• Remove the protective foil from the pictograms.
•Make sure the printed side of the pictogram is installed inwards against the hanging
plate.