DD ArrowV5 Manual de usuario

Assembly manual
Congradulations on your purchase of Donatas Design, aeromusical plane Arrow V.5. This plane is
evolution of famous 4D trainer with variable pitch propeller placed inside fuselage. Arrow V5 is
latest version of this plane, that is extremely good choice if you want to learn 3D ore 4D flying.
Plane kit come in two versions regular and milled. Regular version is preffered option for
beginers, and pilots that plan to fly Arrow outside in light winds. Not milled version is also
stronger. Milled kit is made for competition pilots and flyng with Variable Pitch propeller. Milling
save about 9 grams, and as we know weight and wingloading is very important factor in F3P
competition planes.
Arrow V.5 is intendet to be powered by 18,5g AXI2203/RACE motor and 2s light lypo battery if you
fly indoor. If you plan to fly outdoor AXI 2204/54 with 3s light lypo is recommended. Please have in
mind if you sellect more powerfull motor aditional reinforcements to airframe will be necessary.
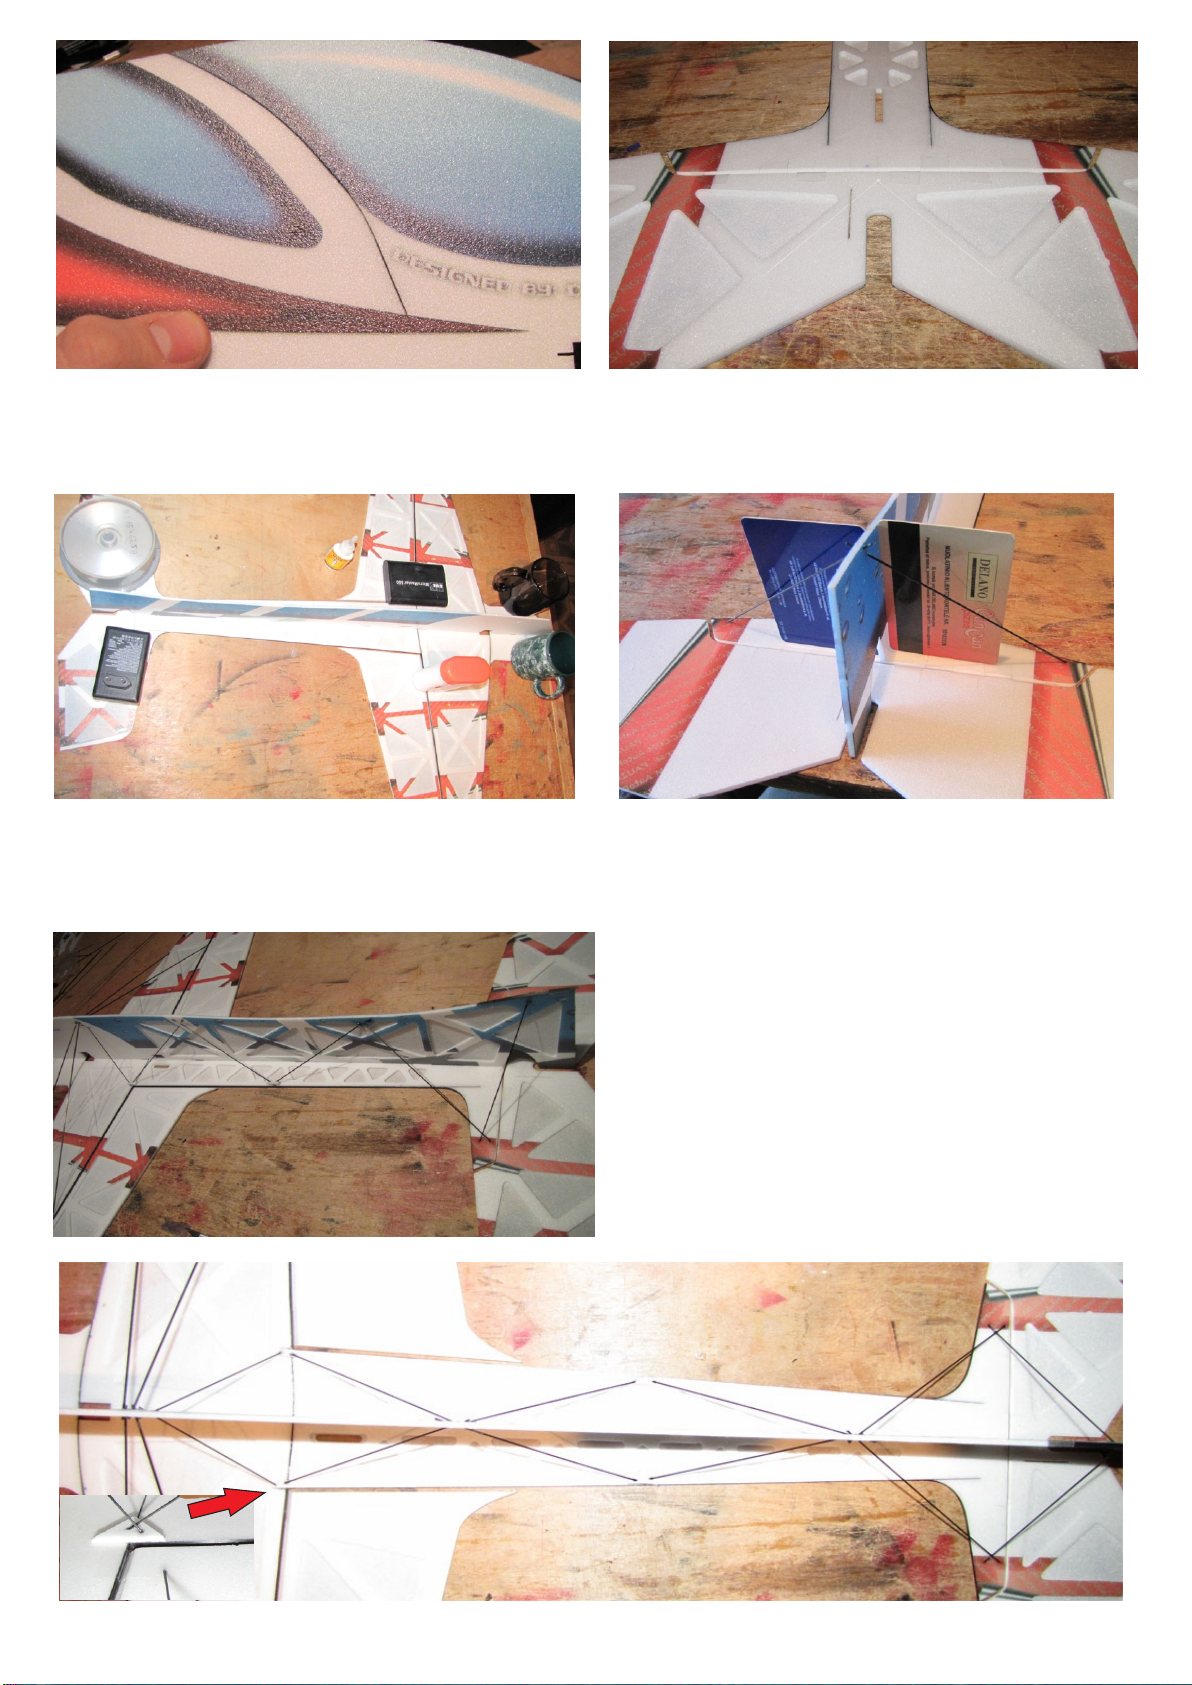
This kit include all items that are necessary to finish kit, depron parts, carbon rods, flat
carbon, hi quality fiberglass hardware set, motormount, Z ends for servo attachment, velcro
tapefor battery fixation and pull pull line.
Equipment selection
Motor: AXI2203/Race (For indoor flying, motor weight 18,5g. )
AXI 2205/54 (For outdoor flying in light wind, motor weight 25,9g.)
AXI 2205/54 EVP (VPP flying, motor weight 25,9g ).
ESC: Competition option Castle Creation Phoenix 10a , budget version CC Thunderbird 9.
Battery: Desire Power V8, 35C 300mah, 2S/7,4V , battery weight 16g. (Light indoor)
Desire Power V8, 35C 380mah, 2S/7,4V , battery weight 22g. (Powerfull indoor)
Desire Power V8, 35C 380mah, 3S/11.1V , battery weight 30g. (Powerfull outdoor or VPP)
Servos: Dig. JR 290G single servo for elevator and rudder, 2 servos can be ussed on ailerons.
Dig. JR 188 single servo for elevator or rudder, 2 servos can be ussed on ailerons.
Hitec 65hb single servo on ailerons and rudder
Radio: At least 4 ch programmable radio with minimum programming of exponential. My advice
would be more advanced radio like JR 9 or JR11 that have travel adjustment, dual rates, trim steps,
digital trimmers, mixes and other useful functions, that will help you setup plane fast for best
performance.
Receiver : As light as possible, i use with great sucess: Spectrum 2,4ghz Ar6300 2g.
Duplex 2.4ghz R6Gindoor 3.6g
1

2
Here you can see fiberglass hardware set. It is done to achieve best control of your moving
surfaces. Now you can use long servo arms and servo horns, this will allow you to have less
pressure on control rod and also use full potential of your servos and not lose resolution. Also
few small piece will reinforce areas that face allot of forces.

You will need just few basic tools and materials to
finish your Arrow V.5:
Sharp hobby knife, file ,1.5mm dril, piece of
sanding paper, scizors, screwdriver, solder,
Donatas Design beveling tool.
Mercury Adhesives foam friendly CA glues
(M100F), Mercury Adhesives Accelerator MH 16
M3 medical tape for control surface attachment.
Building:
Using sharp knife split fuselage.Do not throw derpon "trash" (servo cutout holes). For example if
you decide to use two aileron servos you can glue back inside fuselage this small piece and avoid
having ugly hole.
3
Required tools and adhesives:
Make sure you remove all steps
that were connecting fuselage.
Repeat this procedure for all parts.
If you try to build plane light, here is one trick. „Shave“,
end’s of 0,5mm flat carbon. You will save some weight
and will have very useful thin carbon for further building.
Next thing is reinforcing some critical parts.
Here you can see aileron compensator
reinforcement with thin carbon.
Ussing Donatas Design beveling tool cut
aileron edge, for easy deflection down (when
it is attached to wing), and great clean look .

4
Glue 0.5mm carbon on back and leading edges of the wing. Carbon lenght required for back edge
is 70cm, for front we will need 83cm carbon lenght should be. Very end of carbon is fixed with
small piece of medical blenderm tape.
Optional reinforcement: Glue thin carbon (that is left from „shaving“ main carbon spar ) like shown
in picture, this give very good strenght for elevator and prevent stabilizer part from cracking.
When flat carbon is glued to wing, and aileron edges are beveled, its time to attach these two parts
together. I highly recommend to use 3M medical blenderm tape, it stick extremely well to depron
surface. Also this tape is not shiny so it does not stand out and change colour sheme of the plane.
In picture on right you can see black circles, these are areas where small pieces of blenderm tape
must be placed. Reinforcement here prevent aileron from moving away from wing, after many
hours of flying.

5
There are few ways how you can attach elevator and rudder. Easier one is to use Donatas Design
beveling tool and cut control surface by angle, and then ussing blenderm tape attach it to fuselage
(same way ailerons are done).Such method is good when you use solid pull push system. But if
you use pull pull cables, tension on hinge line will displace rudder or elevator.
When you use TVR (Trust Vector Control) system, it put allot forces on motormount and nose of
plane, here is small trick how to make nose of plane stronger and have less noise. Cut nose about
3cm from front and glue in thin carbon piece. This will help in few areas, plane nose will be much
stronger and noise will caused by hi G maneuvers will be smaller.
I use so called „8" method.
You can see rudder here is connected like old fashion control line
surfaces, when people did not had hi quality hinges. Idea here is simple, take two pieces of
blenderm tape (about 1x1,5cm size). Glue 0,5cm lenght of tape to other tape to sticky areas, this
will give you 2,5cm tape that is sticky in front on the bottom and rear on the top, at same time center
is neutral from both sides. Having such piece glue one side of it to stabilizer top surface and
bottom of elevator, reply same thing just flip over next sticky tape piece. You have to repeat this
procedure until elevator is connected from left to right. Such way of connecting surfaces is best
for Pull pull cbles. I use this method on my competition models, it allow surface deflect up to 180
degree with no effort, also it can withstand pull pull cable tension forces and stay in place for ever.

6
Now its time for one of most important steps durring building of your Arrow V5. Place tail section to
main wing as shown. Use some heavy objects to lock parts on flat table. Measure very carefully
distance from each wingtip to stabilizer, it must be exactly the same. Also be sure tap line where
bottom of fuselage will be connected is in one line.
In this stage of building last part you must attach is front of the plane. Glue it as it is shown in
picture on the left. Make sure tap line (line where bottom fuselage will be connected) is straigt and
it match line on tail section and wings.
In picture on the right side you can see one more aditional reinforcement for top part of fuselage.
Ussing sharp knife carefully cut as shown in picture. Best way is to stick to outline of cockpit, so
carbon reinforcement will not stand out.
Area behind wing where it is connected to fuselage is weak point of every shockflyer. I recommend
to reinforce it with fiberglass cloth. Cut small piece as shown in picture and put few drops of foam
friendly CA glue. Make sure it spread even, so all material is wet, but be sure not to clean all axtra
CA with paper towel, remember we don’t want extra weight. And to much of CA glue is one area
where you can collect weight very quickly. For example for building your plane take fresh bottle of
CA glue, and check what is the weight of it. When you finish building your plane put bottle of CA to
scale you will see how much weight you add to your plane in form of a glue.

7
Glue flat thin carbon piece as shown in
picture. This will reinforce top of fuselage and
in case of inverted landing will help to protect
depron from bending.
Cut holles for V shape carbon reinforcement.
This is necessary step to ensure both sides of
elevator deflect ecactly the same. Otherwise
elevator controll will be not precise.
Glue bottom part of fuselage inverted on the
flat table. Put some heawy objects on tail and
wings, this will help to keep them straight. It is
very important for precise flying plane.
Now lets reinforce bootom fuselage structure
by adding 1mm carbon rods. Be sure to take a
piece of sanding paper and prepare surface
of each tip of carbon rod. This way glues will
stick better. For easy setup i recommend use
some square helfull tools like CD cover ore
credit/phone card. Take two exact same sice
objects that have 90 degree angle, place
these objects (my favorite credit cards ) from
both sides. This way depron stay straight.
On last picture, you can see all construction
reinforced and already assembled in one
piece. Such reinforcement way is about 50%
lighter than old fashion depron box, that also
had some twist during rolls.

8
Now we need to prepare main wing support. Here you can see reinforcement piece made from
0.5mm fiberglass. In your Arrow kit you will find similar detail, glue it in center of wing on
bottom of fuselage.
Mark 23 cm distance (measuring from fuselage towards wingtip). This will be point where
wing support from 1.5mm will be connected. Wing support carbon rod must be 26 cm long.
Also don’t forget to use credit card to make sure fuselage is always stand by 90 degree angle.
DO NOT GLUE 4 carbon rods in center yet. First you need to attach them to flat carbon that is
glued to leading and back edge of main wing.
Glue four carbon rods to main wing, and as shown using needle and kevlar thread make
couple loops around carbon spar and flat carbon. This will give amazing strenght when you
will place drop of foam friendly CA glues on top. This update will keep wings in same position
no matter how hard you will fly your plane.

Now when kevlar thread is in place and carbon rods are already glued in place put plane again
on flat table. Use some weights to press it down to table. Now double check vertical fuselage
position and apply some CA glue in center of fuselage.
Now you can glue two support SFG’s from depron to wing support carbon rod.
This is optional aileron reinforcement .
control become little more precise. For milled version of Arrow this is highly
recommended. But if you have regular Arrow version and don't have time skills to do this
upgrade, its not necessary. Your Arrow will fly just fine.
This upgrade make ailerons much stronger and roll 9

Carbon structure from different angle.
When all updates are installed, make sure elevator is flat and deflect easy to both sides.
Now it is good time to glue in flat carbon pieces to V shape openning we cut earlier. When you glue
flat carbon inside depron, glue fiberglass square plate on top and bottom of elevator as shown in
picture. Same optional reinforcement update with carbon can be done on milled elevator. For
Wing reinforcement I use 1mm carbon rods and for elevator I use 0.7mm carbon rod ( 0.7mm
carbon does not come with kit).
When all updates are installed, make sure aileron is flat and deflect easy to both sides. 10
Tabla de contenidos


