Technology, LLC
DAVCO Technology, LLC P. O. Box 487 Saline, MI 48176 Call 800-328-2611 www.davco.com 1304 REV G
4
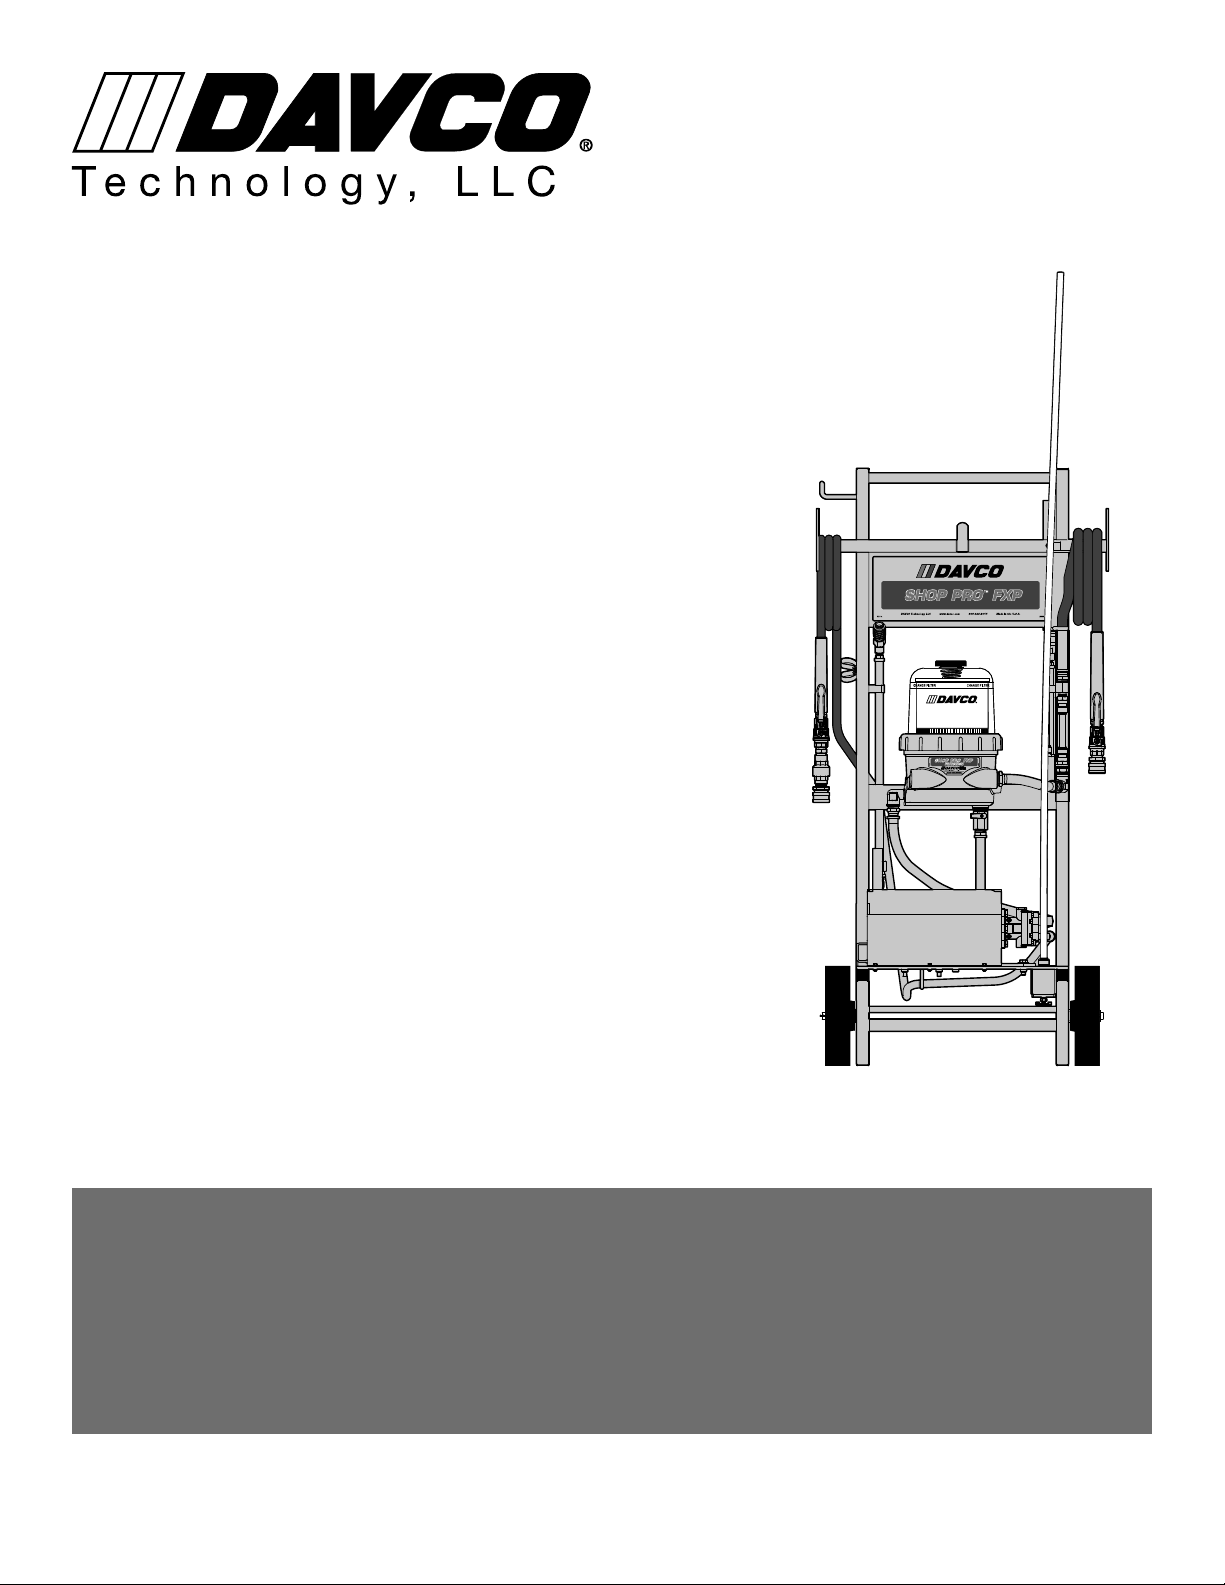
SHOP PRO®FXP
WITH 120VAC - UNREGULATED
TECHNICAL MANUAL
SET-UP AND MAINTENANCE
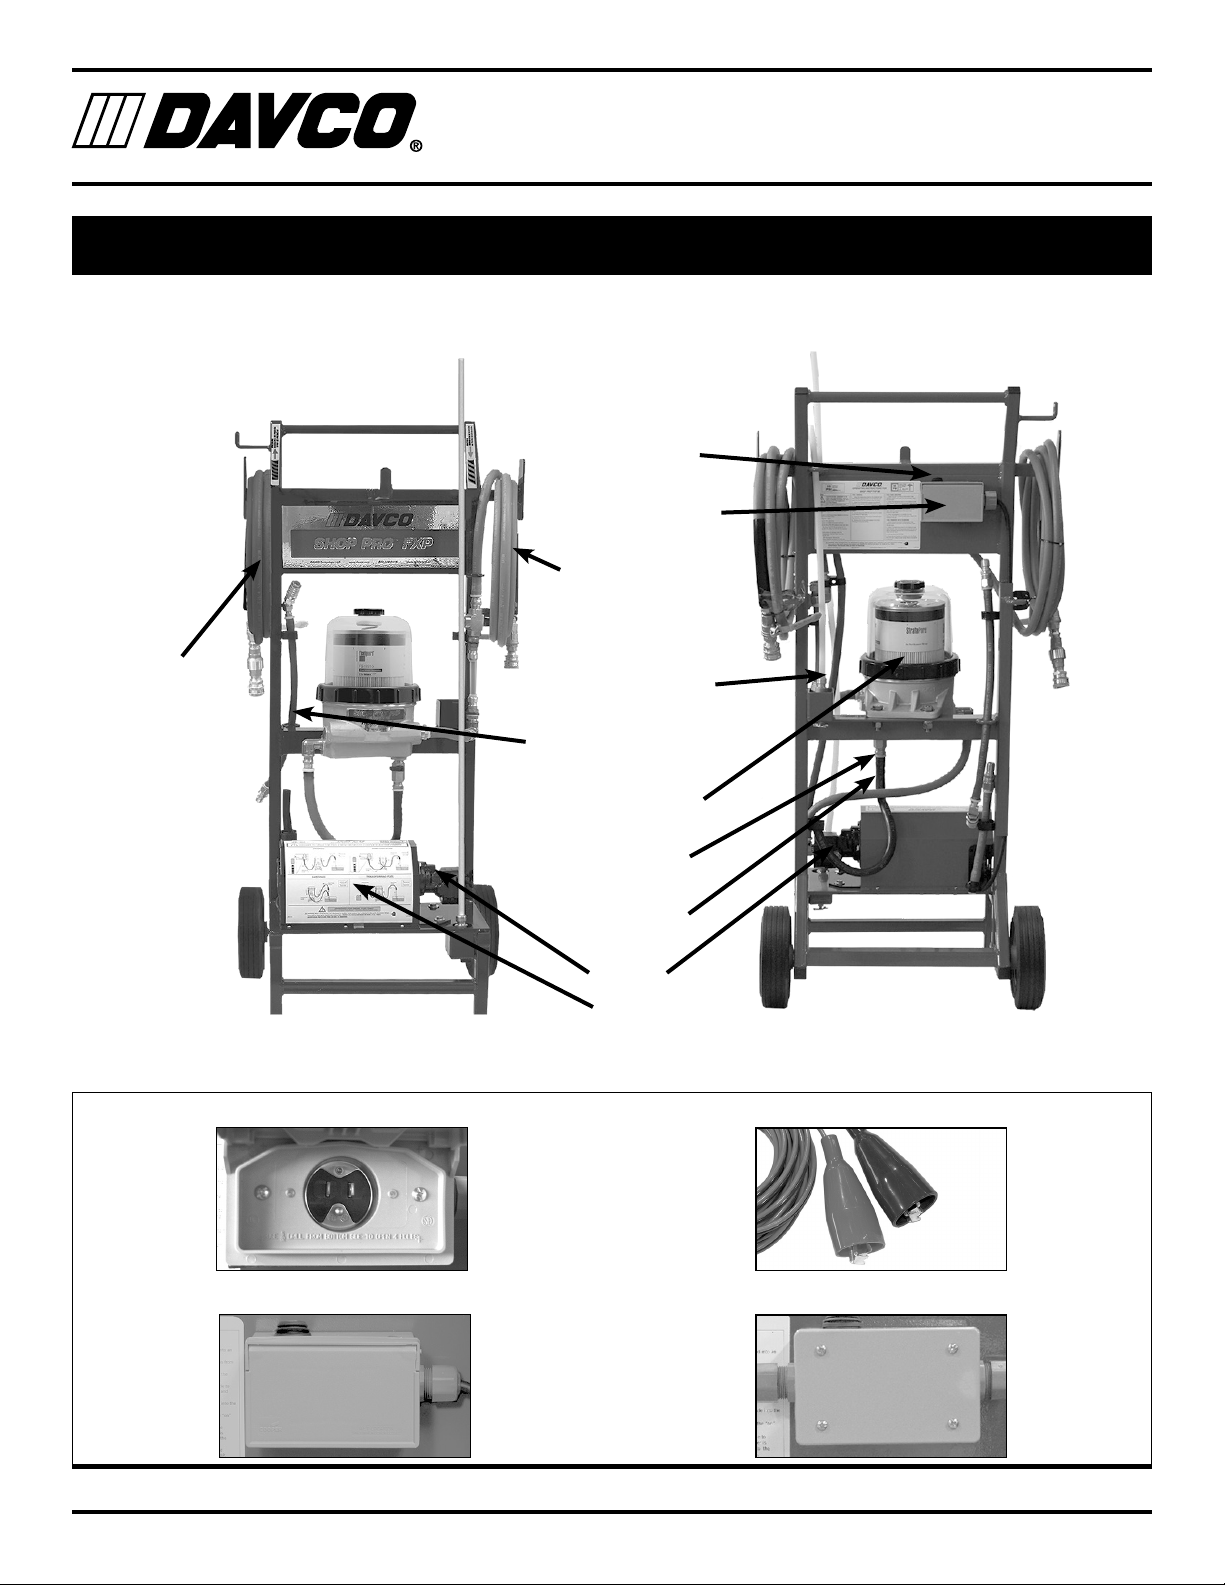
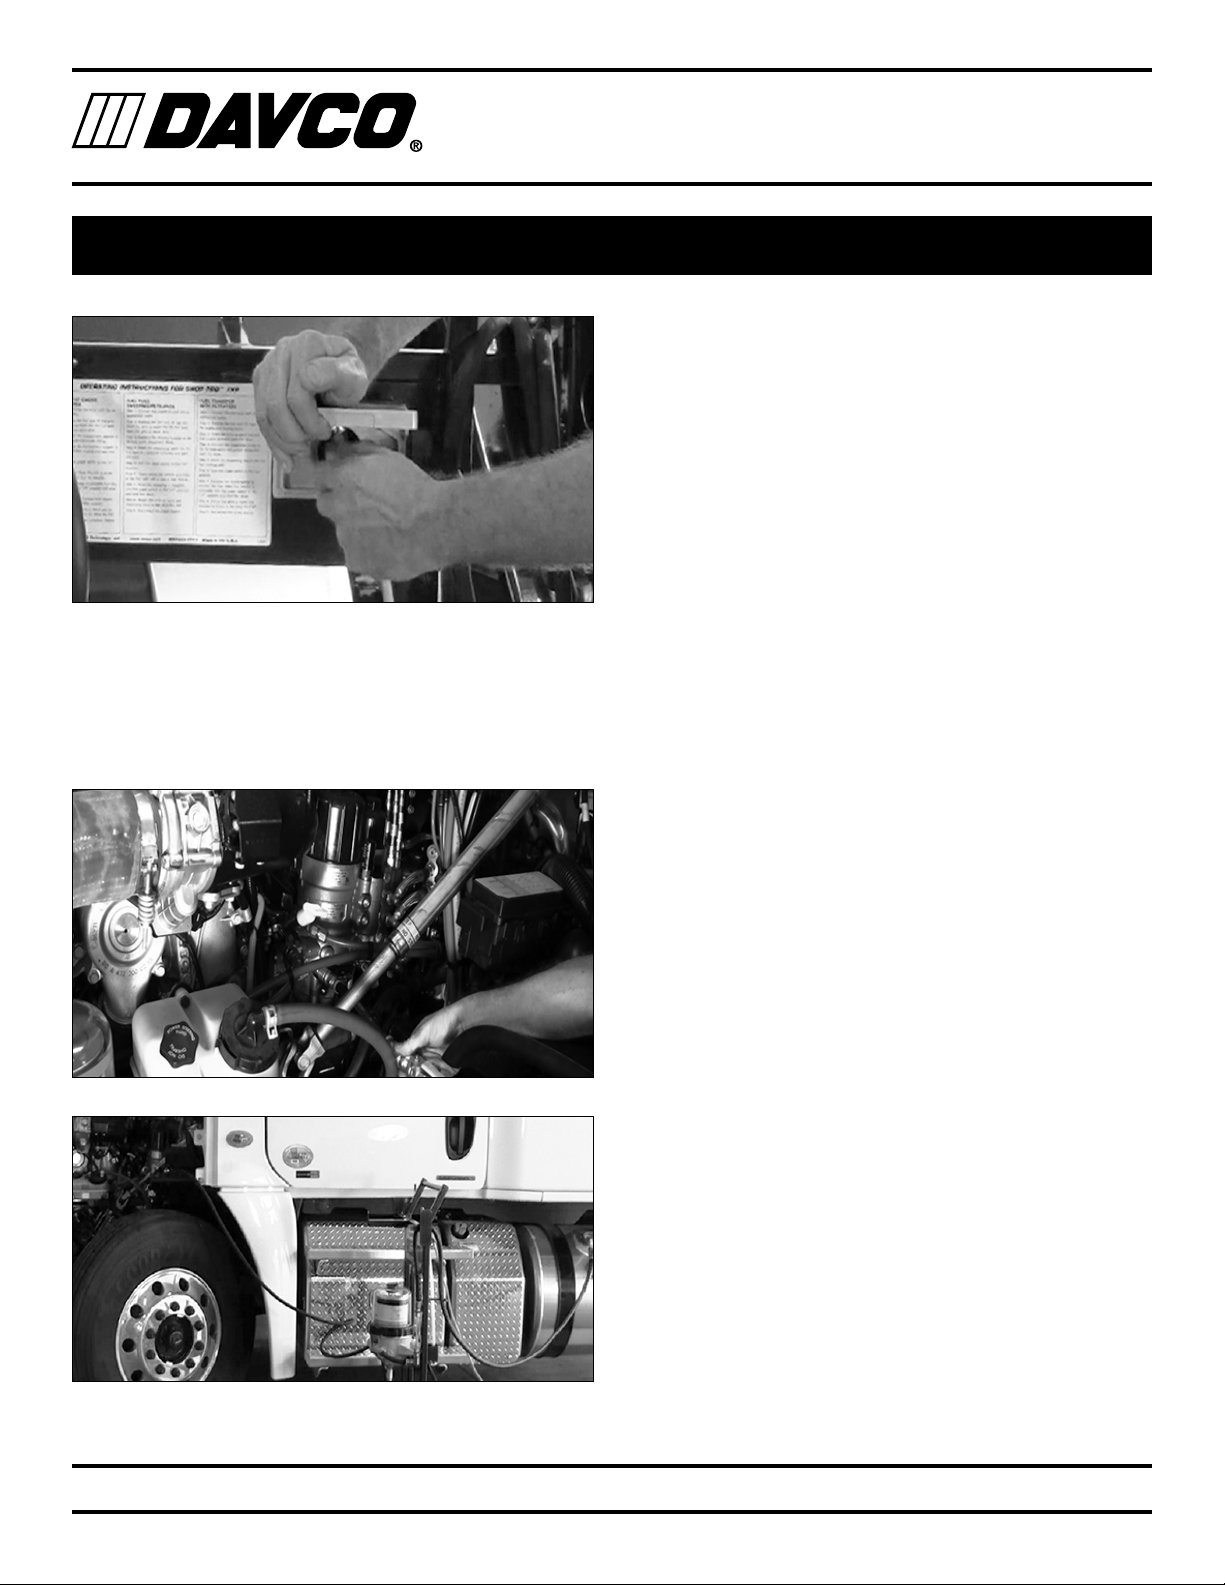
Set-up
1. Unwrap the ShopPro FXP and remove cable ties from
hoses.
2. Assemble the suction hose to the pick-up wand.
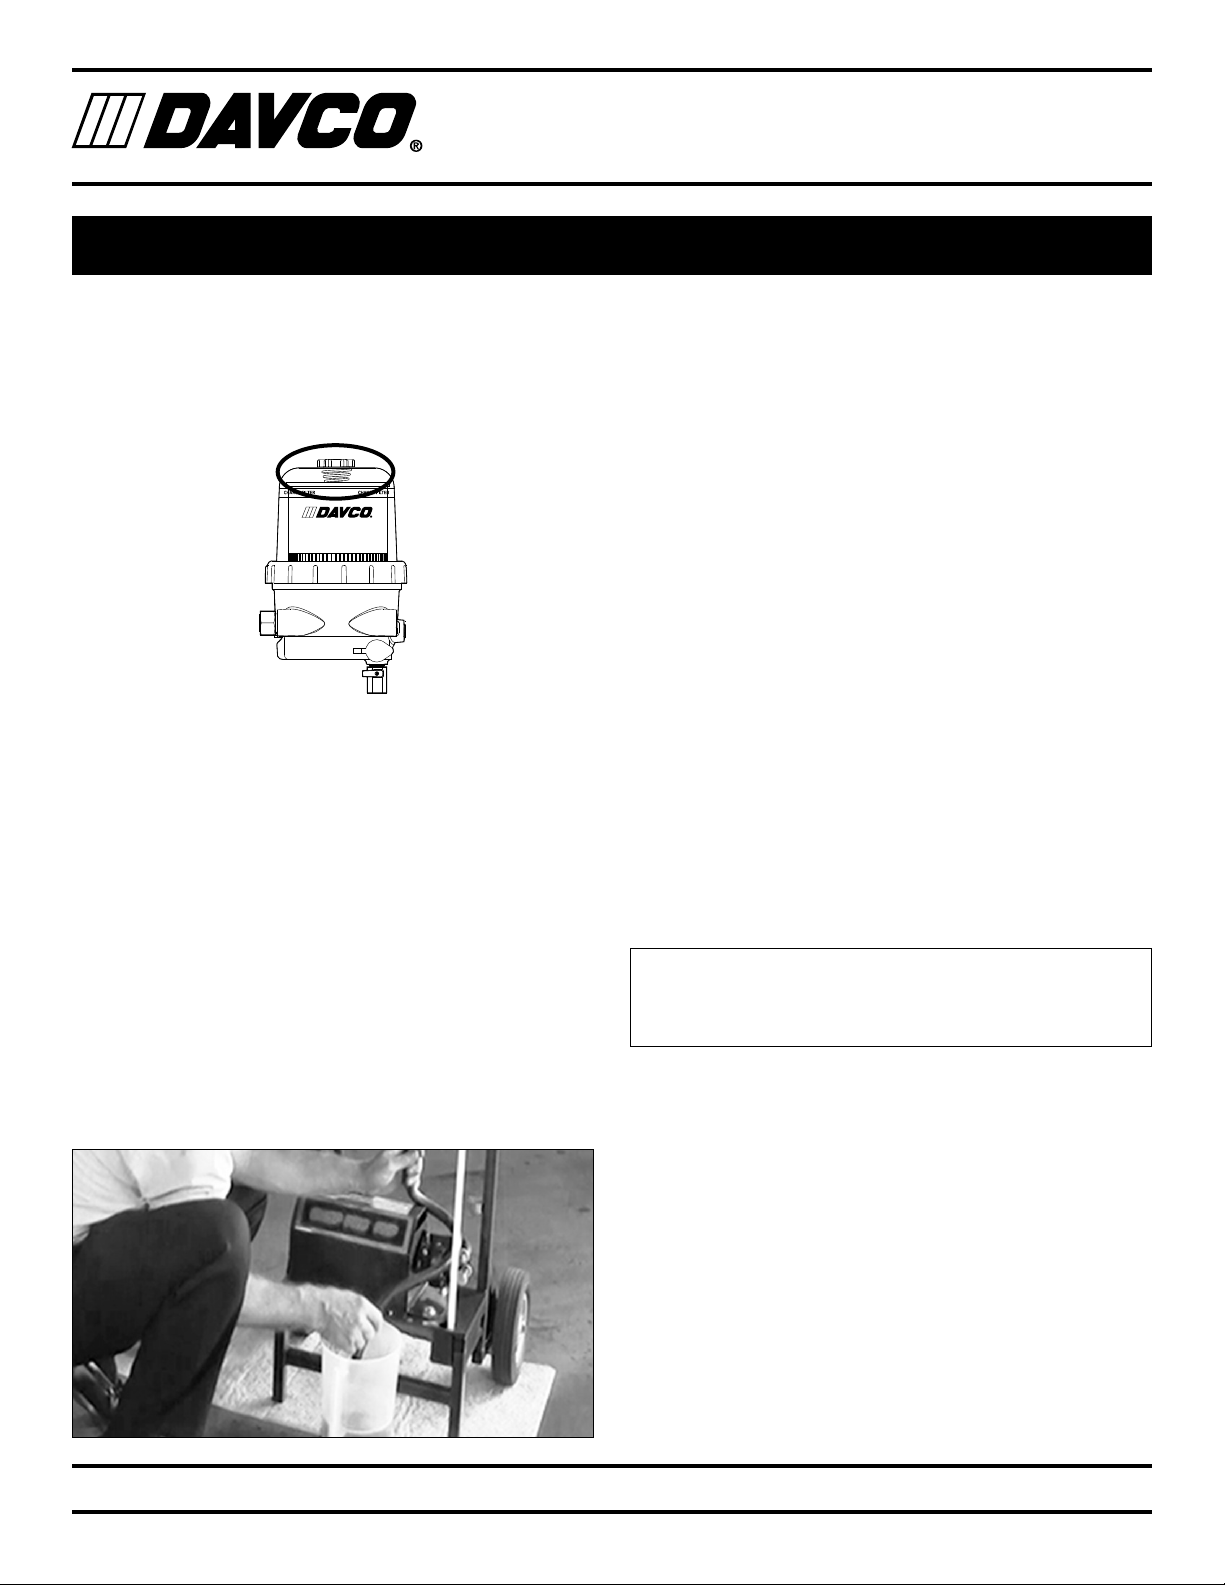
3. Remove the vent cap from the filtration unit.
4. Pour diesel fuel into the clear cover until it reaches
the black band on the filter element (approximately 1
gallon). (This fuel will be on the “dirty” side of the filter,
meaning that the fuel will be filtered before flowing
through the ShopPro FXP to the engine or tank.)
5. Reinstall the vent cap and tighten by hand until it clicks.
The ShopPro FXP is now ready for use.
Filtration Unit Maintenance
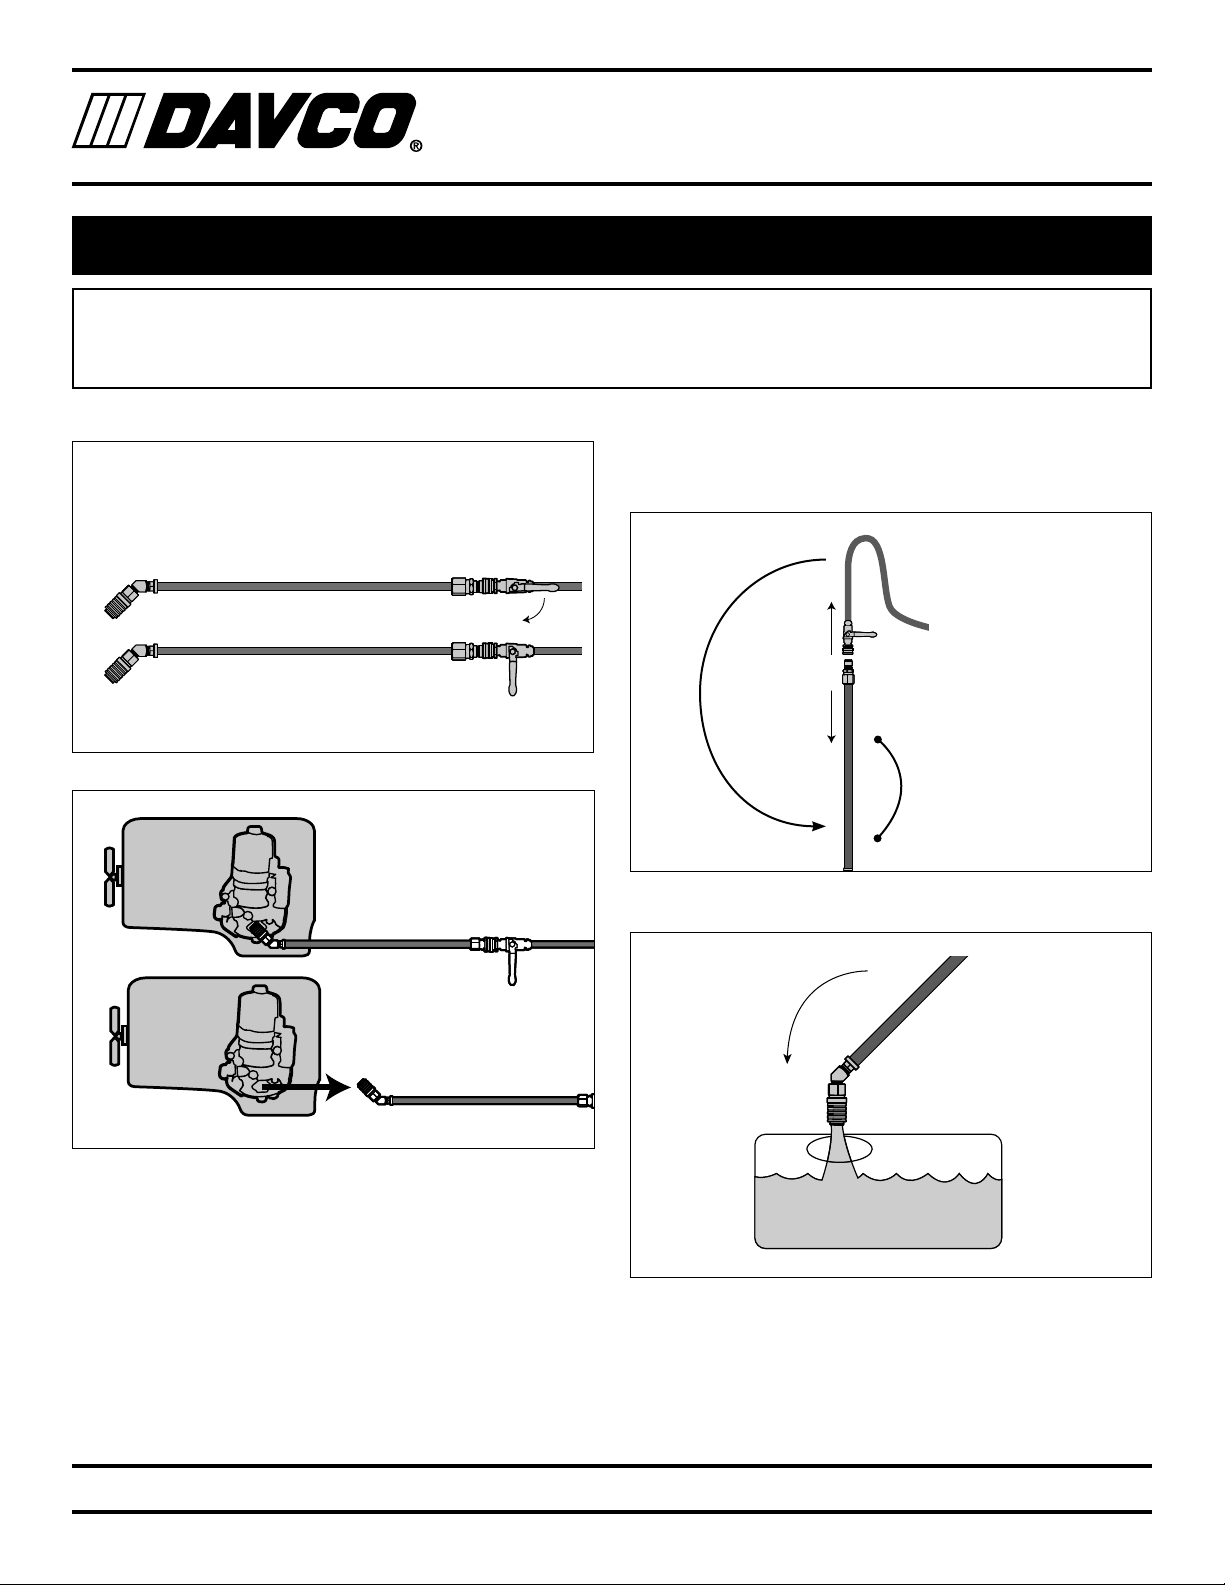
Drain Water
Water that has been separated from fuel will collect in the
bottom of the body of the filtration unit. Drain the water
periodically. This will depend on how often the ShopPro is
used and the quality of the fuel it has filtered.
1. Open the vent cap slightly to break the vacuum. Place
the end of the drain hose in a suitable container and
open the drain valve.
2. When only fuel is coming out of the hose, shut the
valve. Hand tighten the vent cap until it clicks.
Filter Replacement
Replace the filter in the filtration unit when the fuel remains
at the top of the filter element. The filter change will also
include replacement of the seals on the vent cap and on the
collar.
1. Remove the vent cap and open the drain valve to drain
the fuel below the collar level.
2. Remove the collar (use the DAVCO wrench) then
remove the clear cover. Remove the filter. Remove the
seals from the cover and the vent cap. Dispose of the
filter and the seals properly.
3. Using a clean shop rag, clean the cover, vent cap, col-
lar and threads on the filtration unit body. Do not use
any acetone based cleaners on clear cover.
4. Install the new filter and the seals (included with the
replacement filter).
5. Place the collar over the cover. Simultaneously ap-
ply pressure to the top of the clear cover and turn the
collar until it is seated on the body of the filtration unit.
Tighten the collar until it no longer spins freely. Using
the collar wrench, tighten the collar two additional ribs.
6. Pour clean fuel into the filtration unit. Hand tighten the
vent cap until it clicks.
Replacement filter part numbers:
Fleetguard: FS19915
Detroit Diesel: A0000903651
Cart Maintenance
1. Open the small drain valves on the bottom of the reser-
voirs on the cart. Dispose of waste fluid properly.
2. Wipe the surfaces with shop rags.
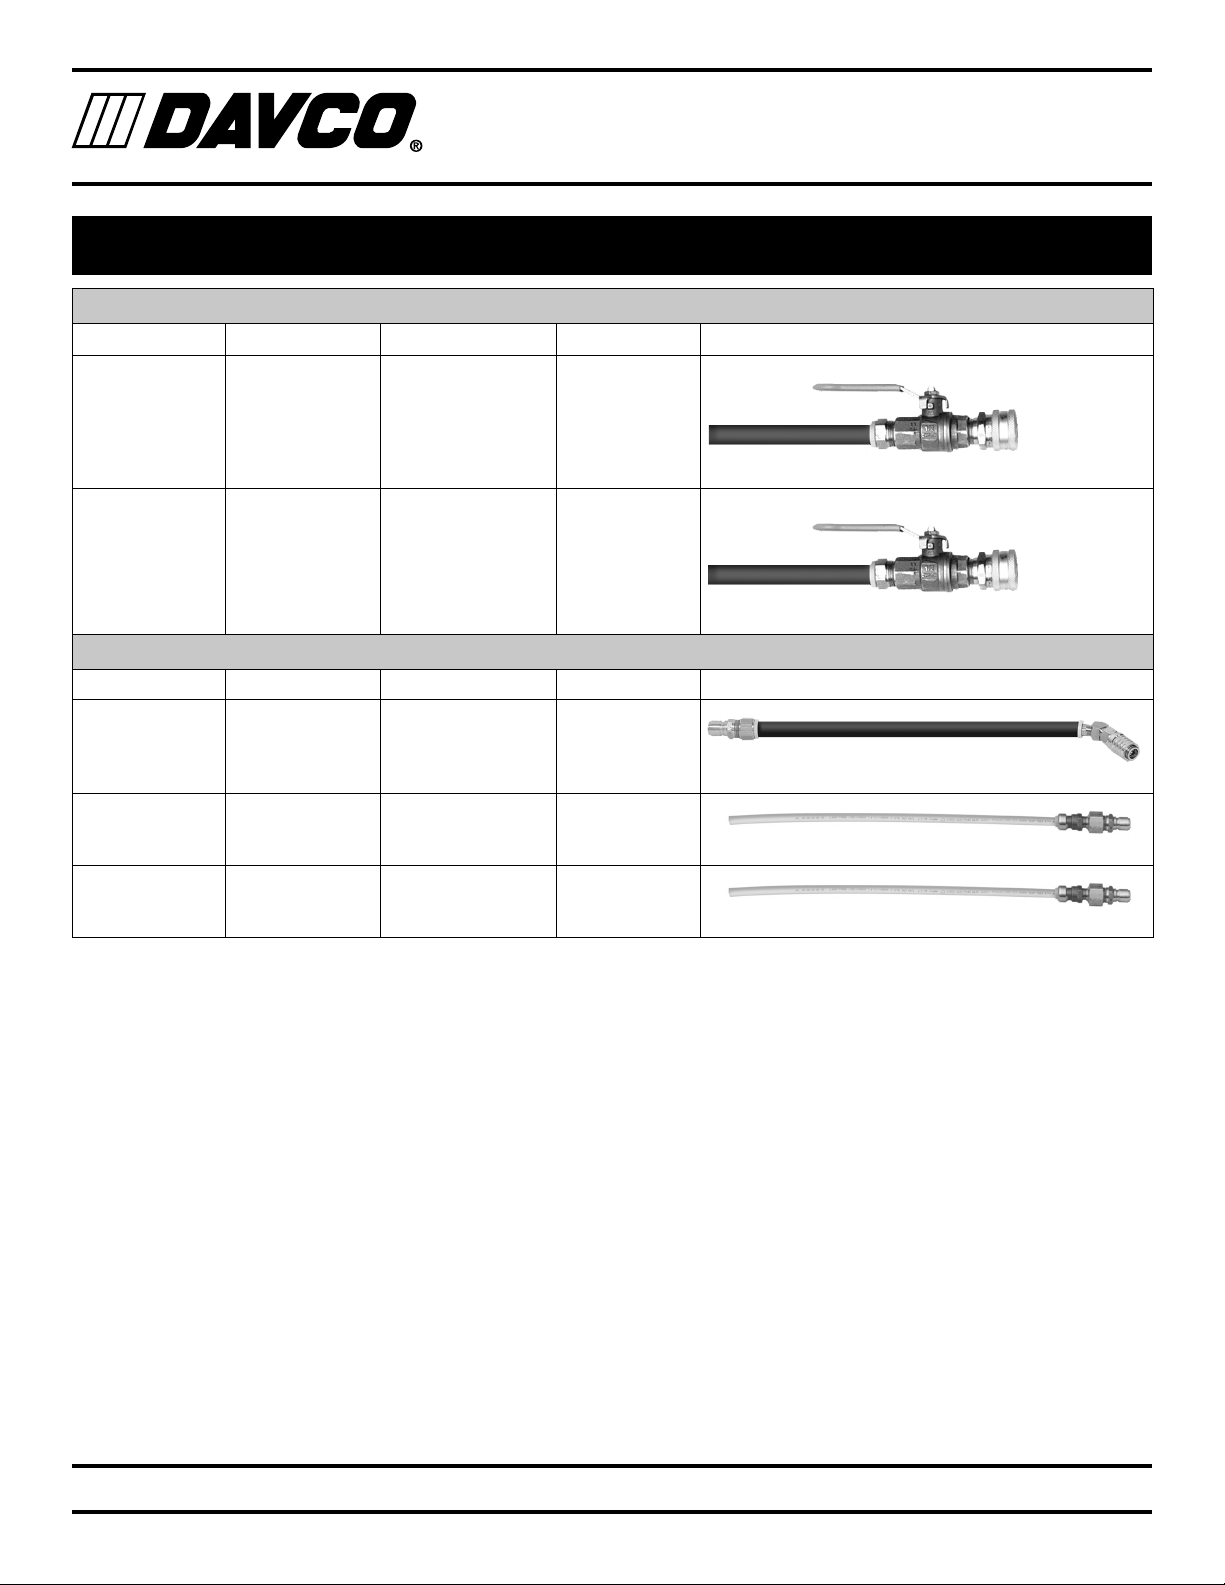
Service Parts
Service Parts are listed on page 12. Call DAVCO customer
service at 800- 328-2611 to order.