Convotherm 4 Manual de usuario

Stacking kit
Convotherm 4
UL, USA Assembly Instructions – Original, ENG

FOR THE INSTALLER, OPERATOR, RESPONSIBLE OWNER
FOR YOUR SAFETY
Do not store or use gasoline or other flammable vapors or liquids in the
vicinity of this or any other unit.
WARNING
Improper installation, adjustment, alteration, service or maintenance can
cause property damage, injury and death. Read the installation, operating
and maintenance instructions thoroughly before installing or servicing this
equipment.
WARNING
Disconnect power at the main external power switch before servicing or
repairing a combi oven.
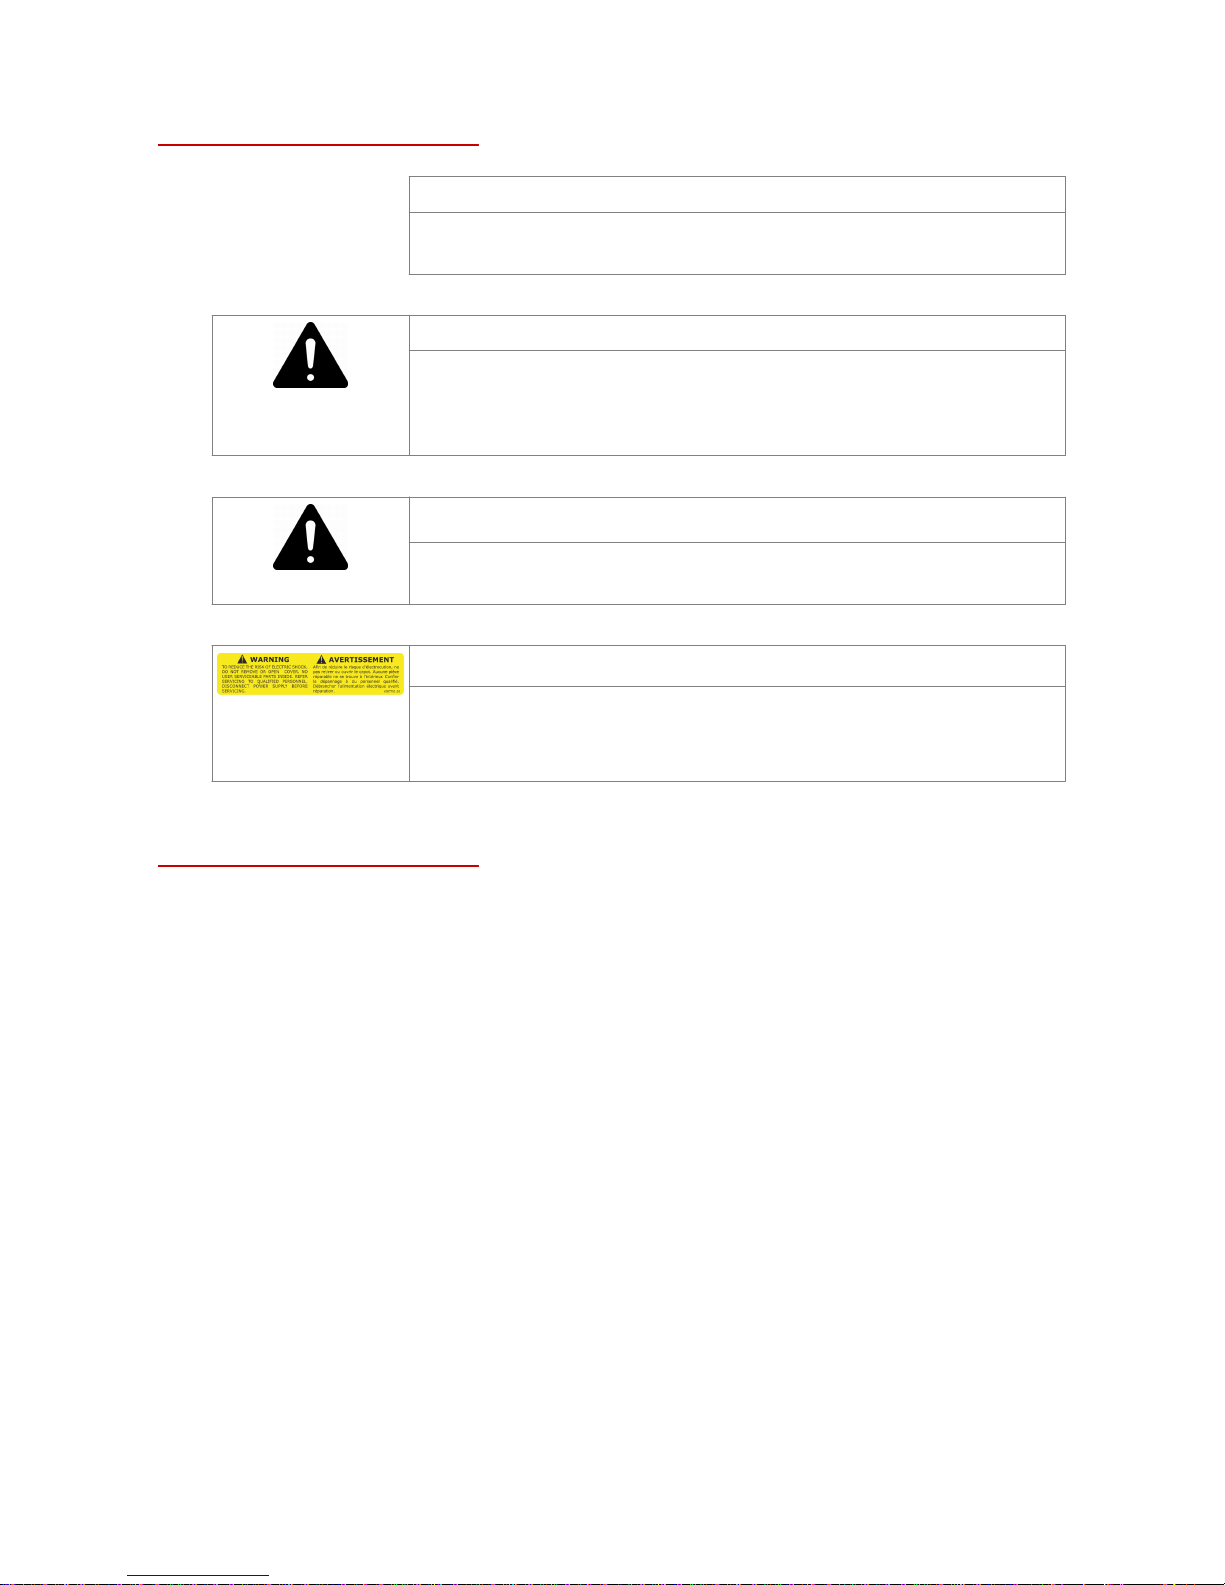
WARNING
To reduce the risk of electric shock, do not remove or open cover.
No user serviceable parts inside. Refer servicing to qualified personnel.
Disconnect power supply before servicing.
IMPORTANT
IT IS COMPULSORY TO POST INSTRUCTIONS WHICH ARE TO BE FOLLOWED IN THE EVENT
THE USER SMELLS GAS. THESE INSTRUCTIONS MUST BE LOCATED IN A PROMINENT LOCA‐
TION, AND BE FULLY UNDERSTOOD BY ALL USERS OF THIS EQUIPMENT. THIS INFORMA‐
TION NEED TO BE OBTAINED FROM YOUR LOCAL GAS SUPPLIER.
ALL SERVICE MUST BE PERFORMED BY A QUALIFIED CONVOTHERM AUTHORIZED TECHNI‐
CIAN.
KEEP AREA FREE AND CLEAR OF COMBUSTIBLES.
Installation
■Installation of this appliance must be done by a licensed professional when installed in the Common‐
wealth of Massachusetts.
■The wiring diagram is located on the inner part of the side panel.
Customer documentation
■The customer documentation is part of the combi oven.
■Keep the customer documentation manuals handy at all times so that you can look up any required
information.
■Keep the customer documentation manuals for the entire life of the unit.
■Carefully read the installation manual, the operating manual, and the operating instructions before
using, handling, and working on this unit.
■If you transfer the combi oven to a new owner, make sure to give the new owner the customer doc‐
umentation manuals as well.


Table of Contents
1 General 6
1.1 Environmental Protection 6
1.2 About These Assembly Instructions 7
2 For Your Safety 8
2.1 Basic Safety Instructions 8
2.2 Your Stacking Kit’s Intended Use 8
2.3 Additional Hazards and Safety Measures During Transport and Setup 9
2.4 Additional Hazards and Safety Measures During Installation, Placement into
Operation, Maintenance, and Removal from Service
11
2.5 Additional Hazards and Safety Measures During Operation and Cleaning 13
2.6 Staff and Work Area Requirements 16
3 Stacking kit version layouts and components 18
3.1 Combinations allowed 18
3.2 Versions and Components 19
3.3 Center Adapter for Electrical Units 21
3.4 Center Adapter for Gas Units 23
3.5 6” base 25
3.6 12” base 26
3.7 Base with rollers 27
3.8 Marine Model Base 28
4 Planning for Setup and Assembly 29
4.1 Working Safely During Setup and Assembly 29
4.2 Installation Location Requirements 29
4.3 Required Tools and Materials 30
4.4 Basic installation procedure 31
5 Assembly 32
5.1 Installing the Exhaust Duct Extension on the Bottom Unit 32
5.2 The bottom combi oven is mounted on the base 35
5.3 Installing the Center Adapter 39
5.4 Installing the Top Unit 46
5.5 Wall Anchoring (Optional) / Marine Model / Retaining Element 57
5.6 Affixing Warning Labels 58
5.7 Additional Work 59
6 Placing into operation 60
6.1 Procedure for Placing the Unit into Operation 60
7 Cleaning and maintenance 61
7.1 Cleaning Work 61
7.2 Maintenance Work 61
8 Removing from service 62
8.1 Procedure for Removing the Unit from Service 62
Table of Contents
5

1 General
Purpose of this section
This section explains how to use these assembly instructions.
1.1 Environmental Protection
Policy statement
Our customers' expectations, the legal regulations and standards we have to follow, and our compa‐
ny's reputation are what drives the quality and service behind all our products.
Our environmental management policy is not only designed to ensure that we are always in full com‐
pliance with all environmental laws and regulations, but also reflects our commitment to the environ‐
ment and to continuously improving our performance in this field.
In order to ensure that we meet all of our environmental goals while maintaining the high quality of our
products, and that things stay this way, we have developed a quality and environmental management
system.
This system meets the requirements set forth in ISO 9001:2008 and ISO 14001:2004.
Environmental protection measures
The following measures apply to this product:
■Uses fully compostable packing products
■Uses RoHS-compliant products
■Complies with the REACH regulation
■Recommends and uses biodegradable cleaning agents
■E-waste recycling
■Environmentally friendly disposal of old units through the manufacturer
Join us in our commitment to protecting the environment!
1 General
6

1.2 About These Assembly Instructions
Purpose
These assembly instructions provide answers to the following questions:
■What kinds of things are important to keep in mind when installing a stacking kit?
Customer documentation structure
The customer documentation is made up of the following:
■Installation manual
■Operating manual
■Supplemental assembly instructions (these instructions)
Other required instructions
These assembly instructions are meant to supplement the operating and installation manuals for your
unit and should only be used together with these manuals.
For more information on technical data, intended use, components, function, and safety, please refer
to the manuals.
These assembly instructions are intended for installers and authorized customer service companies.
1 General
7

2 For Your Safety
Purpose of this section
The purpose of this section is to provide you with all the information on hazards and safety measures
that you will need (in addition to the unit safety information found in the operating and installation man‐
uals) in order to safely work with and on the stacking kit without putting yourself and others at risk.
Read this section very carefully.
2.1 Basic Safety Instructions
Basic Safety Instructions
The purpose of these instructions is to ensure that everyone working with and on the combi oven will
be fully aware of all the risks, hazards, and safety requirements involved and will observe the warnings
in the operating manual and on the combi oven. Failure to follow these instructions may result in
death, injury, or property damage.
2.2 Your Stacking Kit’s Intended Use
Intended use
The stacking kit should only be used for the following purpose:
■The stacking kit has been designed and built exclusively for stacking approved combi oven combi‐
nations.
Limitations on use
The following limitations on use must be observed:
■Do not, under any circumstance, place a size 10.10 or 10.20 unit on top of a base with a foot height
of 12"!
■Do not, under any circumstance, place a size 10.10 or 10.20 unit on top!
■The assembled stacking kit is not meant to be transported with a truck or forklift.
2 For Your Safety
8

2.3 Additional Hazards and Safety Measures During Transport and
Setup
Transportation and setup
When transporting and setting up the combi oven, keep the following hazards in mind and take the
actions required in order to eliminate and/or minimize these hazards:
Risk / hazard Where and in which situations will
the risk/hazard exist?
What to do / safety equipment
Explosion hazard
posed by gas leaks
Whenever the connections are not
disconnected before moving the unit
Make sure to only have gas techni‐
cians from an authorized installation
company work on the gas system
Disconnect the connections
Safety device:
■Wall anchoring kit
Risk of electric shock
posed by live parts
Whenever replacing the bottom
unit’s dry air intake
■Work on the unit’s electrical com‐
ponents should be performed ex‐
clusively by a qualified electrician
from an authorized service compa‐
ny
■Work professionally
Before removing the covers:
■De-energize all connections
■Lock out and tag out all switches
■Make sure that the unit is de-ener‐
gized
Crush hazard if the unit
topples over
■Whenever moving the units across
uneven surfaces or after bumping
into an obstacle
■Whenever the connections are not
disconnected before lifting
■Whenever the unit is not posi‐
tioned correctly
■Whenever the supporting surface
is not stable and even
■Secure the units so that they can‐
not topple over
■Use suitable equipment and as‐
sembly aids to transport the units
■Set up the units on an even and
stable supporting surface
■Disconnect the connections
■Place the unit on the locating pins
correctly and screw it in place
Safety device:
■Wall anchoring kit (optional)
■Locating pins and screw joints
■Marine model: Feet that can be
screwed onto the floor
■Whenever the top unit is loaded
with a lot of weight
■When moving the stacking kit
■When placing the unit on its back
Exercise caution when performing
maintenance work
Risk of injury due to ex‐
cessive exertion
■When stacking the stacking kit and
the unit
■Whenever using a spirit level to
level the units
■Whenever mounting the center
adapter
■When placing the unit on its back
and then lifting it back up
■Do not lift or carry too much
weight!
■Only with a sufficient number of
people or suitable equipment
Risk of scalding posed
by hot liquid
■When lifting the unit
■When placing the unit on its back
■Let the unit cool down before mak‐
ing changes
■Wear the required personal pro‐
tective equipment
2 For Your Safety
9

Risk / hazard Where and in which situations will
the risk/hazard exist?
What to do / safety equipment
Risk of burns posed by
hot surfaces
■On the air vent
■On the exhaust ducts
■Everywhere on the inside
■On the outside of the unit door
■Let the unit cool down before mak‐
ing changes
■Wear the required personal pro‐
tective equipment
Piercing hand hazard Whenever mounting the unit ■Exercise caution when performing
maintenance work
■Wear the required personal pro‐
tective equipment
Pinch point hazard for
hands and fingers
■Whenever mounting the center
adapter
■Whenever mounting the top unit
■Whenever moving stacking kits
with rollers
■When placing the unit on its back
■Exercise caution when performing
maintenance work
■Wear the required personal pro‐
tective equipment
Slip hazard When flipping the unit over ■Exercise caution when performing
maintenance work
■Always keep the floor around the
unit dry
Shear hazard Whenever mounting the top unit Exercise caution when performing
maintenance work
Cut hazard ■When knocking out the perforated
knockout on the front plate and on
the door contact switch’s holding
plate
■When knocking out the perforated
knockout on the top unit’s bottom
■Exercise caution when performing
maintenance work
■Wear the required personal pro‐
tective equipment
■Remove the knockout as indicated
in the instructions and deburr the
corresponding edges
2 For Your Safety
10
Otros manuales para 4
1
Tabla de contenidos
Otros manuales de Electrodoméstico de cocina de Convotherm

Convotherm
Convotherm 4 Table-Top Manual de usuario

Convotherm
Convotherm OES 6.10 Manual de usuario

Convotherm
Convotherm 4 easyTouch Manual de usuario

Convotherm
Convotherm OES 6.10 Manual de usuario

Convotherm
Convotherm OSC Manual de usuario

Convotherm
Convotherm 4 Manual de usuario

Convotherm
Convotherm 4 easyDial Manual de usuario


