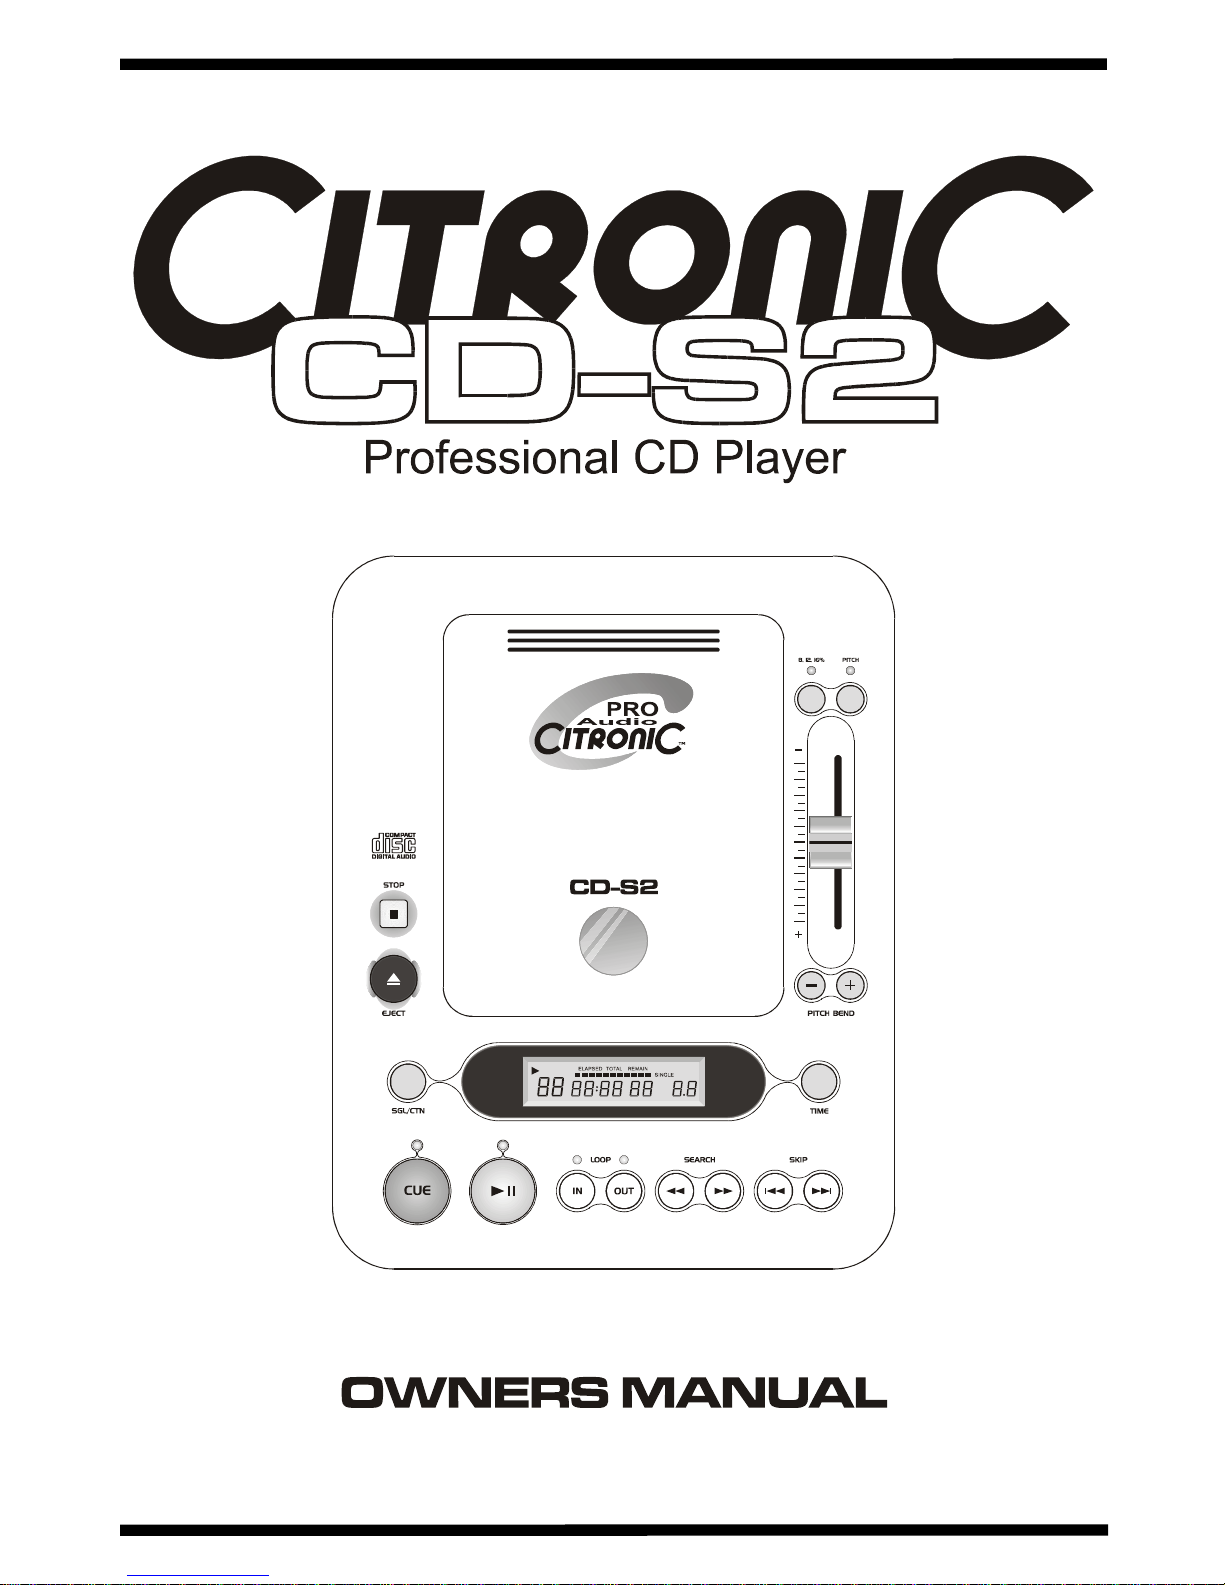
Citronic Limited CD-S2 Owners Manual
Page 6 of 8
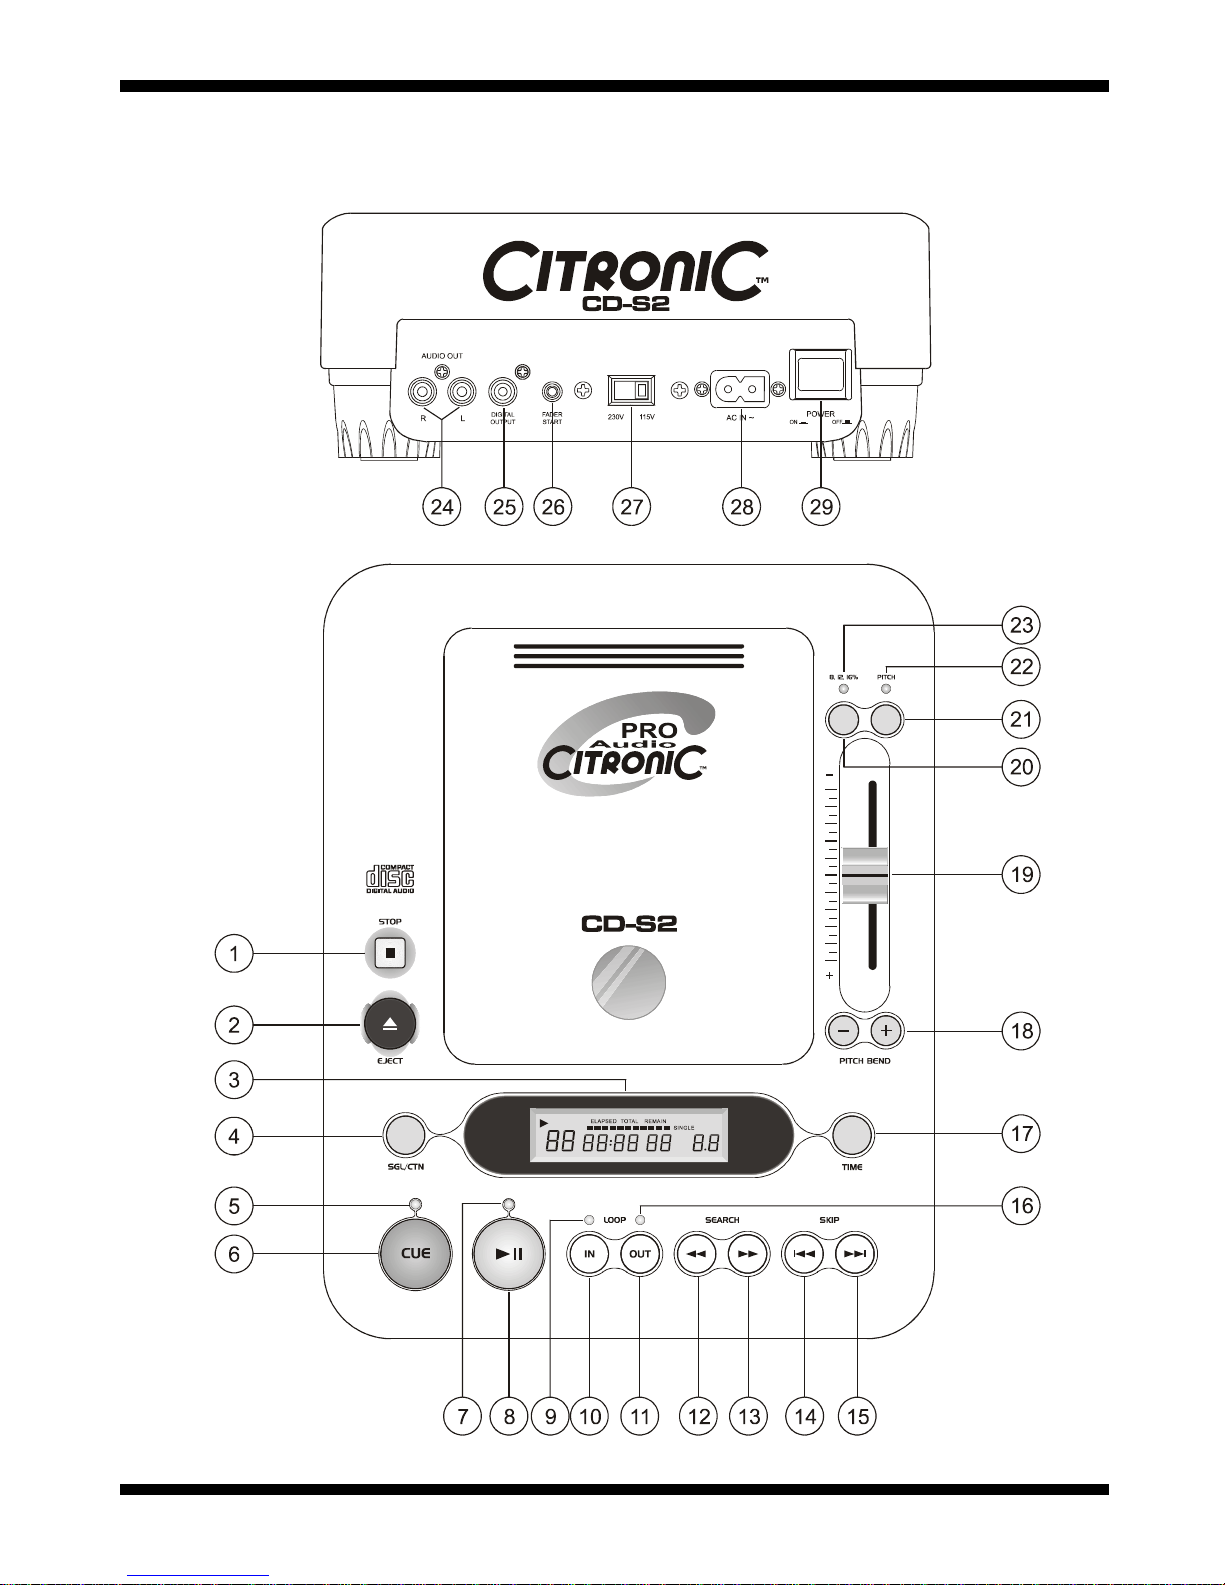
Features and Functions
1. Stop
Push this button to stop the CD and return to the
beginning.
2. Eject
Press this button to open the CD player and access
the CD.
3. LCD Display
This liquid crystal display (L.C.D.) indicates the track
numbers, time (minutes, seconds, frames), pitch
speed, also other modes as single play and
continuous play.
4. SGL/CTN
This button switches between single track play or
continuous track play.
5. Cue Indicator
This will be lit when a track is cued, once entering
play mode the indicator will switch off.
6. Cue
This function allows the CD to be played from a
setup point any number of times. Press the
PLAY/PAUSE button to pause a playing song, then
use the search button to locate the desired cue
point. Press PLAY/PAUSE to set the cue point and
CUE to return to the cue point
7. Play/Pause Indicator
This will flash when in pause mode. once play mode
is entered it will be lit continuously.
8. Play/Pause
Use this button to start playback. Press once to start
playback, once again to set the pause mode and
once more to resume playback.
9. LOOP IN Indicator
This will flash when a loop has been set.
10. LOOP IN
This button allows you to set a cue point without
stopping the playback. This button sets the
beginning of a loop.
11. LOOP OUT
This button is used to set the end of the loop. The
player will start to loop continuously until this button
is pressed again to exit. To enable reloop press
again.
12. Scan Reverse
This button when pressed will scan backwards
frame by frame on the current track selected. This
function has three scan speeds, hold the button for
a few seconds to change the scanning speed.
13. Scan Forward
This button when pressed will scan forwards frame
by frame on the current track selected. This function
has three scan speeds, hold the button for a few
seconds to change the scanning speed.
14. Backward Skip
Use this button to go back to the beginning of the
current track or select a previous track selection.
15. Forward Skip
Use this button to skip to the next track.
16. LOOP OUT Indicator
This will flash when an out cue has been set.
17. Time Select
Use this button to select the time display to read
either the time elapsed, time remaining or total time
remaining.
18. Pitch Bend
These buttons are used to temporarily alter the pitch
of the track to either slow down or speed up when
beat matching. Note: This function will note work if
the pitch slider is already at maximum pitch (±16%)
19. Pitch Fader
This is used to set the pitch of a track either slower
or faster than original.
20. Pitch Select
Press this button to select the pitch range required
±8%, ±12%, or ±16%.
21. Pitch
This button turns the pitch fader on and off. Allowing
you to lock the pitch at 0%
22. Pitch Indicator
When Lit this indicates the pitch is unlocked.
23. Pitch Select Indicator
When flashing this indicates the pitch range is ±8%,
when it is not lit the pitch range is ±12%, when lit
continuously it indicates the pitch range is at ±16%.
24. Audio Out
This stereo line output connects to the line input on
any DJ mixer.
25. Digital Output
This coaxial (S/P DIF) digital output connects to any
RCA S/P DIF input, as found on most standard
computer sound cards or CD Burners
26. Fader Start
Connects to any DJ Mixer equipped with fader start
input.