BISSETT BT-CNR45 Manual de usuario

USER MANUAL
SAFETY/OPERATION
MAINTENANCE/TROUBLESHOOTING
Located on the tool housing are the model and serial numbers
of your tool, please record these.
Model Number:
EC Machinery directive – EN 792-13
ANSI SNT — 101
Serial Number:
IMPROPER AND UNSAFE USE OF THIS TOOL MAY RESULT IN DEATH
OR SERIOUS INJURY. IT IS VERY IMPORTANT THAT THE INTENDED
OPERATOR OF THIS TOOL READS AND UNDERSTANDS THIS MANUAL
BEFORE OPERATING THIS TOOL. KEEP THIS MANUAL AVAILABLE
FOR OTHERS BEFORE THEY USE THE TOOL.
IMPORTANT:
BISSETTFASETENERS.CA

TABLE OF CONTENTS
Important Safety Instructions............................... 1
Compressed Air System................................... 3
Operating Instructions .................................... 4
Maintenance........................................... 12
Troubleshooting when due to damage....................... 13

1. IMPORTANT SAFETY INSTRUCTIONS
It is the customer’s responsibility to give this manual to the person
intending to operate this tool, and to make sure that it is read
carefully and understood completely by that person. Do not use the
tool or allow others to use the tool until all safety instructions have
been read and understood. The customer is responsible for enforcing
the use of safety protection equipment by the tool operator and all
other personnel in the work area.
• Always use the tool only for the intended purpose for which it
was designed.
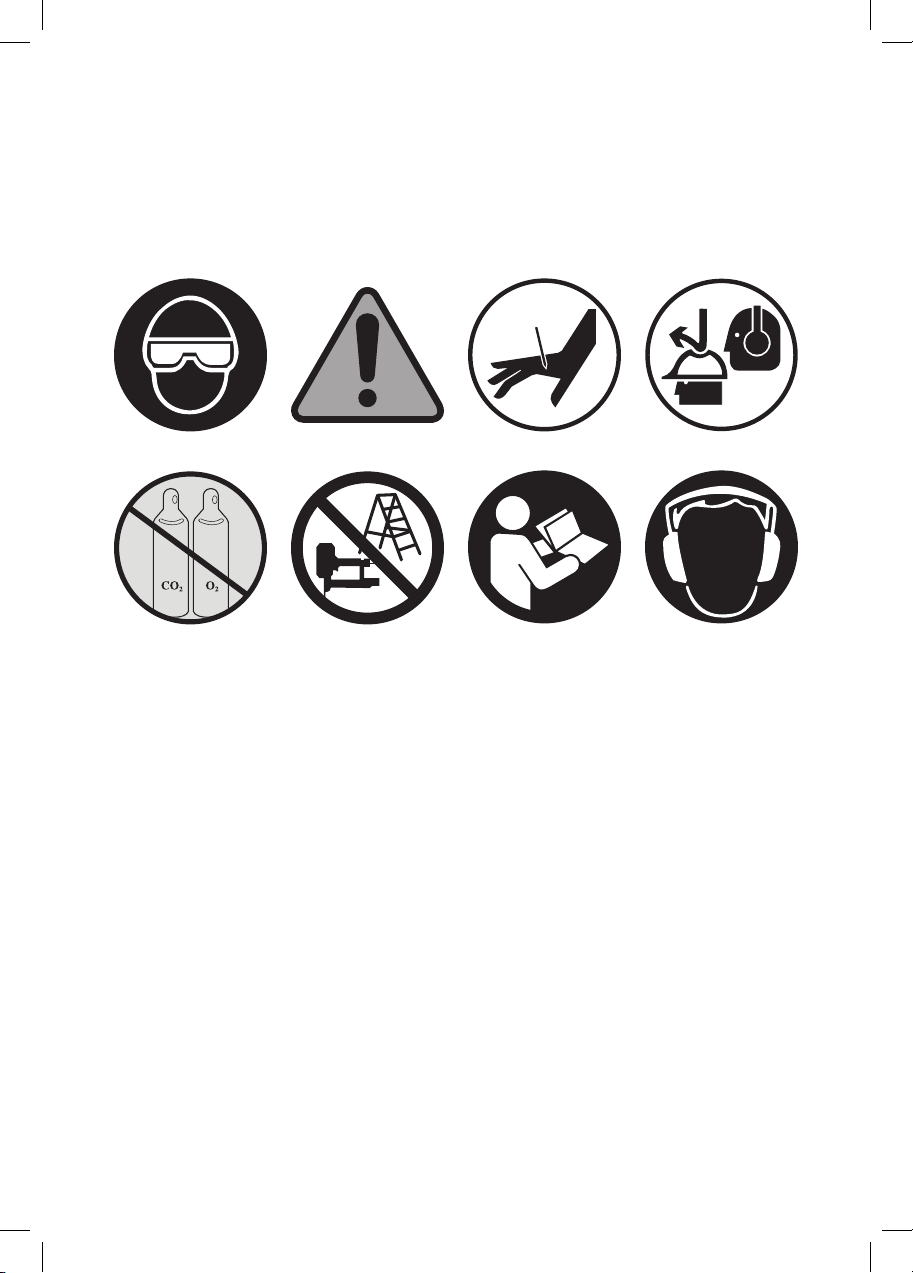
• Use safety glasses: all persons in the work area must
ALWAYS wear safety glasses complying with ANSI Z87.1/EN
166withFRONTandSIDEprotectionagainstyingobjectin
ordertopreventeyeinjuries.
• Use head protection complying with ANSI Z89.1.
• Use ear protection to prevent possible hearing loss.
• Use clean dry regulated compressed air at the
recommended pressure (given in the technical data).
• Use only Bissett parts and fasteners (refer also to the
technical data). Using unauthorized parts and fasteners may
resultindamageandinjury.Theuseofnon-genuineBissett
parts and fasteners may void your warranty.
• Never exceed the maximum recommended operating
pressure of the tool.
• Never use oxygen, carbon dioxide, combustible gases or any
bottled gas to operate the tool.
• Always disconnect the air supply when loading fasteners,
doinganytoolmaintenance,cleaningajam,movingwork
locations, leaving the work area or passing the tool.Do not
assume that the tool is empty of fasteners.
• Always disconnect the tool from the air supply when not in
use or when the tool is being left unattended.
1

• Regularly inspect the safety, the trigger and the springs
for free unhindered movement, never use a tool that
requires servicing.
• Connectthemalefreeownippletothetoolsideoftheair
supply so that the tool is depressurized when disconnected
from the hose. Never install female quick disconnect
couplings on the tool, as this may trap air in the tool when
disconnectedandresultinafastenerbeingred.
• Never load fasteners with the triggering device depressed as
thismayresultinafastenerbeingred.
• Never carry the tool with the safety depressed as this may
resultinafastenerbeingred.
• Never tamper with, modify or permanently engage the
triggering device.
• Never point the tool at yourself or at anyone else. The tool is
not a toy. Do not engage in horseplay with the tool.
• Neverreafastenerintoahard,brittlesurfacesuchas
concrete, steel or tiles.
• Do not drive fasteners too close to an edge or at too great an
angleasthefastenermayyfreeorricochetcausingpersonal
injuryanddamage.
• Always ensure that the work area is amply lit so as to avoid
possibleaccidentscausedbyinsucientlighting.
• Never remove, tamper with or otherwise cause the tools
operating controls to become inoperable.
• Dress properly.Donotwearlooseclothingorjewelryasthey
canbecaughtinmovingparts.Rubberglovesandnon-skid
footwear are recommended when working outdoors. Wear
protective hair covering to contain long hair.
2

2. COMPRESSED AIR SYSTEM
Proper use of the tool requires an adequate quantity of clean dry
compressed air.
All compressed air contains moisture and other contaminants that
may be detrimental to the tool, so it is recommended to use an
airsupplylterregulatorlubricatorasclosetothetoolaspossible
(within4.5meters/15feet).Theltershouldbewellmaintainedsoas
to ensure optimum performance and power. All parts of the air supply
system should be clean and contaminant free.
The tool shall only be connected to a compressed air supply where
the maximum allowable pressure of the tool cannot be exceeded by
a factor of more than 10%. This can be achieved, for example, by a
pressure reduction valve which includes a downstream safety valve.
Amalefree-owcouplingshouldbeconnectedtothetoolsideof
the system with the female coupling providing a seal to prevent air
loss from the compressor tank upon disconnection. Never connect
a female disconnect coupling to the tool side as this may trap air in
the tool when the air supply is disconnected, leaving the tool charged
andcapableofringafastener.Donotmountaswivelconnectorin
the air supply line.
Dierentworkpieceswillrequiredierentoperatingpressures.Never
exceed the maximum recommended operating pressure of the tool
as indicated on the tool.
Warning: Keep hands, body and loose clothing and jewelry away
from the discharge area of the tool when connecting the air supply
and always disconnect the tool before loading, servicing, adjusting,
cleaning and when the tool is not in use.
3

3. OPERATING INSTRUCTIONS
3.1 LOADING FASTENERS
Refer also to the technical data.
3.1.1 SIDE LOADING MAGAZINE
Open the magazine cover, load the fasteners, and close
the magazine.
3.1.2 REAR LOADING MAGAZINE
For 2 step type, slide the fasteners into the magazine and pull
the pusher until it is behind the fasteners. Then release the
pusher and ensure its proper engagement on the fasteners.
For 3 step type, pull the pusher to the back and keep it on the
latch mechanism. Load the fasteners and release the pusher.
3.1.3 TOP LOADING MAGAZINE
Pull the pusher to the back of the magazine and keep it on
the latch mechanism. Load the fasteners, then release the
pusher and guide it to the fasteners. Never allow the pusher
to snap back towards the fasteners as it will damage the
pusher spring.
3.1.4 BOTTOM LOADING MAGAZINE
Push the release, catch and then slide back the magazine.
Load the fasteners into the magazine cover. Then slide the
magazine back closed.
Warning: Point away the nozzle when loading or unloading the
fasteners. Always disconnect the air supply before loading fasteners.
4

3.2 GENERAL OPERATING INSTRUCTIONS
3.2.1 TYPES OF ACTUATING AND TRIGGERING SYSTEMS
FOR TOOLS WITHOUT A CONTACT SAFETY:
Single action actuation: The tool contains an actuating
system where the triggering device has to be actuated for
each driving operation.
Single action with simple safety: The tool contains a safety
latch that is built into the triggering device enabling the user
to disengage it when it is not in use.
FOR TOOLS WITH A CONTACT SAFETY INSTALLED:
Dual action safety/contact safety
(contact actuation): It will be necessary to activate
the contact safety mechanism as well as the triggering
deviceinordertoreafastener.Bykeepingthe
trigger activated and activating the contact safety a
fastenerisred,allowingforhighspeedring,also
knownasbumpring.
Single sequential trip re (single-sequential
actuation):Fastenerscanonlyberedbyrst
activating the contact safety by holding the tool
against the workpiece and then by pulling the trigger.
Thereafter any further driving operations can only be
actuated after the trigger has been returned to the
starting position. The single sequential trip tool allows
exact fastener location without the possibility of
driving a second fastener due to recoil.
Changing the trigger: To change the trigger lever, simply
remove the trigger pin, remove the trigger lever and insert the
required one, replacing the trigger pin to hold it in place.
5

3.2.2 OPERATING PROCEDURES
Protective Equipment:Beforeusingthetoolalwaysensure
that the user and those in the work area are using the
appropriate personal protective equipment.
Firing a fastener:Toreafastener,placethenoseofthetool
against the workpiece and pull the trigger. If the tool has
a contact safety it will be necessary to press the tool against
the workpiece so as to activate the contact safety, before
pullingthetriggertoreafastener.
Exhaust air: Each time a fastener is driven a blast of air is
exhausted from the top front area of the tool. Keep your face
clear of the exhaust area. Some tools incorporate a 360°
exhaustdeector,whichenablesyoutocontrolthedirection
of the exhaust air.
Depth control: Check whether the fastener has been
driven into the workpiece in accordance with the
requirements. The driven depth can be changed by
adjustingtheairpressureor,ifavailable,byusingthe
depthcontroldevice.ThefollowingBissetttoolshave
adepthadjustmentdevicefeature:
Thedepthadjustmentcanbechangedbyturningthedepth
adjustmentdevice.Alwaysusethelowestpossibleair
pressureforthefollowingreasons:
• BT-CNR45
• BT-CNF90
• BT-SN2890
• BT-SN3490
• BT-BN1855
• Save energy
• Less noise will be produced
• A reduction in fastener driving tool wear
will be achieved
6

If any unusual, defective, or improper functioning occurs,
disconnect the tool immediately from the compressed air
supply before inspecting the tool.
Cold weather tested:ThefollowingBissettToolsareratedfor
usageintemperaturesaslowas-30DegreesCelsius.
• BT-CNR45
• BT-CNF90
• BT-SN2890
• BT-SN3490
• BT-MCN38
• BT-MCN65
• BT-BN1855
Cold weather care & operation: Do not store the tool in a
cold weather environment. Keep the tool in a warm and dry
area until beginning the work. If the tool is already cold, bring
it into a warm area and allow the tool to warm up before use.
Do not use the tool in cold weather conditions for extended
periods of time.
LED light: The following tool(s) are equipped with an LED
light.Thelightmustbemanuallyturnedonorowhen
needed. The battery is not covered by warranty.
3.3 PRECAUTIONARY MEASURES
“Respect your tool and never engage in horseplay.”
3.3.1 ACTUATION SYSTEMS
Refer to 3.2.1 and 3.2.2.
3.3.2 FLAMMABLE ATMOSPHERES
Do not operate the tool in explosive atmospheres, such
asinthepresenceofammableliquids,bottledairorgases,
or combustible dust.
7

3.3.3 TOOL MODIFICATION
Thetoolmustnotbemodiedinanyway.Nevertamperwith
or disable the trigger so that it is set in an operating position,
asthismaycauseafastenertoreatanytime.
3.3.4 TOOL MAINTENANCE
The tool must be inspected regularly to ensure safe and
proper usage. Refer to the tool maintenance instructions for
detailed information on the proper maintenance of the tool.
3.3.5 RECOMMENDED FASTENERS AND ACCESSORIES
UseonlyBissettpartsandfasteners.Usingunauthorized
partsandfastenersmayresultindamageandinjury.The
useofnon-genuineBissettpartsandfastenersmayvoid
your warranty.
3.3.6 PERSONAL PROTECTIVE EQUIPMENT
Appropriate personal protective equipment must be worn.
3.3.7 INSPECT THE TOOL BEFORE OPERATING
Beforeeachuse,inspectthetooltoensurethatitisinproper
working order. Check for misalignment or binding of moving
partsandanyotherconditionthatmayaecttooloperation.
• Eye protection:
Warning: Eye protection must be worn by the
operator and other people in the work area.
Warning: It is the customer’s responsibility to
provide and enforce the use of eye protection by
the operator and other people in the work area.
• Hearing protection:
Warning: Hearing protection must be worn by the
operator and other people in the work area.
Warning: It is the customer’s responsibility to
provide and enforce the use of hearing protection
by the operator and other people in the work area.
8
Este manual sirve para los siguientes modelos
6
Tabla de contenidos


