aqprox! appTB701B Manual de usuario

appTB701B
Tablet TFT Cheesecake Tab 7.0

Español....................................................
English.....................................................
Française.................................................
Deutsch..................................................
Italiano...................................................
Português...............................................
Hrvatski..................................................
Polska....................................................
Ελληνικά.................................................
1
4
7
10
13
16
19
22
25

1
Capítulo 1. Introducción y descripción del producto
1.1 Descripción del producto
Gracias por elegir la tablet APPTB701B
Es tiempo para una mejor tableta es tiempo para la APPTB701B tablet. Sistema
operativo Android 2.3, pantalla de 7” táctil de alta sensibilidad multi-touch, procesador
de 1.2 GHz y memoria de 512MB todo esto para que disfrutes y compartas en la red
todas tus fotos, videos, música y un sin fin de contenidos multimedia a velocidades
inimaginables. Su peso es de tan solo 273 gramos y su grosor es de 14 milímetros
lo que le proporciona un diseño elegante y compacto ideal para los usuarios más
exigentes.
¡Descubra la nueva forma de navegar por la red y disfrute del nuevo mundo
multimedia!
Capítulo 2. Contenido del embalaje
• APPTB701B
• Guía rápida de instalación
• Auriculares
• Cable USB 2.0
• Cable Adaptador USB-Mini USB host
• Cargador
Nota: Asegúrese de que su embalaje contiene los elementos descritos arriba. Si encuentra que
falta algún elemento o está dañado, por favor, contacte con su distribuidor.
Capítulo 3. Requerimientos del sistema
• 1 Puerto USB
• Sistema Operativo Windows 2000/XP/VISTA/7 (32 bits y 64 bits), Linux o MAC
OSX 10.4.6
Capítulo 4. Guía de Instalación
»1. Cámara Frontal
»2. Menú
»3. Escape
»4. Bajar Volumen/ Subir volumen
»5. Encendido, apagado y bloqueo de pantalla
»6. Bloqueo de pantalla

2
»7.Reset restablece la tableta a valores de fábrica
»8. Puerto Mini Host USB para uso adicional de ratón, teclado, adaptador USB
3G, adaptador de puerto Ethernet, pendrive USB flash o unidad flash directamente
mediante un cable adaptador
»9. Micrófono
»10. Entrada cargador VDC (5V, 2A)
»11. Entrada auriculares
»12. Conector Mini USB para conectar al PC o al equipo.
»13. Ranura Mini SD
»14. Cámara trasera
Antes de nada, lea esta información
Carga de la batería
Utilice el adaptador de corriente suministrado y conéctelo a la entrada DC-5V para
realizar la carga completa de su dispositivo antes de utilizarlo.
Las cargas y descargas de la batería deberán ser completas, nunca inferior a 5h.
No desconecte el cargador sin terminar la carga completa de la batería, de no ser así
acortará la vida de la batería.
Botón on/off
Para encender el dispositivo mantenga el botón en la posición on/off hasta que se
encienda la pantalla.
Una vez finalizada la carga del sistema presione sobre el icono del candado verde
y arrástrelo hacia la derecha o verticalmente, como puede apreciar en la siguiente

3
Capítulo 5. Soporte técnico
Para más información sobre la instalación y configuración de este producto o
si desea adquirir una guía de usuario completa, por favor diríjase a nuestra web
www.approx.es, en la sección soporte o escriba un correo electrónico a la siguiente
dirección soporte@approx.es en donde le podrán ayudar con las incidencias técnicas.
imagen:
Para apagar el dispositivo mantenga el
botón en la posición on/off hasta que le
aparezca en la pantalla el mensaje para apagar
el dispositivo.
Cuando la batería esté baja se apagará
automáticamente.
Bloqueo y desbloqueo de la pantalla:
Bloqueo de Pantalla: Pulse ligeramente el Botón on/off y la pantalla quedarábloqueada
y en modo ahorro de energía.
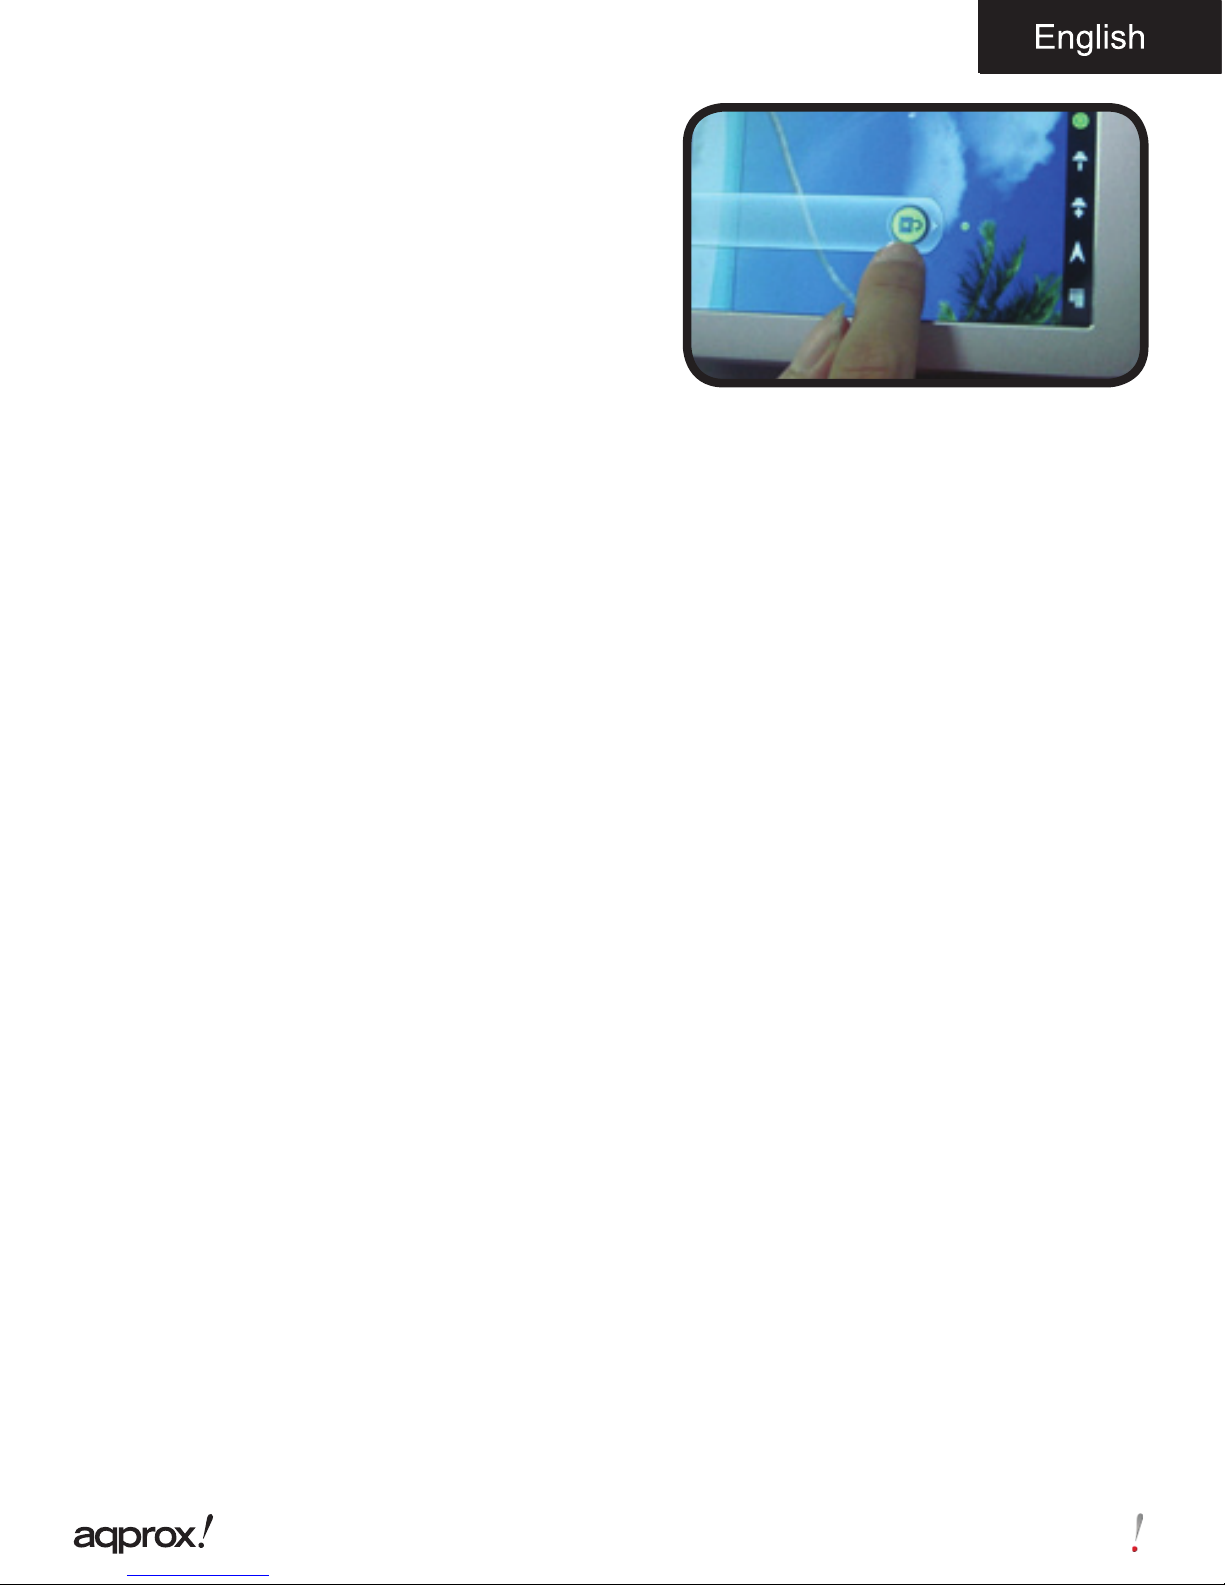
Desbloquear Pantalla: Pulse ligeramente el Botón on/off y la pantalla mostrará el
icono del candado verde, presiónelo y arrástrelo hacia la derecha para el desbloqueo.
Conectar la tablet al Pc para la transferencia de archivos.
Encienda el dispositivo y una vez desbloqueado conéctelo mediante el cable usb
suministrado al PC, y se mostrará el siguiente icono de conexión en la esquina
superior izquierda. Presiónelo y arrástrelo hacia la parte inferior de la pantalla,
seleccione “USB connected”, entonces pulse sobre “Activar almacenamiento USB”,
aparecerá el medio de almacenamiento de la memoria de la tablet en su PC Ahora
podrá transferir datos entre su Pc y la tablet.
Conexión Wifi
Seleccione ‘’Ajustes’’, “Conexiones inalambricas y redes”, ‘WiFi’ y actívelo. El
dispositivo empezará a buscar redes automáticamente. En “Ajustes de Wifi” podrá
ver la lista de redes encontradas, seleccione la deseada e introduzca la contraseña
de seguridad de la red si está protegida. Una vez conectado aparecerá el icono de
red Wifi como conectado en la pantalla principal.

4
Chapter 1. Introduction and Product Description
1.1 Product description
Thank you for choosing our tablet APPTB701B.
It’s time for a better tablet; it is time for the APPTB701B tablet. Android 2.3 operating
system, 7” high sensitivity, tactile, multi-touch screen with 1.2 GHz processor and
512MB memory. All of this for you to enjoy and share on the web all of your photos,
music, videos and endless multimedia content at unimaginable speeds. Lightweight,
weighing only 273 grams and with a thickness of 14mm, which gives it a sleek,
compact design; ideal for demanding users.
Discover the new way to surf the net and enjoy the new media world!
Chapter 2. Package Contents
• APPTB701B
• Quick installation guide
• Earphones
• USB 2.0 Cable
• USB-Mini USB host cable adapter
• Charger
• Note: Make sure your package contains the elements described above. If you find something
is missing or damaged, please contact your dealer.
Chapter 3. System requirements
• 1 free USB port
• Operating Systems: Windows 2000/XP/VISTA/7 (32 bits and 64 bits), Linux or
MAC OSX 10.4.6
Chapter 4. Installation
»1. Frontal Camera
»2. Menu
»3. Escape
»4. Volume down/Volume up
»5. On/Off and screen lock
»6. Screen lock.
»7. Reset: resets the tablet to factory defaults

5
»8. Mini USB Host port for further use of Mouse, keyboard, 3G USB adapter,
Ethernet, USB Flash pen drive of Flash drive directly via an adapter cable.
»9. Microphone
»10. Input VDC charger (5V, 2A)
»11. Earphones input
»12. Mini USB connector for connection to PC.
»13. Mini SD slot
»14. Rear camera
Before anything, please read this information
Charging the battery
Use the supplied power adapter and plug into the DC-5V for charging your device
fully before use.
The charging and discharging of the battery must be complete, never less than 5
hours. Do not disconnect the charger without fully charging the battery; otherwise it
will shorten the life of the battery.
On/Off button
To turn on the table, press the On/Off button until the screen lights on.
Once the system loads, click on the green padlock icon and drag to the right or
vertically as shown in the image below:

6
Chapter 5. Technical Support
For more information on installing and configuring this product or to obtain a full user
guide please go to our website www.approx.es, support section or write an email to
the following address soporte@approx.es where they can help with technical issues.
To turn off, hold the position On/Off until the
turn off message device message appears on
the screen.
When the battery is low, the device will turn
off automatically.
Lock and unlock the screen
Screen lock: Lightly press the On/Off button
and the screen will be locked and in power-
saving mode.
Unlock the screen: : Lightly press the On/Off button and the screen will show the
green padlock icon press it and drag it to the right hand side to unlock it.
Connect the tablet to a PC to transfer files
Turn on the device and once unlocked connect via the USB cable to the PC and the
following connection icon will be displayed on the top left side. Press and drag to the
bottom of the screen, select “USB connected” then click on “Enable USB storage” the
storage tool will appear through memory storage of the tablet on your PC. You can
now transfer data between your PC and the tablet.
Wifi Connection
Select “Settings”, “Wireless connections and Networks”, “Wifi” and activate it. The
device will automatically start to search for networks. In “”Wireless Settings” you
can see the list of found networks, select the desired one and enter the password if
network is protected. Once connected the Wireless icon will appear, as connected to
the main screen.

7
Chapitre 1. Introduction et description du produit
1.1 Description du produit
Merci d´ avoir choisi la tablette APPTB701B.
Il est temps pour une meilleures tablettes, il est temps pour la tablette APPTB701B
Androïde 2.3, écran de 7 de haute sensibilité, tactile, multi-touch, processeur de
1,2GHz et 512MB de mémoire afin de profiter et partager vos photos, vidéos,
musique et contenu multimédia avec une vitesse imaginable. Pesant seulement 273
grammes et avec une épaisseur de 14mm, cette tablette est élégante, compacte,
idéale pour les utilisateurs exigeants.
Découvrez une nouvelle façon de surfer l´internet et apprécier le monde des
nouveaux médias.
Chapitre 2. Contenu de l’emballage
• APPTB701B
• Guide d´installation rapide
• Écouteurs
• Câble USB 2.0
• Câble adaptateur USB-Mini USB host
• Chargeur
• Remarque: Assurez-vous que votre paquet contient les éléments décrits ci-dessus. Si vous
trouvez quelque chose est manquant ou endommagé, s’il vous plaît contactez votre revendeur.
Chapitre 3. Exigences du système
• 1 Port USB libre
• Systèmes d´exploitations: Windows 2000/XP/VISTA/7 (32 bits et 64 bits), Linux
ou MAC OSX 10.4.6
Chapitre 4. Guide d’installation
»1. Caméra Frontale
»2. Menu
»3. Bouton escape
»4. Baisser / Monter volume
»5. Marche/Arrêt (On/Off) et verrouillage de l´écran
»6. Verrouillage de l´écran

8
»7. Reset : réinitialise la tablette aux paramètres originaux de l´usine
»8. Port Mini USB Host pour une utilisation ultérieure de la souris, clavier, 3G
adaptateur USB Ethernet, pendrive USB ou lecteur flash directement via un câble
adaptateur
»9. Microphone
»10. Chargeur VDC (5V, 2A)
»11. Entrée écouteurs
»12. Mini connecteur USB pour connexion à un PC
»13. Fente Mini SD
»14. Caméra arrière
Tout d´abord lisez cette information
Chargement de la batterie
Utilisez l’adaptateur de courant fourni et branchez-le sur le DC-5V pour charger votre
appareil complètement avant utilisation.
Le chargement et le déchargement de la batterie doit être complet, jamais moins
de 5 heures. Ne jamais débrancher le chargeur avant d´achever le chargement, sinon
la durée de vie de la batterie sera raccourci.
Bouton on/off
Pour allumer la tablette, peser sur le bouton jusqu´à ce que l´écran s´allume
Este manual sirve para los siguientes modelos
1
Tabla de contenidos
Idiomas:
Otros manuales de Tableta de aqprox!


