AmazonBasics B07XKGLMR8 Manual de usuario

Dehumidifier - Energy Star Certified
Deshumidificador - Certificación Energy Star
Déshumidificateur - Certifié Energy Star
B07XHQQ95Y / B07XKGLMR8 / B07XKGM4D4

English . . . . . . . . . . . . . . . . . . . . . . . . . . . . . . . . . 3
Español . . . . . . . . . . . . . . . . . . . . . . . . . . . . . . . 24
Français . . . . . . . . . . . . . . . . . . . . . . . . . . . . . . . 47

3
EN
IMPORTANT SAFEGUARDS
Read these instructions carefully and retain them for future use.
If this product is passed to a third party, then these instructions
must be included.
When using electrical appliances, basic safety precautions should always
be followed to reduce the risk of fire, electric shock, and/or injury to
persons including the following:
WARNING Risk of injury! Do not use the water collected in the
water tank for drinking purposes. It is not sanitary and could cause illness
or personal injury hazard.
WARNING System contains refrigerant under very high pressure.
Do not tamper with the system. It must be serviced by qualified
personsonly.
• This appliance is not intended for use by persons (including children)
with reduced physical, sensory or mental capabilities, or lack of
experience and knowledge, unless they have been given supervision
or instruction concerning use of the appliance by a person
responsible for their safety.
• Children should be supervised to ensure that they do not play with
the product.
• Do not block air inlets and/or air outlets.
• Do not operate with wet hands.
• Do not disassemble or modify the product.
• Always switch off the product before pulling the power plug out of the
wall outlet.
• This product shall be installed in accordance with national wiring
regulations.
• Do not insert or allow foreign objects to enter any ventilation or
exhaust opening as this may cause an electric shock, fire or damage
the product.
• Disconnect the plug from the wall outlet when not using the product
for a long time.
• Do not operate any appliance with a damaged cord or plug or
after the appliance malfunctions, or is dropped or damaged in any
manner. Return appliance to the nearest authorized service facility for
examination, repair or electrical or mechanical adjustment.
• Keep at least a space of 8” (20 cm) at the sides and the back and
16" (40 cm) at the top and the front of the product.
• The vents shall not be obstructed.

4
EN
• Use the product on a solid and flat surface.
• Keep the product away from items and furnishings that can be
damaged by water (wooden furniture, wallpaper, etc.).
NOTICE Fluorinated greenhouse gases are contained in hermetically
sealed equipment. For specific information on the type, the amount and
the CO2 equivalent in tonnes of the fluorinated greenhouse gas (on some
models), please refer to the relevant label on the unit itself.
Grounding Instructions
• This product must be grounded while in use to protect the operator
from electrical shock. The product is equipped with a 3-conductor
cord and a 3-prong grounding-type plug. This product can only be
used with a standard 3-prong wall outlet to minimize the possibility
of electric shock. Where a 2-prong outlet is encountered, it must be
replaced with a properly grounded 3-prong wall outlet.
• Always use dedicated power circuit with a dedicated circuit breaker.
• Before connecting the product to the power supply, check that the
power supply voltage and current rating corresponds with the power
supply details shown on the product rating label.
• If the power cord is damaged, it must be replaced by the
manufacturer, its service agent or similarly qualified persons in order
to avoid a hazard.
• Do not modify power cord length or share an outlet with another
appliance. This may cause electric shock or fire.
• Do not use the outlet if it is loose or damaged. It may cause electric
shock.
• Always plug this product directly into a wall outlet/receptacle.
Neveruse with an extension cord or relocatable power tap
(outlet/power strip).

5
EN
Grounding pin
SAVE THESE INSTRUCTIONS
Explanation of Symbols
DANGER
The signal word that indicates a hazard with a high
level of risk which, if not avoided, will result in death or
serious injury.
WARNING
The signal word that indicates a hazard with a
medium level of risk which, if not avoided, could result
in death or serious injury.
CAUTION The signal word that indicates a hazard that if not
prevented could result in minor or moderate injury.
NOTICE Indicates a practical tip, advice or practice not related
to personal injury.
This product is ENERGY STAR®certified and helps to
save energy and protect the environment. ENERGY
STAR®is a program run by the U.S. Environmental
Protection Agency and U.S. Department of Energy
that promotes energy efficiency.

6
EN
Intended Use
• This product is intended for dehumidifying indoor rooms, basements or
other spaces. It is for preventing mold growth on clothing, cupboards,
doors and drawers, condensation on ceiling, walls and windows.
• This product is intended for household use only. It is not intended for
commercial use.
• This product is intended to be used in dry indoor areas only.
• No liability will be accepted for damages resulting from improper use
or non-compliance with these instructions.
Before First Use
• Check the product for transport damages.
• Remove all the packing materials.
• Take the cord winding (Q) out of the water tank (N) and attach it to
the attachment at the back of the product.
• Before connecting the product to the power supply, check that the
power supply voltage and current rating corresponds with the power
supply details shown on the product rating label.
DANGER Risk of suffocation! Keep any packaging materials
awayfrom children – these materials are a potential source of danger,
e.g. suffocation.

7
EN
Product Description
ADefrost indicator KOn/off button
BFull indicator LControl panel
COn / off timer indicators MWater level
DDisplay NWater tank
EAuto button OAir filter with grille
FFilter button PDrain hose outlet
GContinuity mode button QCord winding
HTurbo button RPower cord with plug
ITimer button S1/4" (6.4 mm) drain hose
Jdecrease / increase buttons
E F G H I J K
CBA D
M
N
R
S
Q
P
O
L

8
EN
Operation (Positioning)
Do not place the product in corners, directly at walls or under cabinets.
For a proper operation allow at least the distances given below.
≥ 15.7" (40 cm)
≥ 7.9" (20 cm)
≥ 7.9" (20 cm)
≥ 7.9" (20 cm)
≥ 15.7" (40 cm)
Operation (Control Panel)
NOTICE During normal operation, the display (D) shows the actual
room humidity (% RH).
Button Function
Auto (E)
• Press to activate the automatic mode. The button
indicator lights up.
• The product automatically operates dependently
on the temperature and humidity to provide the
optimum comfort for the user.
• Press again to deactivate the automatic mode.
Thebutton indicator goes off.
NOTICE In this mode a preset humidity value
cannot be set manually.

9
EN
Button Function
Filter (F)
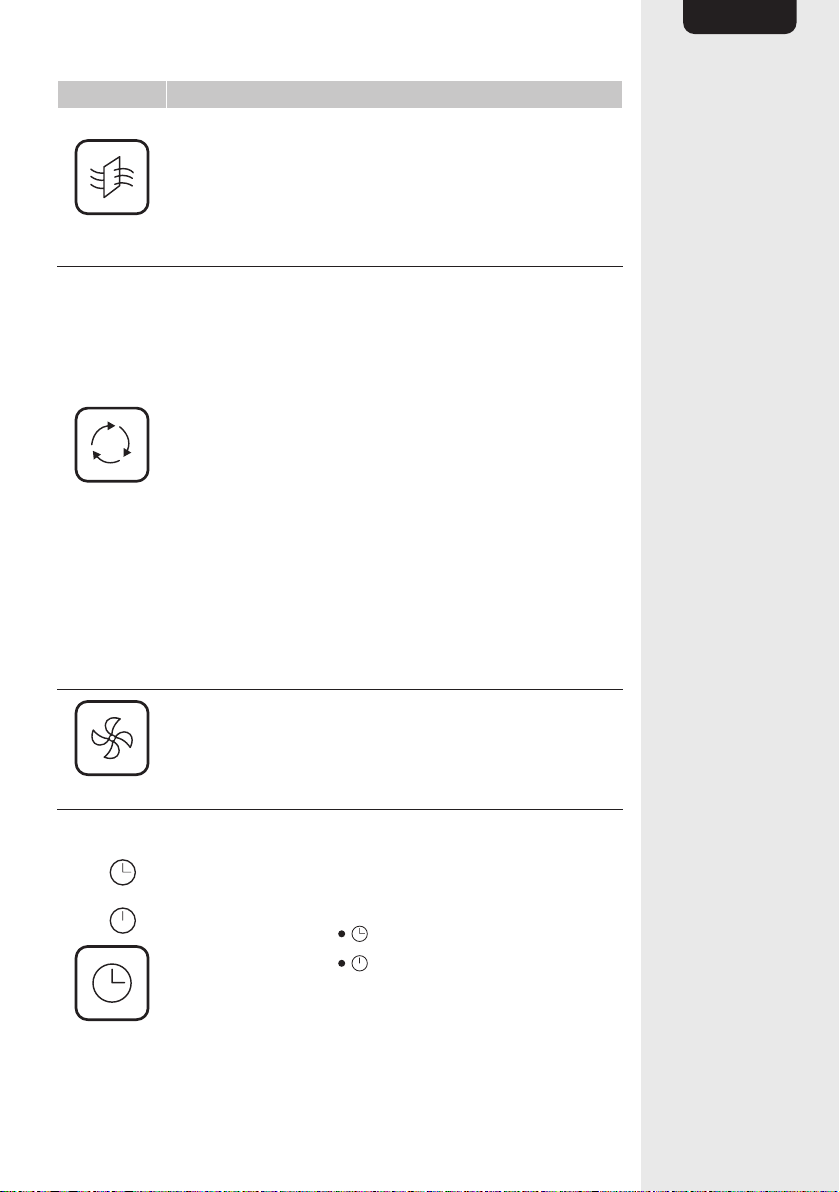
• After approx. 250 hours of operation, the indicator
over the filter button lights up to remind the user to
clean the filter.
• After cleaning the filter, press and hold the filter
button for 3seconds to switch the filter indicator off
and to zero the filter counter.
Continuous
operation
(G)
• Press to toggle between continuous operation and
operation on demand.
• Button indicator on - Continuous operation:
Theproduct operates continuously and absorbs
asmuch humidity as possible.
• Button indicator off - Operation on demand: Set
manually the desired room humidity with the <>
buttons (J). The setting is shown on the display (D).
The adjustable value is 35% RH to 85% RH.
– After no button was pressed for 5seconds,
thesetting is saved and the display (D) switches
tothe actual room humidity.
– The product switches off, when the desired room
humidity is undercut by 1 %.
– The product switches on, when the desired room
humidity is exceeded by 5 %.
Turbo (H)
• Press to increase the fan speed for a faster room air
circulation. The button indicator lights up.
• Press again to set the fan speed to normal speed.
The button indicator goes off.
Timer (I)
• Set a timer when the product will switch on or off.
Press the button to toggle between the on and the
off timer. Which timer is actually selected is shown by
the timer indicators (C).
on timer
off timer
• Set the timer with the <>buttons (K). The setting
is shown on the display (D). The adjustable value is
0.5hour to 24hours.
(Continue on next page)

10
EN
Button Function
Timer (I)
(Continued from previous page)
• After no button was pressed for 5seconds, the
setting is saved and the display (D) switches to the
actual room humidity or goes off.
• When a timer is set the appropriate timer indicator(C)
lights up.
NOTICE The product restarts with its previous
settings.
NOTICE Both timer can be set simultaneously.
Bothtimer are counting on from the present time.
Thefirst possible timer action will be implemented.
Thus, it is not possible to set both timer on the
samevalue.
< > (J)
Using the <>(J) buttons:
- The relative humidity value is inputted in increments
of5.
- The timer can be set.
On/off (K)
Press to switch the product on/off.
Indicator Description
Defrosting
(A)
Defrosting indicator: The product is defrosting its cooling
system.
Full (B)
Full indicator: The water tank (N) is full.
Operation (Functions)
NOTICE The product does not operate, when the water tank (N)
is full or is not placed properly into the housing. In that case the full
indicator(B) lights up, and the display (D) shows an error code.
Switching on/off
• Connect the product to the a suitable socket outlet. The display (D)
and the full indicator(B) shortly light up.
Este manual sirve para los siguientes modelos
1
Tabla de contenidos
Idiomas: