
Alphatec Wallbox Power Manual de usuario

MADE
IN
GERMANY
Technical Specications
Bedien- und
Installationshandbuch
Wallbox Power Wallbox Power
#electrifyyourcar
Technische Änderungen unter Vorbehalt| Stand 03/2022| DB9.0043| DB9.0044 Technische Änderungen unter Vorbehalt| Stand 03/2022| DB9.0043| DB9.0044
2 3
Handbuch |
Wallbox Power
Inhaltsverzeichnis
Handbuch |
Wallbox Power
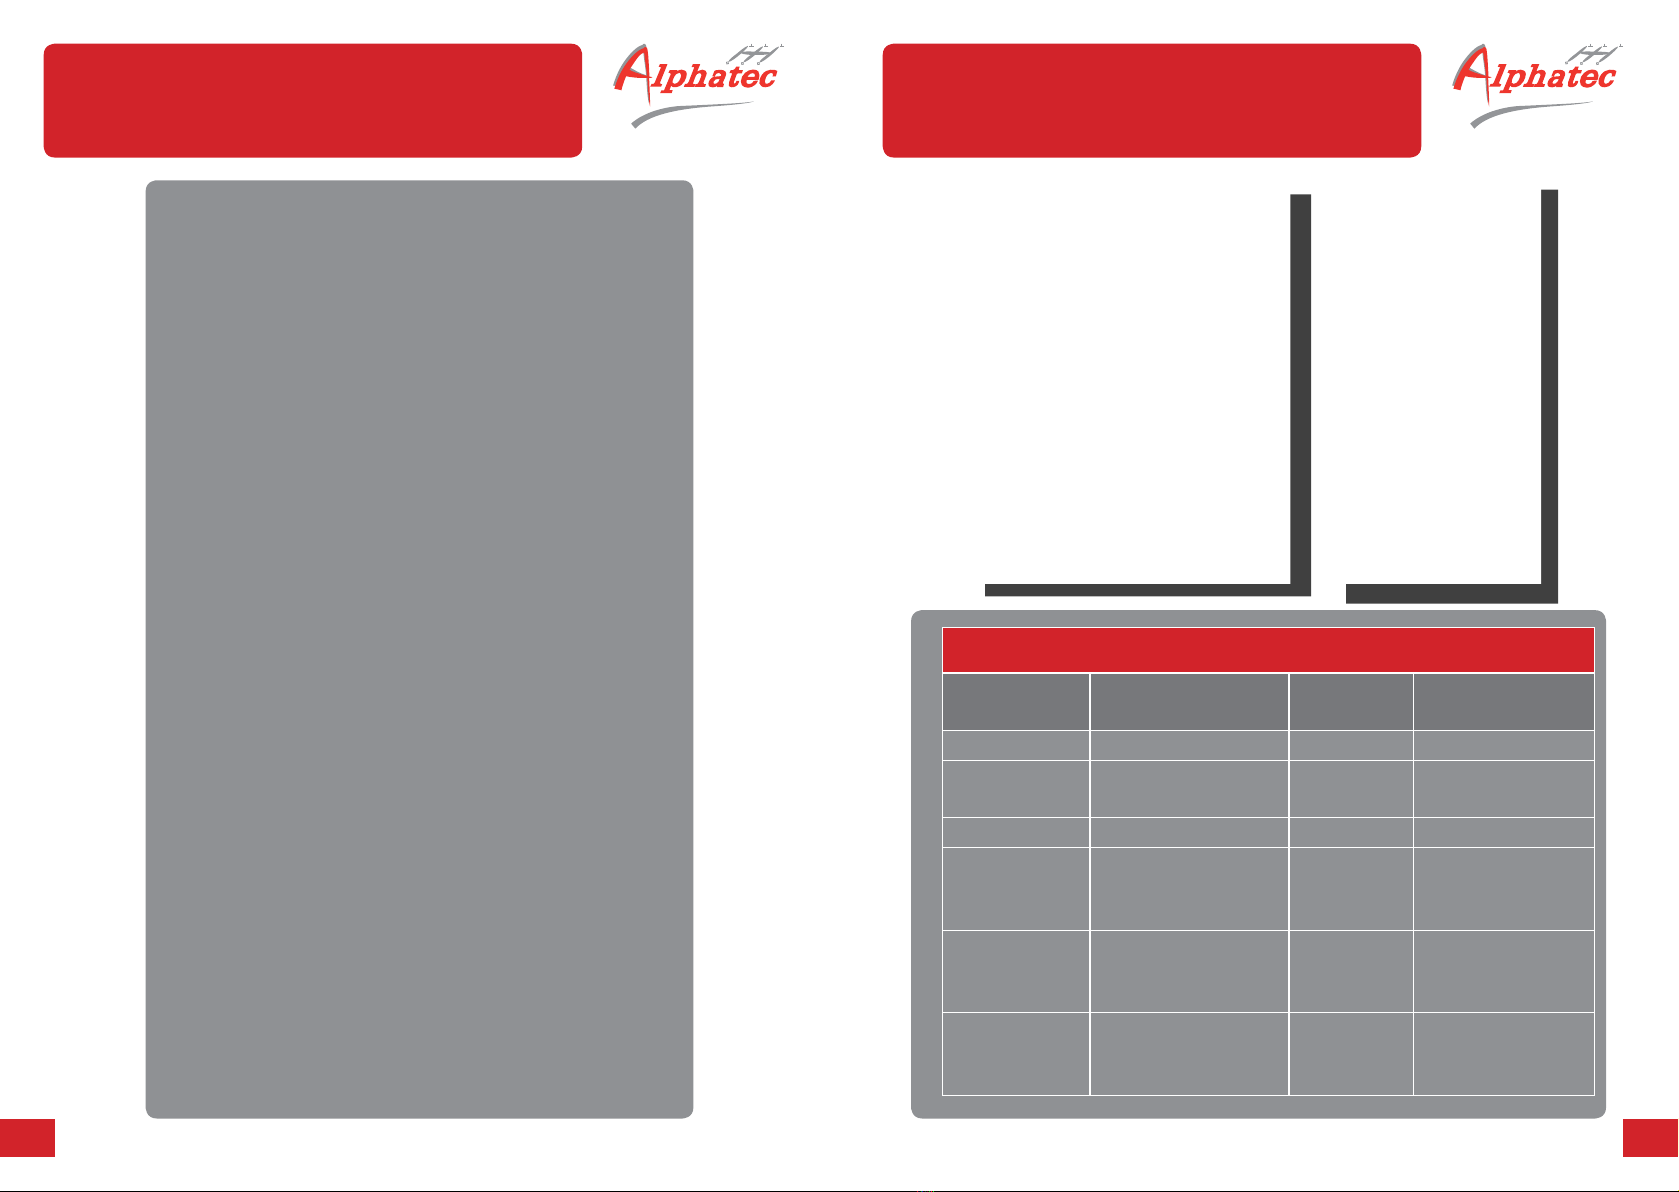
Variantenübersicht
Varianten der Wallbox Power (3-fasig / 32A)
Artikel-
nummer Ladebuchsen Leistung Schließfunktion
AP1eM 1 x Typ2 bis 22kW 1 x 22 kW Plug & Play
AP1eM-S 1 x Typ2 bis 22kW 1 x 22 kW Schlüssel-
schalter
AP1eM-R 1 x Typ2 bis 22kW 1 x 22 kW RFID-Karte
AP2eM 2 x Typ2 bis 22kW
2 x 11 kW
oder
1 x 22 kW
Plug & Play
AP2eM-S 2 x Typ2 bis 22kW
2 x 11 kW
oder
1 x 22 kW
Schlüssel-
schalter
AP2eM-R 2 x Typ2 bis 22kW
2 x 11 kW
oder
1 x 22 kW
RFID-Karte
Inhalt
2 Inhaltsverzeichnis
3 Variantenübersich
4 Hauptmerkmale
5 Key features
6 Wichtige Sicherheitsinformationen
7 Important safety information
8 – 13 Installation und Handhabung /
installation an operation
14 Installation mit Hausanschluss /
Installation with a domestic outlet
16 – 18 Installation Schritt für Schritt /
Installation step by step
20 Erstinspektion /
Initial inspection
21 – 23 Einstellen des Maximal-Stroms /
Maximum current adjustment
24 Verbindung mit externer Steuerung
Connection to external control
26 Wartung und Pege /
Maintenance and cleaning
27 – 33 Spezikation /
technical data sheet
34 Maße /
dimensions

Technische Änderungen unter Vorbehalt| Stand 03/2022| DB9.0043| DB9.0044 Technische Änderungen unter Vorbehalt| Stand 03/2022| DB9.0043 | DB9.0044
4 5
Handbuch |
Wallbox Power
Hauptmerkmale
Dual-Port AC Wallbox Basic
Diese einfache und kompakte AC-Wallbox mit ihrer Typ-2-Steckdose ist
für den Plug-and-Play-Einsatz im Heimgebrauch. Sie ist als 3-phasige
Version erhältlich und kann als 1-phasige, 2-phasige oder 3-phasige
Version verwendet werden. Jede Steckdose kann maximal 22kW
(3-phasig 32A) liefern.) Die Gesamtleistung für beide Ladepunkte ist
auf 22kW begrenzt. Also gibt es die Versionen 2 x 11kW oder 1 x 22kW,
welche allerdings auf 11kW gedrosselt werden kann.
• Robust, kostengünstig, formschön
• 2 x Typ zwei Steckdosen, zum Laden aller Fahrzeugtypen
• Interne Teile und Verkabelung für 22kW Leistung
an jeder Ladestation
• Interne Leistungsaufteilung zur Begrenzung der
Gesamtleistung auf 22 kW (2 x 11kW)
• Geeignet für den Einsatz auf Privatgrundstücken
und zum freien Laden
• Mehrfarbige Status-LEDs
• BUS-Anschluss RS485 für den Anschluss an
eine zentrale Steuerung oder ein PV-System
• Firmware-Update über RS485 für zukünftige Anforderungen
• Unterstützung für ein externes Relais zur Reduzierung
des Stroms auf den Mindeststrom über den Busanschluss
• Drehschalter zur Einstellung des maximalen Stroms
(nur für Installateure!)
• Eingebauter DC-Fehlerstromsensor (für DC-Strom max. 6 mA)
• Wetterfeste Konstruktion - IP44 / IK08
• Extra Platz für MID-Zähler im Inneren (optionale Version)
• Montage Stele mit Platz für RCD/RCBO (optional)
• Schlüsselschalter (optional)
• Anpassbar: Wählen Sie ein Farbschema und
fügen Sie Ihr Logo auf dem Mittelstreifen hinzu.
Manual |
Wallbox Power
Key features
Dual-Port AC Wallbox Basic
This basic and compact AC Wallbox with it´s Type 2 socket, is suitable
for plug and play home use. It is available in a 3-phase Version can be
used as single, 2-phase or a 3-phase version. Each socket can provide
22kW (3phase 32A) maximum). The total power for the both charge
points is limited to 22kW.
• Robust, aordable, nice design
• 2x Type two sockets to be able to charge all type of cars.
• Internal parts and cabling for 22kW Power on each charging point
• Internal power sharing to limit total power to 22kW (2 x11kW)
• Suitable for Residential and Free-Charging use
• Multiple color status LEDs
• BUS Connection RS485 for connection
to Central Control or PV System
• Firmware update over RS485 for future requirements
• Support for an external relay to reduce current
to minimum current over the bus connector
• Rotary switch for maximum current setting (for installers only!)
• Built-in DC failure current sensor (for DC current max 6 mA)
• Weather-proof construction – IP44 / IK08
• Extra space for MID meter inside (optional version)
• Mounting Post with space for RCD/RCBO (optional)
• Key Locking (optional)
• Customizable: Select a color scheme
and add your logo in the middle stripe

Technische Änderungen unter Vorbehalt| Stand 03/2022| DB9.0043| DB9.0044 Technische Änderungen unter Vorbehalt| Stand 03/2022| DB9.0043 | DB9.0044
6 7
Handbuch |
Wallbox Power
Wichtige Sicherheitsinformationen
Manual |
Wallbox Power
Important safety information
Beachten Sie unbedingt die in dieser Anleitung gekennzeichneten
Sicherheitshinweise und Vorsichtsmaßnahmen. Weitere Sicherheits-
und Bedienungshinweise sind an und in der Ladestation angebracht.
Die verwendeten Symbole haben die folgende Bedeutung:
It is essential that you pay close attention to the safety instructions
and precautions marked in this manual. Further safety and operating
guidelines are displayed on and in the charging station.
The symbols used have the following meaning:
GEFAHR! ACHTUNG! HINWEIS! DANGER! CAUTION! NOTE!
ACHTUNG, ZUERST
ANLEITUNG LESEN!
HOCHSPANNUNG
LEBENSGEFAHR!
CAUTION, CHECK
INSTRUCTIONS FIRST!
DANGER DUE TO
ELECTRICAL VOLTAGES!

Technische Änderungen unter Vorbehalt| Stand 03/2022| DB9.0043| DB9.0044 Technische Änderungen unter Vorbehalt| Stand 03/2022| DB9.0043 | DB9.0044
8 9
Handbuch |
Wallbox Power
Installation und Handhabung
Manual |
Wallbox Power
Installation and operation
Bei dem beschriebenen Ladegerät für Elektro-
fahrzeuge handelt es sich um ein Produkt, das nur
von Elektrofachkräften angeschlossen werden darf.
Die Fachkräfte sollten sich mit dem Thema Elektro-
mobilität und den dazugehörigen Normen vertraut
gemacht haben.
Jegliche Beschädigung des Außengehäuses
oder der Ladekabel bzw. der Isolationsteile der
Ladesteckdose kann möglicherweise zu Bränden
oder Verletzungsgefahr für Personen führen.
Regelmäßige Kontrollen und ein sorgfältiger
Umgang mit den Geräten beugen solchen
Risiken vor. Bitte beachten Sie, dass die
vorgeschriebenen Fehlerstromschutzschalter für
den Personenschutz in der Vorinstallation oder in
der Zuleitung jeder Ladestation installiert sein müssen.
Bei einigen Ausführungen der Ladestation sind ein oder mehrere
Fehlerstromschutzschalter (RCD, 30mA oder RCD 6mA) auch direkt
im Ladegerät eingebaut. Auch in diesen Fällen muss die Zuleitung,
die dann eine gemeinsame Leitung für zwei Ladepunkte sein kann,
mit Leitungsschutzschaltern LS (MCB) oder idealerweise FI und LS
(RCD + MCB) abgesichert werden. Jeder Ladepunkt muss einen
eigenen FI (RCD, Typ B TypA oder A+) haben.
Es ist sehr wichtig, dass das Gerät und die Gehäuseteile gut geerdet
sind. Die Erdung muss bei der Installation von einer Elektrofachkraft
überprüft werden. Je nach Aufstellungsort sind die notwendigen
Maßnahmen zum Blitzschutz zu prüfen. Gegebenenfalls müssen
zusätzliche Blitzschutzeinrichtungen in den Gebäuden oder der
vorhandenen Vorinstallation installiert werden.
The described charger for electric vehicles is a product
that may only be connected by qualied electricians.
Specialists should have familiarized themselves with
the topic of electromobility and
the associated standards.
Any damage to the outer casing or the
charging cables or to insulation parts of the
charging socket could possibly lead to re or
risk of injury to personnel. Regular checks and
careful handling of these devices will prevent
such risks. Please note that the prescribed
residual current circuit breakers for personal
protection must be installed in the pre-installation
or in the supply line of each charging point.
With some versions of the charging point, one or more RCDs
(RCD, 30mA or RCD 6mA) are also directly installed in the charging
device. Even in such cases the supply line, which can then be
a common line for two charging points, must be protected by miniature
circuit breakers LS (MCB) or ideally FI and LS (RCD + MCB).
Each charging point then also has its own FI (RCD, Type B or A+)
within the pole.
It is very important that the equipment and the housing parts are well
grounded. The earthing must be checked by a qualied electrician
during installation. Depending on the installation site, the necessary
measures for lightning protection must be evaluated If necessary,
additional lightning protection devices must be installed in the buildings
or the existing pre-installation.

Technische Änderungen unter Vorbehalt| Stand 03/2022| DB9.0043| DB9.0044 Technische Änderungen unter Vorbehalt| Stand 03/2022| DB9.0043 | DB9.0044
10 11
Handbuch |
Wallbox Power
Installation und Handhabung
Manual |
Wallbox Power
Installation and operation
Geeignete Orte für die Installation
Bitte beachten Sie, dass der richtige Ort für die
Installation dort sein sollte, wo sich der Lade-
eingang des gewählten Fahrzeugs bendet.
Es wird empfohlen, dass das angeschlossene
Kabel nicht zum Stolpern führen sollte.
Bitte beachten Sie auch, dass direkte Sonnen-
einstrahlung zu einer Verringerung des Ladestroms führt,
wenn die interne Wärme automatisch den Strom verringert,
solange das Ladegerät abkühlt.
Das Produkt besteht aus schwer entammbarem
Kunststo. Für die Montage an Holzwänden oder
anderen feuergefährdeten bzw. hitzeempndlichen
Oberächen empehlt sich die Verwendung einer
Metallwandplatte oder der verfügbaren Säule aus
pulverbeschichtetem Edelstahl.
Das Ladegerät ist besonders für den privaten
oder halböentlichen Bereich geeignet. Die Vandalismusbeständigkeit
ist nur bedingt gegeben (IK08). Je nach Ausstattung sind für jeden
Ladepunkt RCD (FI) Typ A installiert, MID-Zähler und Fehlerstrom-
detektoren sind integriert. Weitere Ausstattungen oder andere Typen
und Zubehör nden Sie auf unserer Website.
Es handelt sich um ein elektrotechnisches Produkt, das bei der Nutzung
Abwärme erzeugt. In der warmen Jahreszeit und bei Betrieb unter
Volllast kann sich das Gerät daher erwärmen. Die integrierte Temperatur-
messung reduziert dann die mögliche Ladeleistung. Um dies zu
vermeiden, wird dringend empfohlen, das Ladegerät nicht an einem Ort
zu installieren, an dem es extremer Sonneneinstrahlung ausgesetzt ist.
Place of installation
Please be aware that the right place for Installation
should be where the charging inlet to the choosed car
will be. It is recommended that the connected cable
should not lead to stumbling.
Please also consider that exposure to direct
sunlight will lead to reduced charging current
when the internal heat decrease automatically
the current as long as the charger cooles down.
The product consists of ame-retardant plastic.
For installation on wooden walls or other re prone or
heat-sensitive surfaces, the use of a metal wall plate
or the available pillar made of powder-coated special
steel is recommended.
The charger is particularly suitable for private
or semi-public use vandalism resistance is only
limited (IK08). Depending on the equipment,
RCD (FI) type A are installed for each charging point,
MID meters and residual current detectors are integrated.
Other equipment or other types and accessories can be
found on our website.
This is an electrotechnical product which generates waste heat
when used. In the warm season and when operating under full load,
the device can thus heat up. The integrated temperature measurement
then reduces the possible charging power. To avoid this, it is strongly
recommended to not install the charger in a place where it is exposed
to extreme solar radiation.

Technische Änderungen unter Vorbehalt| Stand 03/2022| DB9.0043| DB9.0044 Technische Änderungen unter Vorbehalt| Stand 03/2022| DB9.0043 | DB9.0044
12 13
675
(Reserve space for connector,
depending on the used brand!)
400 135
500
1530 +200 suggested hight of charger
1400
144
60
18
53
375
Ø 6
290
Handbuch |
Wallbox Power
Installation und Handhabung
Manual |
Wallbox Power
Installation and operation
Empfohlene Werkzeuge für die Installation
• Schraubendreher für Schlitzschraube
• Schraubendreher Torx TX20
• Schraubendreher PH1 und PH2
• Steckschlüsselsatz
• E-Mobilitätsprüfsimulator
• Multimeter
• Erdanschluss- und RCB-Auslöseprüfgeräte.
• im Optimalfall zusätzlich: Thermobildkamera zur Überprüfung
von verlustarmen Anschlüssen der Zuleitungen.
Recommended tools for installation
• screwdriver for slotted screws
• screwdriver Torx TX20
• screwdriver PH1 and PH2
• socket wrench set
• e-mobility test simulator
• earth connection and RCB tripping test equipment
• in best case additional: thermal imaging camera
to check low-loss connections of the supply lines
Bohrbild / drill patternBohrbild / drill pattern

Technische Änderungen unter Vorbehalt| Stand 03/2022| DB9.0043| DB9.0044 Technische Änderungen unter Vorbehalt| Stand 03/2022| DB9.0043 | DB9.0044
14 15
MID / meter
• Typen mit integriertem
MID-Zähler erhältlich
• types with integrated
MID meter available
alternativ:
RCBO (FI / LS)
Typ A / 3ph 32A,
C Typ
Supply line with
RCD Typ A
L1L2L3 N
Vorgeschriebene Leistungsschutzschalter und
Fehlerstromschutzschalter in den Zuleitungen
JEDES Ladepunktes.
Required MCB and RCB (FI) – RCB in the supply
lines of EVERY charging point.
Handbuch |
Wallbox Power
Installation mit Hausanschluss /
Installation with a domestic outlet
• Kabelzugang von unten
• Opening for cable from the bottom
• Kabelzugang von hinten durch
nachträgliches Önen möglich
• Openening for cable from the rear (optional)

Technische Änderungen unter Vorbehalt| Stand 03/2022| DB9.0043| DB9.0044 Technische Änderungen unter Vorbehalt| Stand 03/2022| DB9.0043 | DB9.0044
16 17
Handbuch |
Wallbox Power
Installation Schritt für Schritt /
Installation step by step
1. Abdeckung önen / remove cover
• Önen Sie 2 Schrauben von der Unterseite und 2 Schrauben
von der Oberseite, um die Tür zu entfernen
• Open 2 screws from the bottom side and 2 screws from
the topside to remove the door
2. Wandbefestigung / wall attachment
• Verwenden Sie 4 Schrauben, um die Box an der Wand zu
befestigen. Verwenden Sie je nach Wandmaterial die
beiliegenden Schrauben und Kunststodübel
• Use 4 screws to x the box to the wall. Depending on the
wall material use the enclosed screws and plastic dowels.
• Schließen Sie die Stromquelle gemäß den örtlichen
Normen und Gesetzen an die Klemmen an.
Stellen Sie sicher, dass die Anschlüsse fest
und korrekt sind.
• Connect the power source according to local
standards and laws to the clamps. Ensure
that the connections are tight and correct.
• Schrauben an der Oberseite
• Screws on the topside
2x
2x
• Schrauben an der Unterseite
• Screws on the bottom side

Technische Änderungen unter Vorbehalt| Stand 03/2022| DB9.0043| DB9.0044 Technische Änderungen unter Vorbehalt| Stand 03/2022| DB9.0043 | DB9.0044
18 19
Handbuch |
Wallbox Power
Installation Schritt für Schritt /
Installation step by step
3. Wiederverschluss / reclosure
• Setzen Sie den Deckel auf der Oberseite des Basisteils auf,
wie in der Abbildung gezeigt, und schließen Sie ihn, indem
Sie ihn nach unten drücken. Schließen Sie die 4 Schrauben,
nachdem der Deckel in Position ist.
• Postion the cover on the top side o the basic part as shown
in the picture and close it by pushing it down. Close the
4 screws after the lid is in position.
4. Deckelverschraubung / lid xation
• Befestigung des Deckels mit 2 Schrauben von hinten.
Der Deckel muss vollständig und ohne sichtbaren
Abstand zum Sockel geschlossen sein.
• Fixation of the cover with 2 screws from the
rear. The cover must be closed completely
and without any visible distance to the base.
• Schrauben an der Oberseite
• Screws on the topside
2x
2x
• Schrauben an der Unterseite
• Screws on the bottom side
• Achten Sie darauf, dass
beide Teile um die Trennlinie
herum vollständig
geschlossen sind
• Make sure, that both parts
are completely closed
without any gap
Information
• Die Schrauben benden sich auf der Rückseite,
um das Önen des Ladegeräts durch Unbefugte
zu erschweren. Für die Installation wird die
Verwendung eines Winkelschraubendrehers
o.ä. empfohlen.
• Screws are from rear to make it more dicult
for unauthorized person to open the charger.
For installation it is recommended to use an
oset screwdriver or similar.
Este manual sirve para los siguientes modelos
6
Tabla de contenidos
Otros manuales de Cargador de baterías de Alphatec


