4.3.2 EMPTYING THE DOMESTIC HOT WATER TANK:
1. Switch the mains power to the boiler off at the external switch
installed by the electrician.
2. Close valves (A) and (B).
3. Open valves (C) and (D) (first C then D).
4. Let the water drain away.
5. When you have finished, return the valves to their initial positions.
8. After allowing the circulator to work for a few minutes, set the on/off
switch to the OFF position, bleed the circulation pump and make
sure that both the boiler and the system are properly bled. Adjust
the pressure to the static pressure (1 bar = 10 m – 1.5 bar = 15 m)
+ 0.5 bar.
9. The boiler is now ready to operate. Set the on/off switch to the ON
position, the summer/winter selector, the half and full power
switches and the control thermostat all to the desired positions
After a few days in operation we advise you to
check the quality of the electrical connections and
also make sure there is no air in either the boiler or
the system.
Switch the power supply off from the outside box
before carrying out any work.
8
4.4 RECOMMENDATION
ACV recommend that boilers should be serviced at least once a year.
This servicing work should be carried out by a competent technician.
4.5 SPARE PARTS
Please refer to the specific document available from ACV or your
distributor.
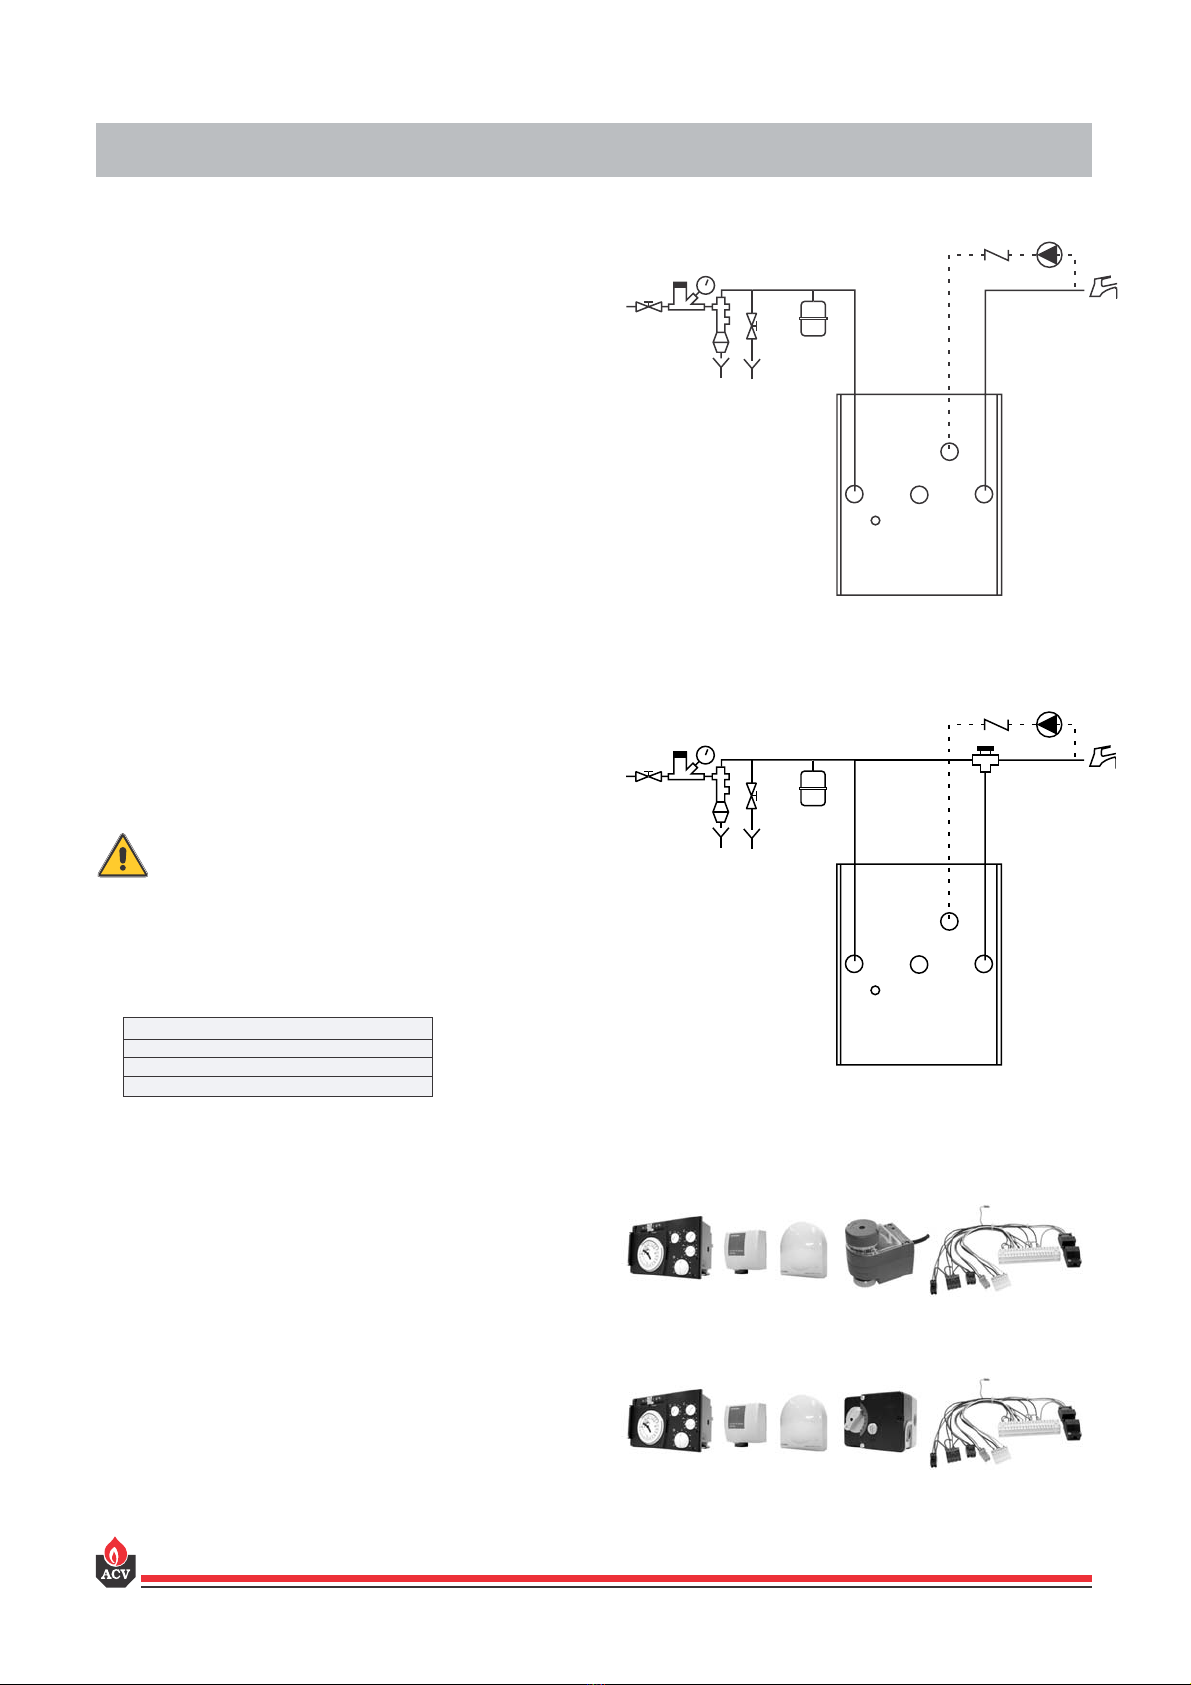
3.1 FILLING THE HEATING AND DOMESTIC HOT
WATER CIRCUITS
1. Fill the domestic hot water circuit and bring it up to pressure
IMPORTANT
The hot water tank must be pressurised before the
heating circuit is filled.
2. Fill the central heating circuit making sure that any air in the upper
part of the boiler and any air in the system is bled.
3. Remove the front of the boiler.
4. Check the electrical connections paying particular attention to the
quality of the connections on the power circuit terminals.
5. Set all the switches on the control panel to the OFF position and
set the internal magneto-thermal circuit breaker to ON. Replace
the front of the boiler.
6. Switch the boiler on from the external box.
7. Set the on/off switch to the ON position and the summer/winter
selector switch to the winter position.
3 STARTING UP
4.1 SERVICING THE BOILER
1 -
Set the on/off switch on the control panel to the OFF position and
switch the power off from the external box.
2 – Remove the top panel and the front and carry out a visual inspection
of the boiler looking out for any leaking water.
3 – Inspect the wiring looking for any sign of overheating.
4 – Check that the screws on the connection terminal block are properly
tightened.
5 – Replace the front and the top panel.
6 – Switch the boiler back on again.
4.2 SERVICING THE SAFETY DEVICES
- Check that the thermostats and safety devices are working
properly.
- Check the safety valves on both the central heating and the hot
water circuits.
4.3 EMPTYING
4.3.1 EMPTYING THE PRIMARY CIRCUIT (CENTRAL
HEATING):
1. Switch the power to the boiler off at the mains switch installed by
the electrician.
2. Close the boiler system’s isolating valves (1).
3. Connect a hose to the drain cock (2) and make sure that it is
properly connected.
4. Open the drain cock and allow hot water to flow out into the waste
water disposal system, check that air is being taken into the
system, by opening the air vent, for instance.
5. Once you have finished, put the drain cocks back into their original
positions and adjust the pressure to the static pressure + 0.5 bar.
4 SERVICING
There is a risk of burns from hot water!
To allow the tank to be emptied, valve (C) must be situated
at ground level.