2
The Acoustic Research Xsight™ Plus Advanced Universal Remote will change your home
entertainment experience forever. You can start using it right out of the box through the
guided setup on the full-color LCD screen. The Setup Guide that came with your remote helps
with the rst steps.
The CD-ROM included with the Xsight™ Plus gives you the tools to tap into the real power
of this remote through the EZ-RC™ Remote Control Setup Wizard website. Expand and
customize features to control your entire home theater with simple one-touch activities (like
Watch TV or Listen to CD) and a favorite channel list.
This Owners Manual guides you through the remote menus that let you get the most from
your Xsight™ Plus.
Contents
Unpacking ............................................................................................ 3
Getting Started ................................................................................... 3
Tour of the Remote ............................................................................. 4
Hard keys ..........................................................................................................................4
Interactive LCD screen ...................................................................................................5
Home Screen ....................................................................................... 6
Devices ................................................................................................. 6
What is Quick Power? ....................................................................................................6
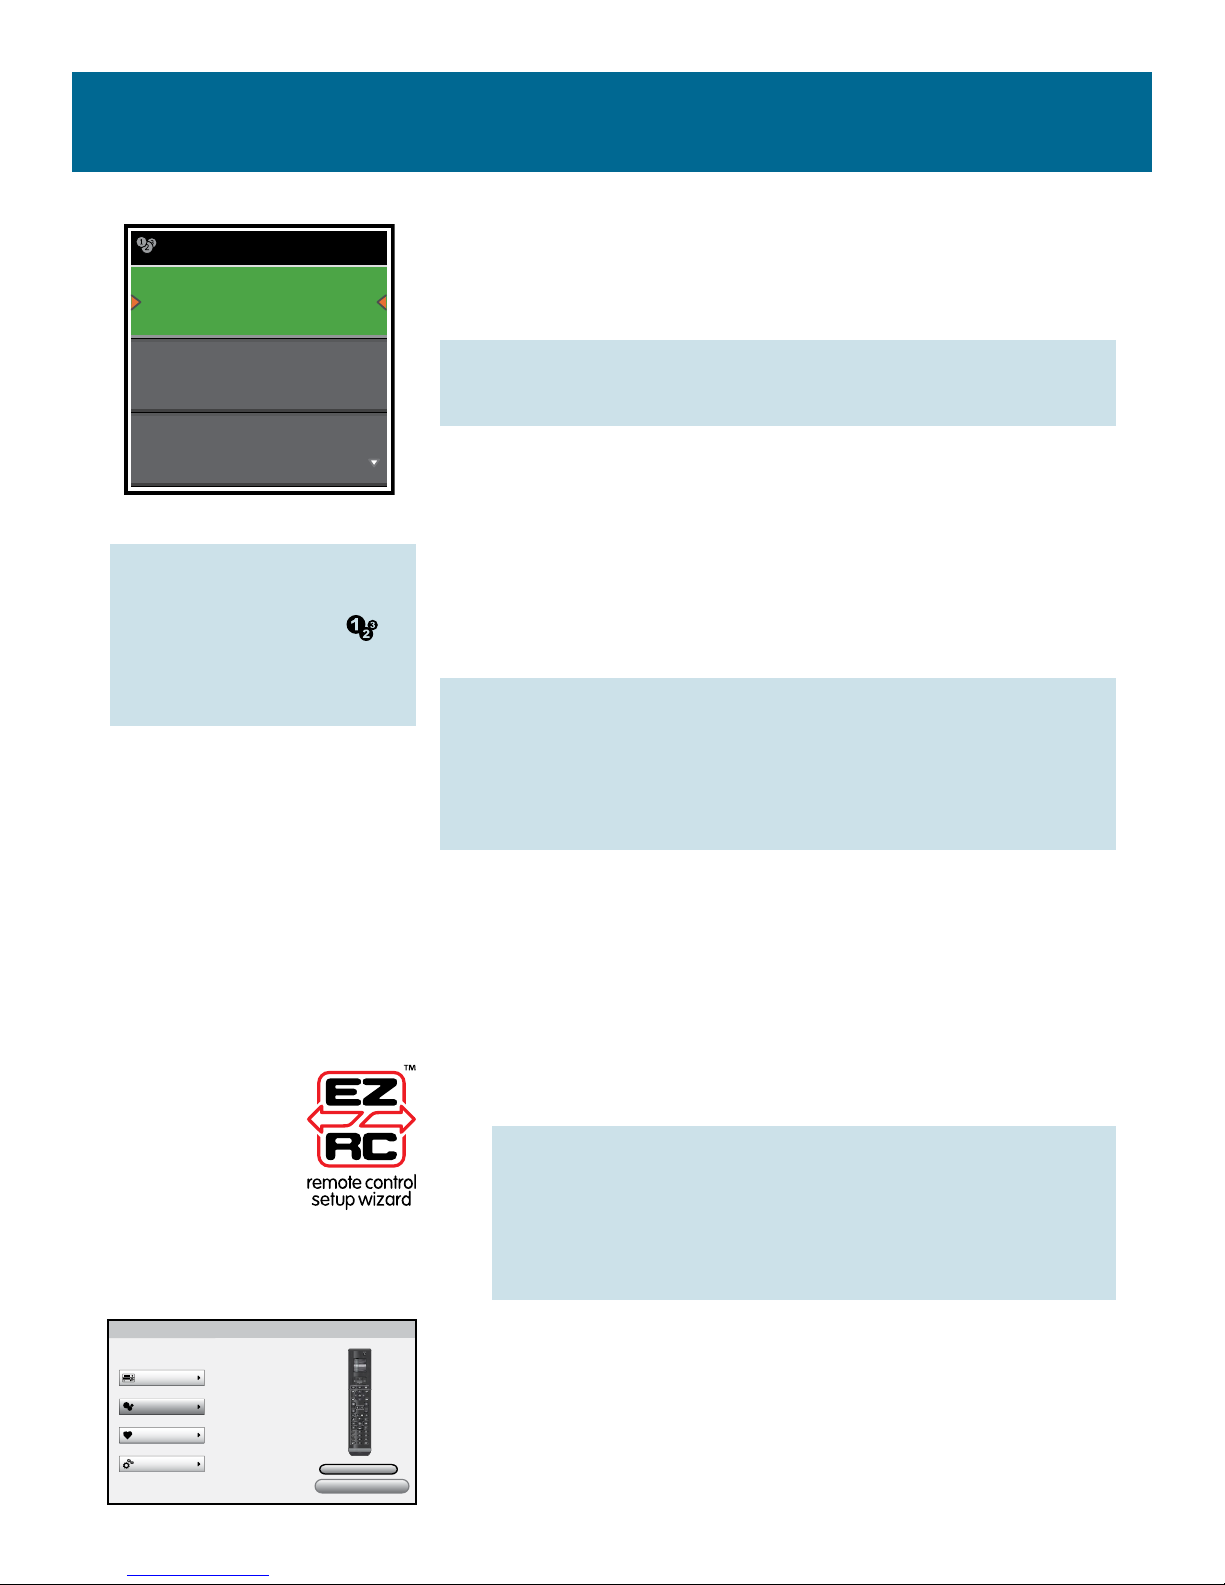
Activities ............................................................................................. 7
Setting Up Activities ....................................................................................................... 7
Using Activities ................................................................................................................8
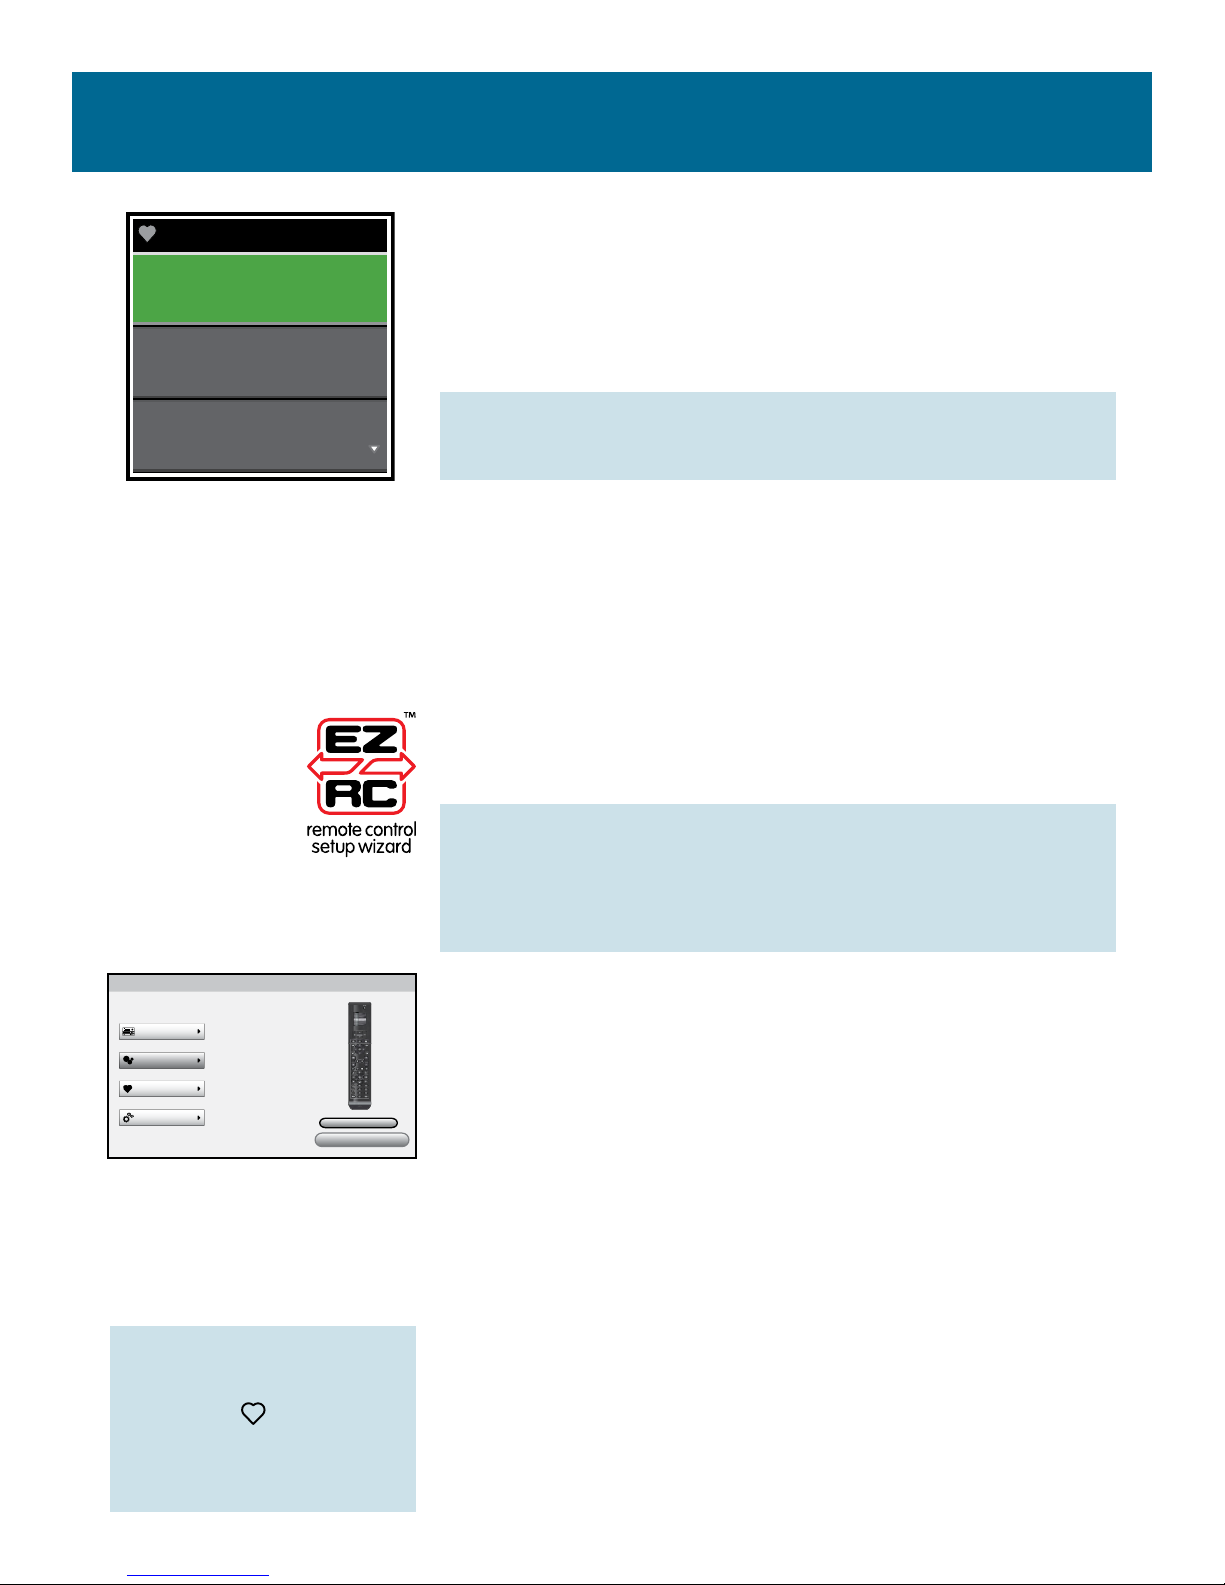
Favorites .............................................................................................. 9
Choosing Favorite Channels .........................................................................................9
Settings ..............................................................................................10
Device Setup .................................................................................................................. 10
Learning ..........................................................................................................................13
Volume Control ...............................................................................................................16
Contrast .......................................................................................................................... 18
Brightness ....................................................................................................................... 18
Timeout ........................................................................................................................... 18
Language .........................................................................................................................19
Tilt On/Off ........................................................................................................................19
About ................................................................................................................................19
Reset ............................................................................................................................... 20
Factory Reset ................................................................................................................ 20