ACCU-SYSTEMS DD Manual de usuario

The Model DD hand held Dowel Inserter is designed to insert both the glue and dowel in
one operating cycle. This makes the otherwise tedious job of dowel inserting fast and easy.
With the one button glue flush system, clean up is a snap!
ACCU-SYSTEMS
1810 W. 5000 S.
SALT LAKE CITY, UT 84129
801-965-1900 Fax 801-965-3999
800-369-5746
Hand Held
Dowel Inserter
Model DD
ACCU-SYSTEMS

Table Of Contents
1. Features
2. Safety
3. Start Up Procedures
A. Uncrate Machine
B. Connect Power & Air
C. Load Dowels into Machine
D. Set up Pressure Pot
1. Conventional Doweling
2. Pre-glued Doweling
E. Inserting Dowel
4. Operating Procedures
A. Daily Operation of Machine
5. Maintenance & Storage
A. The Air System
B. The Glue / Water System
C. Dowel Feed System
6. Troubleshooting
1. If dowels do not come out of gun when cycled
2. If dowels come back into the singulator after being pushed into the supply hose
3. If there is excessive glue on nozzle and plunger
4. If the gun does not cycle, or cycles erratically when trigger is pushed
5. If the dowels do not feed properly or get jammed as they come out of the bowl
7. Replacement Parts
A. Machine Overview
B. Pneumatic Diagram
C. Electric Diagram
D. Gun
E. Dowel Feed Bowl
F. Singulator Unit
G. Pressure Pot
H. Bowl Driver
8. Requesting Assistance or Service
9. Warranty
10. Franklin Glue Information
A. MSDS
11. Contact Information
12. Warranty

Features
Dowel Reject Slide
Light Weight Gun body
Filter / Regulator /
Lubricator
Vibratory Speed
Control
One Step Purge
Switch

Please keep in mind these simple safety reminders when working on or around this machine
1. Plug into grounded 3 prong outlet
2. Do not remove ground prong.
3. Do not use an adapter.
4. Disconnect power and air before servicing
5. Before opening or working in control panel, always turn main power off.
6. Always wear safety glasses when running this machine
7. Always have hands clear from moving parts when operating machine.
Safety Precautions

The following steps must be taken prior to initial start-up of the machine.
A. Uncrate Machine
1. Uncrate & unwrap machine. Unwrap the gun and place it in it’s holster.
2. Attach the supply hoses PER COLOR & SIZE to the gun. Push hoses tight in fittings to assure a
proper fit
B. Connect power and Air
1. Attach the power (115V single) and air to the machine.
2. The air connection is a 3/8” NPT thread. We recommend you use a 3/8” air
hose connect to the machine.
3. You may use a quick coupler or if you want to leave an air hose connected
to the machine we recommend you put a shut off valve on the inlet so you can
turn the air off when you are done. (AIR NOISE AROUND THE SINGULA-
TOR UNIT IS NORMAL WHEN AIR IS ON. There is no air leaking, it is
a venturi effect causing the noise. The air that blows the dowel to the gun is
pulled into the hose. The air being pulled into the hose makes the sound.)
C. Load dowels into machine
1. Put the dowels into the hopper.
2. DO NOT FILL THE TUBE WITH DOWELS. The machine only shoots one dowel at a time
through the tube to the gun.
3. Never push a dowel into the gun through the nozzle fingers.
4. Turn the bowl speed up so the dowels feed into the singulator. Set the speed so when cycling the
machine the dowels feed fast enough to keep up with the operator.
5. Align the singulator, so dowels feed smoothly.
Start Up Procedures

D. Set up pressure pot
There are different directions for Conventional Doweling & Pre-glued Dowels.
Follow the directions for the procedure you are using.
CONVENTIONAL DOWELING WITH GLUE
RECOMMENDED GLUE:
Franklin Assembly 161 or Tightbond doweling glue L.V. See spec. sheet in the back of this manual.
1. Remove the pressure pot from the back of the machine.
2. Open the pot and you should see a sample of glue, a plastic one gallon container, and two pick up
hoses with filters. The black tube is the glue pick up tube, and the clear tube is the water pick up tube.
The sample glue will not go too far, so make sure you have at least 5 gallons of the recommended on
hand. Always shake or stir the glue before putting it into the container.
3. Place the glue into the plastic one gallon container, place it into the middle of the pressure pot.
4. Pour water around the pot to about half full. Place the top over the pot and make sure the black
hose goes into the glue, and clear tube goes into the water.
5. Tighten the pot lid down in an even fashion. Turn the regulator up to around 30-40 PSI.
6. Go to the front of the machine and take the gun from the holster and aim it into a purge bucket
(something to contain the fluid).

7. Flip the H20-RUN-GLUE switch to the H20 (water) side and you should start to see water
exit the tip of the gun in about 10-15 seconds. Then flip the switch to the glue side and you
should start to see glue exit the tip of the gun in about 10-15 seconds.
8. Once the glue arrives flip the switch in the middle”RUN” position. You are now ready to
shoot.
9. You may need to make a few adjustments as you go along, like increase or decrease the
glue pressure or adjust the glue timer inside the control panel for more or less glue. You will
have to shoot a few dowels to see if this is necessary.
10. After each time you use the machine you will need to flush the glue back out of the line,
to do this hold the gun over the purge bucket, flip the switch to the H20 side and you should
start to see water come out of the gun in 7-10 seconds. Let it run a bit before you flip the
switch back to run.
11. After this you must clean off the nozzle, and any glue to keep it from drying and causing problems.

RECOMMENDED WATER:
DISTILLED OR PURIFIED BOTTLED WATER
1. Remove the pressure pot from the back of the machine.
2.
2.Open the pot and you should see a sample of glue, a plastic one gallon container, and two pick up
hoses with filters. The middle tube ( Black) is NORMALLY the glue pick up tube. The clear tube is
the water pick up tube. When using water for Pre-glued dowels the black tube is now the main water
pick up tube.
3. WE RECOMMEND YOU USE DISTILLED WATER. This will keep the valves from accumu-
lating a build up of minerals that are common in most tap water.
4. Fill either the pot or the plastic container and place it in the main pot.
5. Place both tubes into the water
6. Tighten the pot lid down in an even fashion.
7. Turn the regulator up to around 10-15 PSI.
8. Go to the front of the machine and take the gun from the holster and aim it into a purge container.
PRE-GLUED DOWELING WITH WATER

E. Inserting Dowels
1. Place the gun to the dowel hole and push the trigger button. You will first see a shot of glue
(or water) and then a dowel will follow it into the hole. Keep the nozzle firm against the material
and in line with the hole, it may take a little practice, but before long you will find it quite easy to
do. Do not push hard enough to retract the fingers back into the gun body. Also keep the hoses as
straight as possible from the machine to the gun. This will help the machine to run smoothly.
If a dowel exits the nozzle, but for some reason did not go into a dowel hole, NEVER PUSH THE
DOWEL INTO THE NOZZLE TO RESHOOT IT!! Always pull the dowel out and push the
trigger for a new dowel.
(If you push the dowel back into the nozzle, it will fall on top of the slide block, and will
damage the machine. You will have to take the front handle off to get it out before another
dowel can be shot out of the nozzle.)
2. If you are shooting glue, you must FLUSH THE GLUE FROM THE GUN AS SOON AS POS-
SIBLE. Be sure to flush the system within 20 minutes to insure no glue drying in the tip. To
flush the system, point the gun into the purge bucket and flip the “H20-Run-Glue” switch to H20
until you see a clear stream of water coming out of the gun for a few seconds. Flip the switch
back to the RUN position. Inspect the nozzle and front of gun, removing any build up of glue with
a rag. Return the gun to it’s holster.
3. You may now turn the main power switch off, this will also shut off the bowl feeder. Shut off
the air or disconnect the air line. Your machine is now ready for the next time you use it.

A. Daily operation of machine.
1. Make sure main air regulator reads between 90-100 PSI (main air regulator is on the side
of the machine)
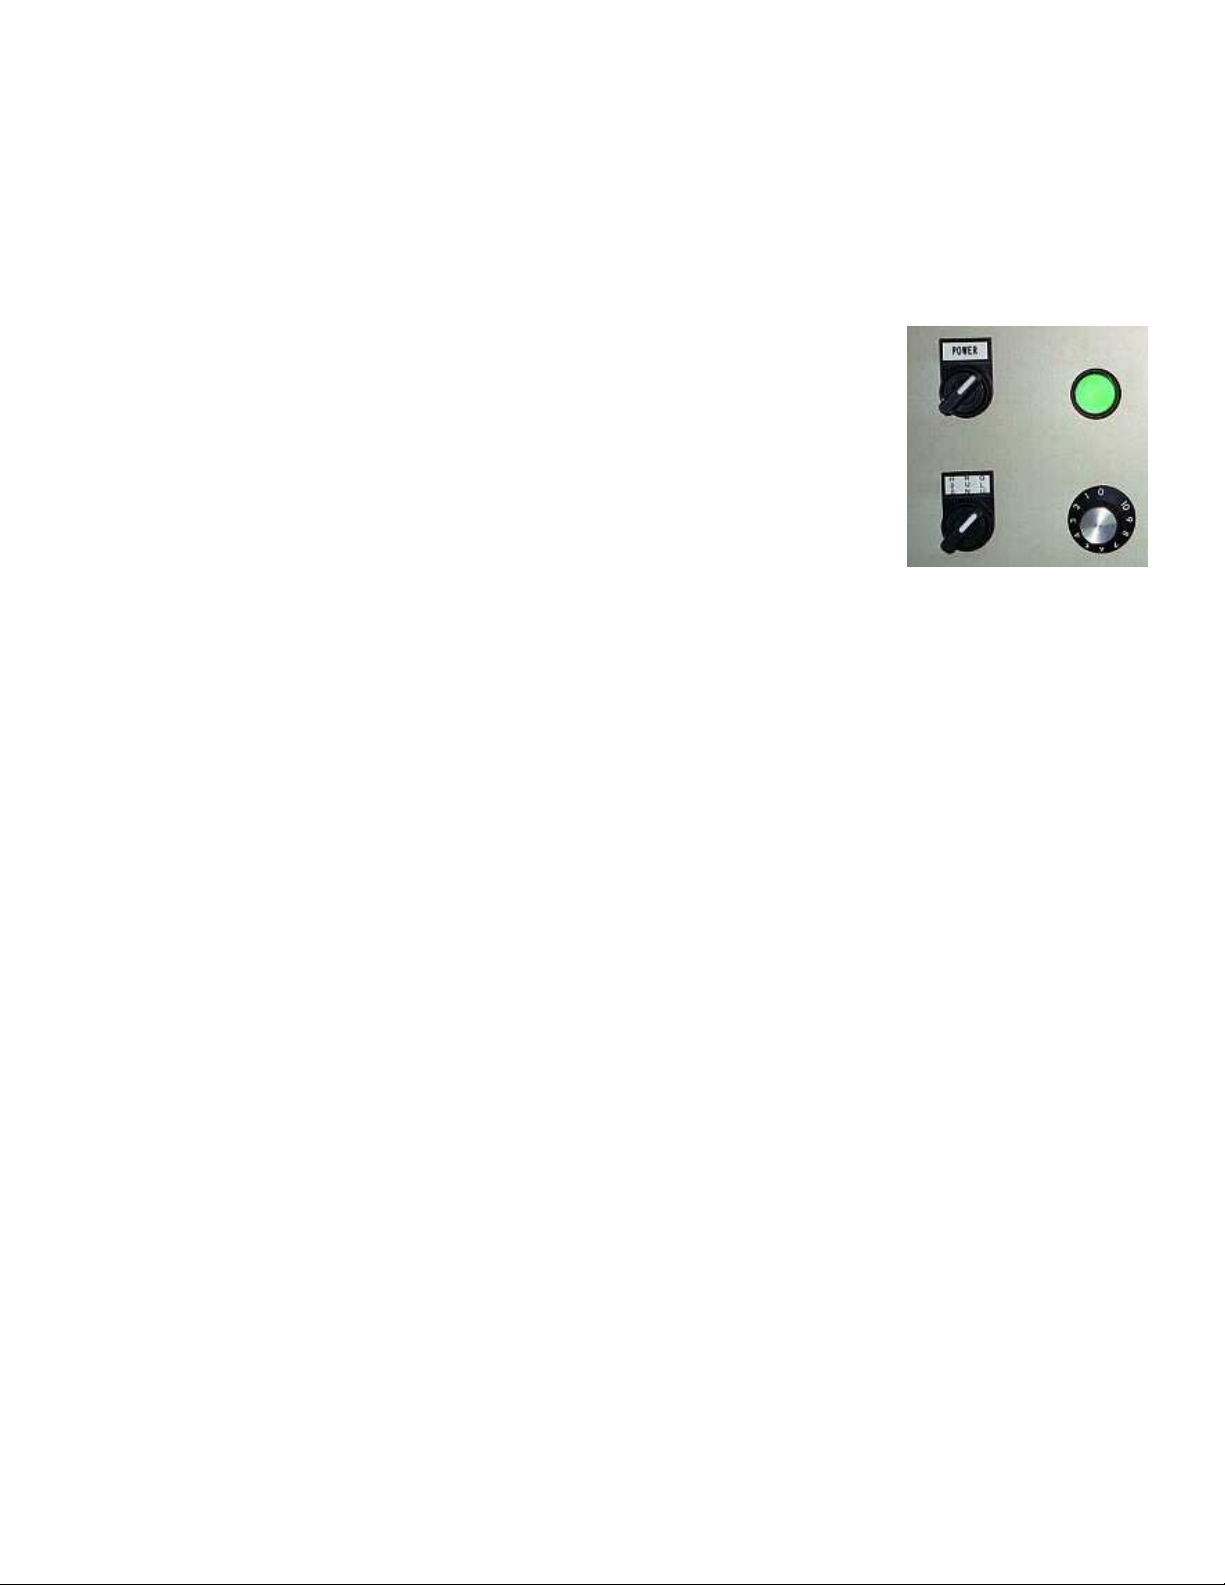
2. Turn the main power switch on (front panel) Make sure the “H2O-
Run-Glue” switch just below the power switch, is in the RUN position.
(H2O = Water)
3. If using glue, purge the system (as talked about on page 2) to refill
the line with glue. If you are using water you never need to purge be-
fore or after you use the machine (purge with water is only necessary if
you run out or after filling pot.)
4. Check dowel feed speed to advance the dowels to the singulator assembly if needed.
YOU ARE NOW READY TO INSERT DOWELS!!
5. After each use of the machine you will need to flush the glue back out of the line. To do
this, hold the gun over the purge bucket, flip the switch to the H20 side and you should start
to see water come out of the gun in 7-10 seconds. Let it run a bit before you flip the switch
back to run.
6. After this you must clean off the nozzle, and any excess glue to keep it from drying and
causing problems the next time you use the machine. Return gun to holster.
Operating Procedures
Tabla de contenidos