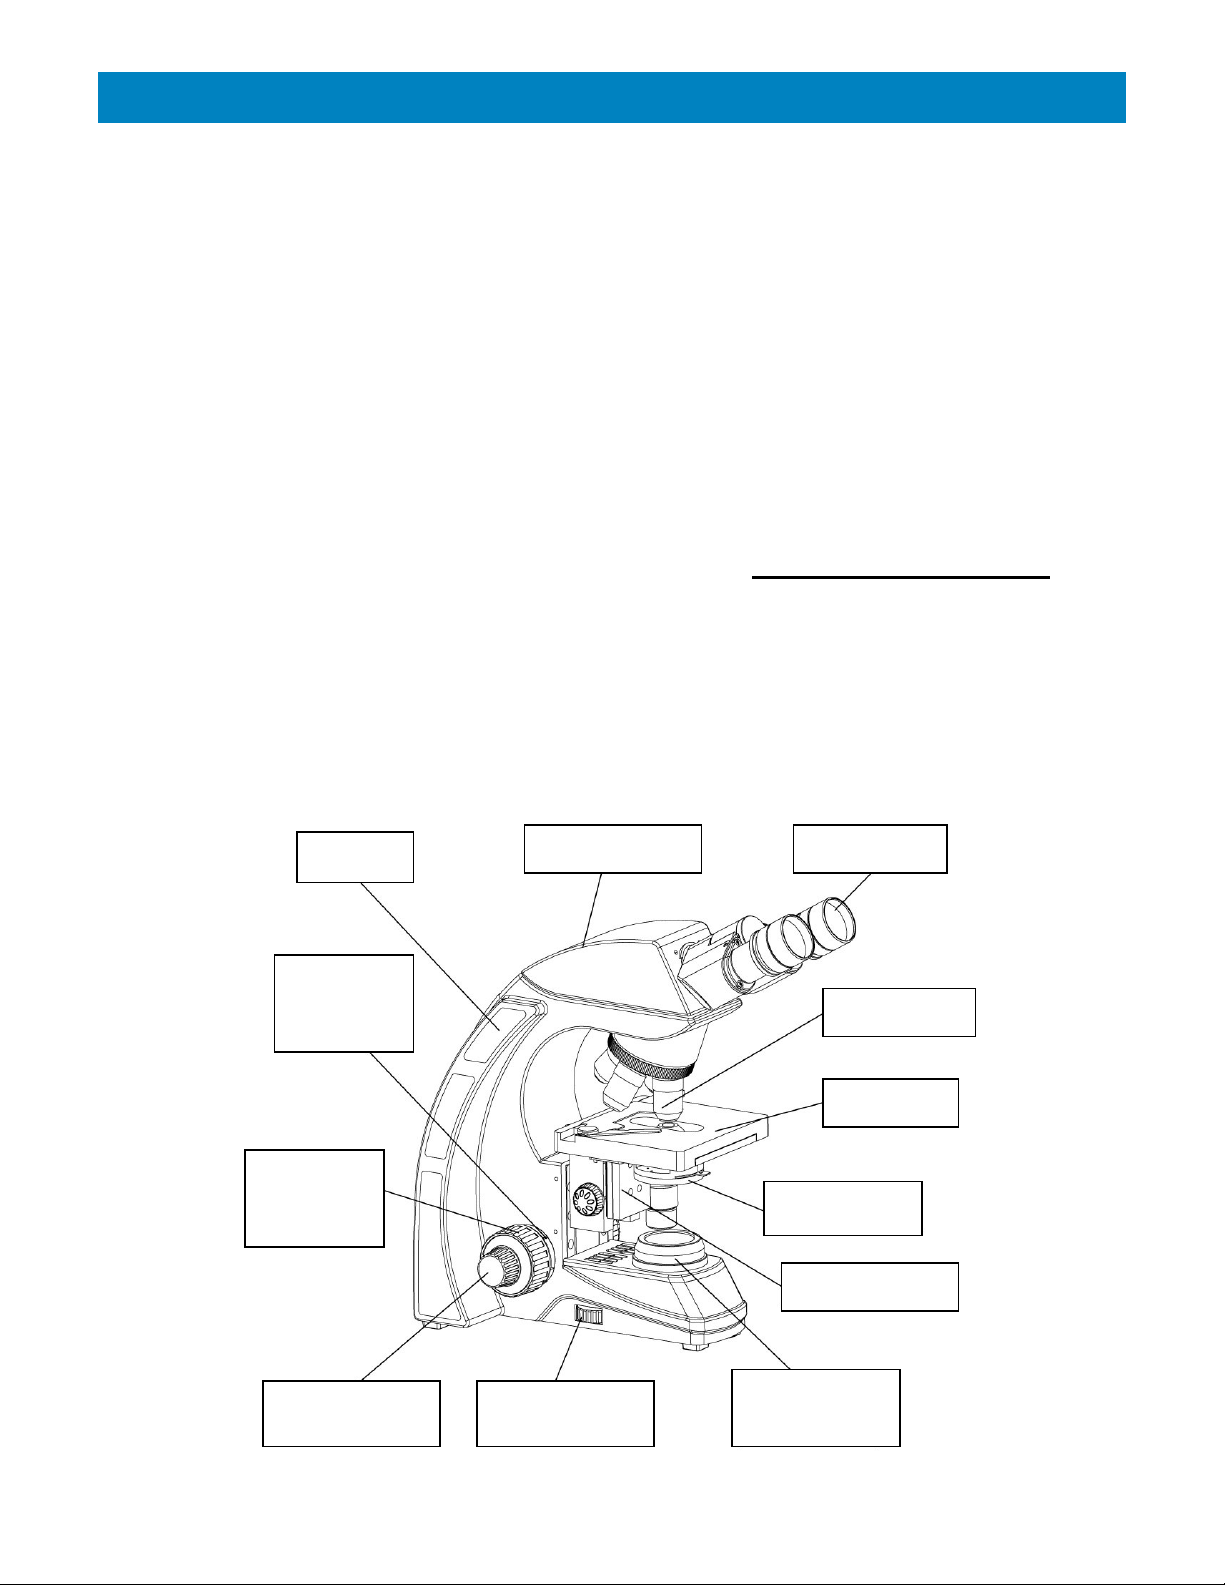
V9000T Trinocular Microscope
3
SAFETY NOTES
1. Open the shipping carton carefully to prevent any accessory, i.e. objectives or eyepieces, from
dropping and being damaged.
2. Do not discard the molded Styrofoam container; the container should be retained should the
microscope ever require reshipment.
3. Keep the instrument out of direct sunlight, high temperature or humidity, and dusty environments.
Ensure the microscope is located on a smooth, level and firm surface.
4. If any specimen solutions or other liquids splash onto the stage, objective or any other component,
disconnect the power cord immediately and wipe up the spillage. Otherwise, the instrument may be
damaged.
5. All electrical connectors (power cord) should be inserted into an electrical surge suppressor to
prevent damage due to voltage fluctuations.
6. For safety when replacing the LED bulb or fuse, be sure the main switch is off (“O”), remove the
power cord, and replace the LED bulb after the bulb and the lamp house has completely cooled.
7. Confirm that the input voltage indicated on your microscope corresponds to your line voltage. The
use of a different input voltage other than indicated will cause severe damage to the microscope.
CARE AND MAINTENANCE
1. Do not attempt to disassemble any component including eyepieces, objectives or focusing assembly.
2. Keep the instrument clean; remove dirt and debris regularly. Accumulated dirt on metal surfaces
should be cleaned with a damp cloth. More persistent dirt should be removed using a mild soap
solution. Do not use organic solvents for cleansing.
3. The outer surface of the optics should be inspected and cleaned periodically using an air stream from
an air bulb. If dirt remains on the optical surface, use a soft cloth or cotton swab dampened with a
lens cleaning solution (available at camera stores). All optical lenses should be swabbed using a
circular motion. A small amount of absorbent cotton wound on the end of a tapered stick such as
cotton swabs or Q-tips, makes a useful tool for cleaning recessed optical surfaces. Avoid using an
excessive amount of solvents as this may cause problems with optical coatings or cemented optics
or the flowing solvent may pick up grease making cleaning more difficult. Oil immersion objectives
should be cleaned immediately after use by removing the oil with lens tissue or a clean, soft cloth.
4. Store the instrument in a cool, dry environment. Cover the microscope with the dust cover when not
in use.
5. ACCU-SCOPE® microscopes are precision instruments which require periodic preventative
maintenance to maintain proper performance and to compensate for normal wear. An annual
schedule of preventative maintenance by qualified personnel is highly recommended. Your
authorized ACCU-SCOPE ® distributor can arrange for this service.